
Dollar Store Craft – Foam Pumpkin Tissue Holder
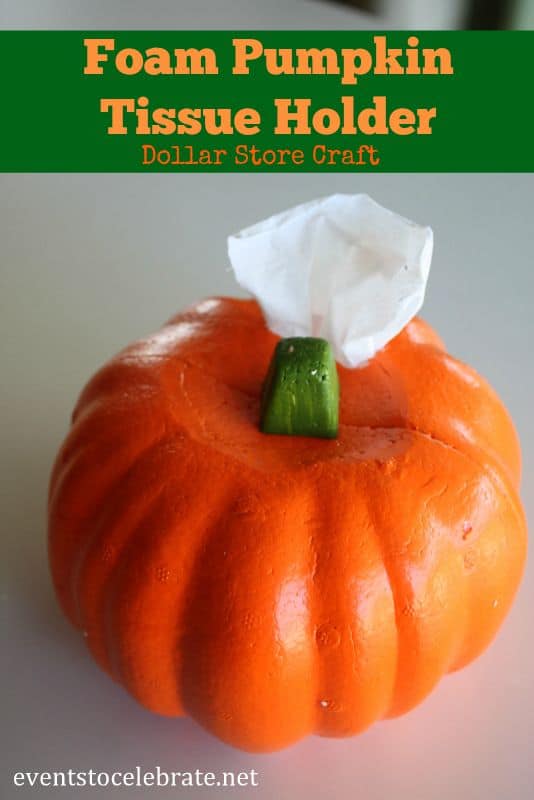
For $2 I turned a foam pumpkin from Dollar Tree into a tissue holder that fits right in with my fall decor! It literally took me 5 minutes and I love that it can stay out through October and November. I was originally going to make it out of a skull, but couldn’t find the right type of foam for it.

All you need is a Carvable Foam Pumpkin from Dollar Tree and a box of tissues.
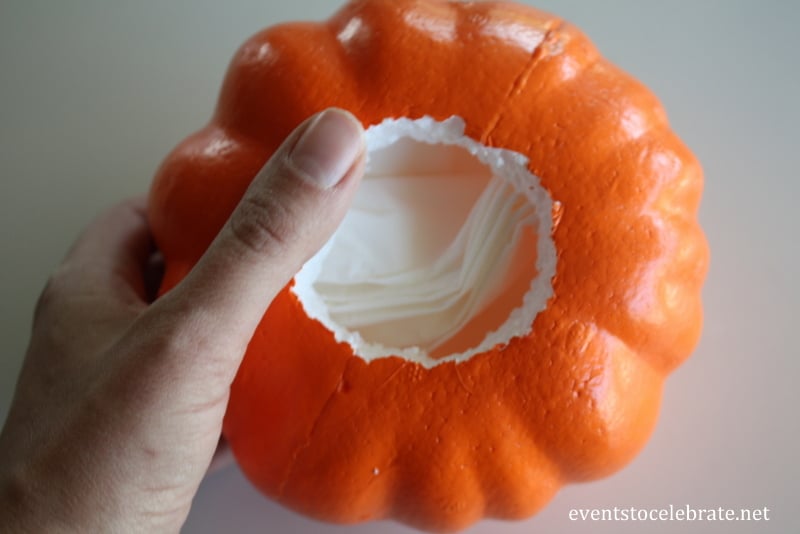
Step 1:
Carve a 3″ hole in the bottom. I used a serrated pumpkin carving tool, and afterwards realized that a straight edge knife would have cut cleaner on the foam.

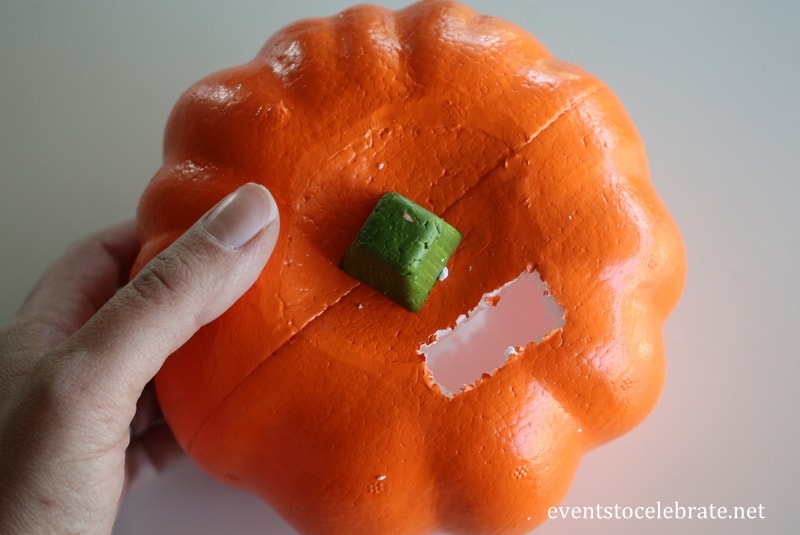
Step 2:
Cut a 2″ rectangle in the top of the pumpkin.
Step 3:
Take a stack of 10 tissues and cut them in half and layer them on top of each other. In order to have them pull through the top, you have to layer the two halves together by overlapping them. 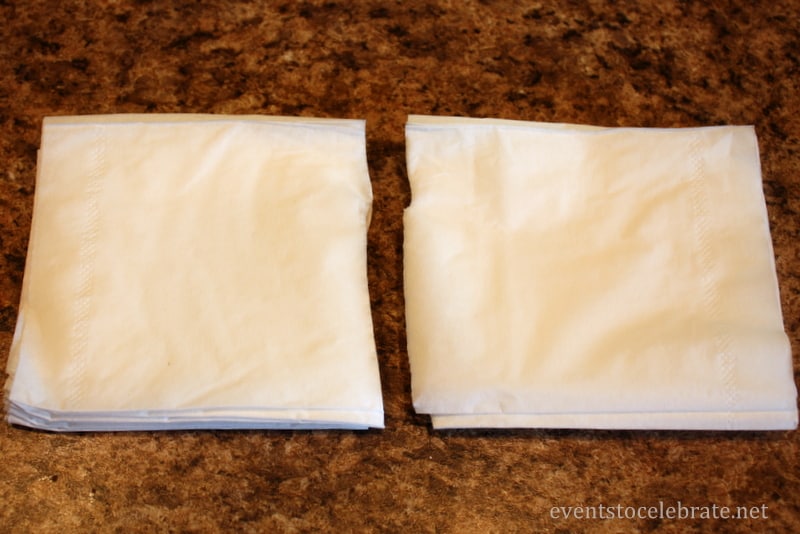
Step 4:
Pull up the top layer that you want to have pull through the top of the pumpkin and then gently roll the tissues so you can insert them into the carved out base of the pumpkin.
Step 5:
Turn over and pinch the tissue and pull it through. I had to get a pair of tweezers to reach in and grab the top layer. Display with your holiday decor!

Be sure to follow my Halloween Pinterest board for lots of awesome Halloween crafts, recipes, costumes and decorations!
