
Fabric Applique Onesie Tutorial

I was so excited to help create decorations for a baby shower last weekend. My nephew and his sweet wife are expecting their first baby – a boy! We are delighted and can’t wait to meet the little man in just a couple of weeks! He will be the second great-grandchild in our family!
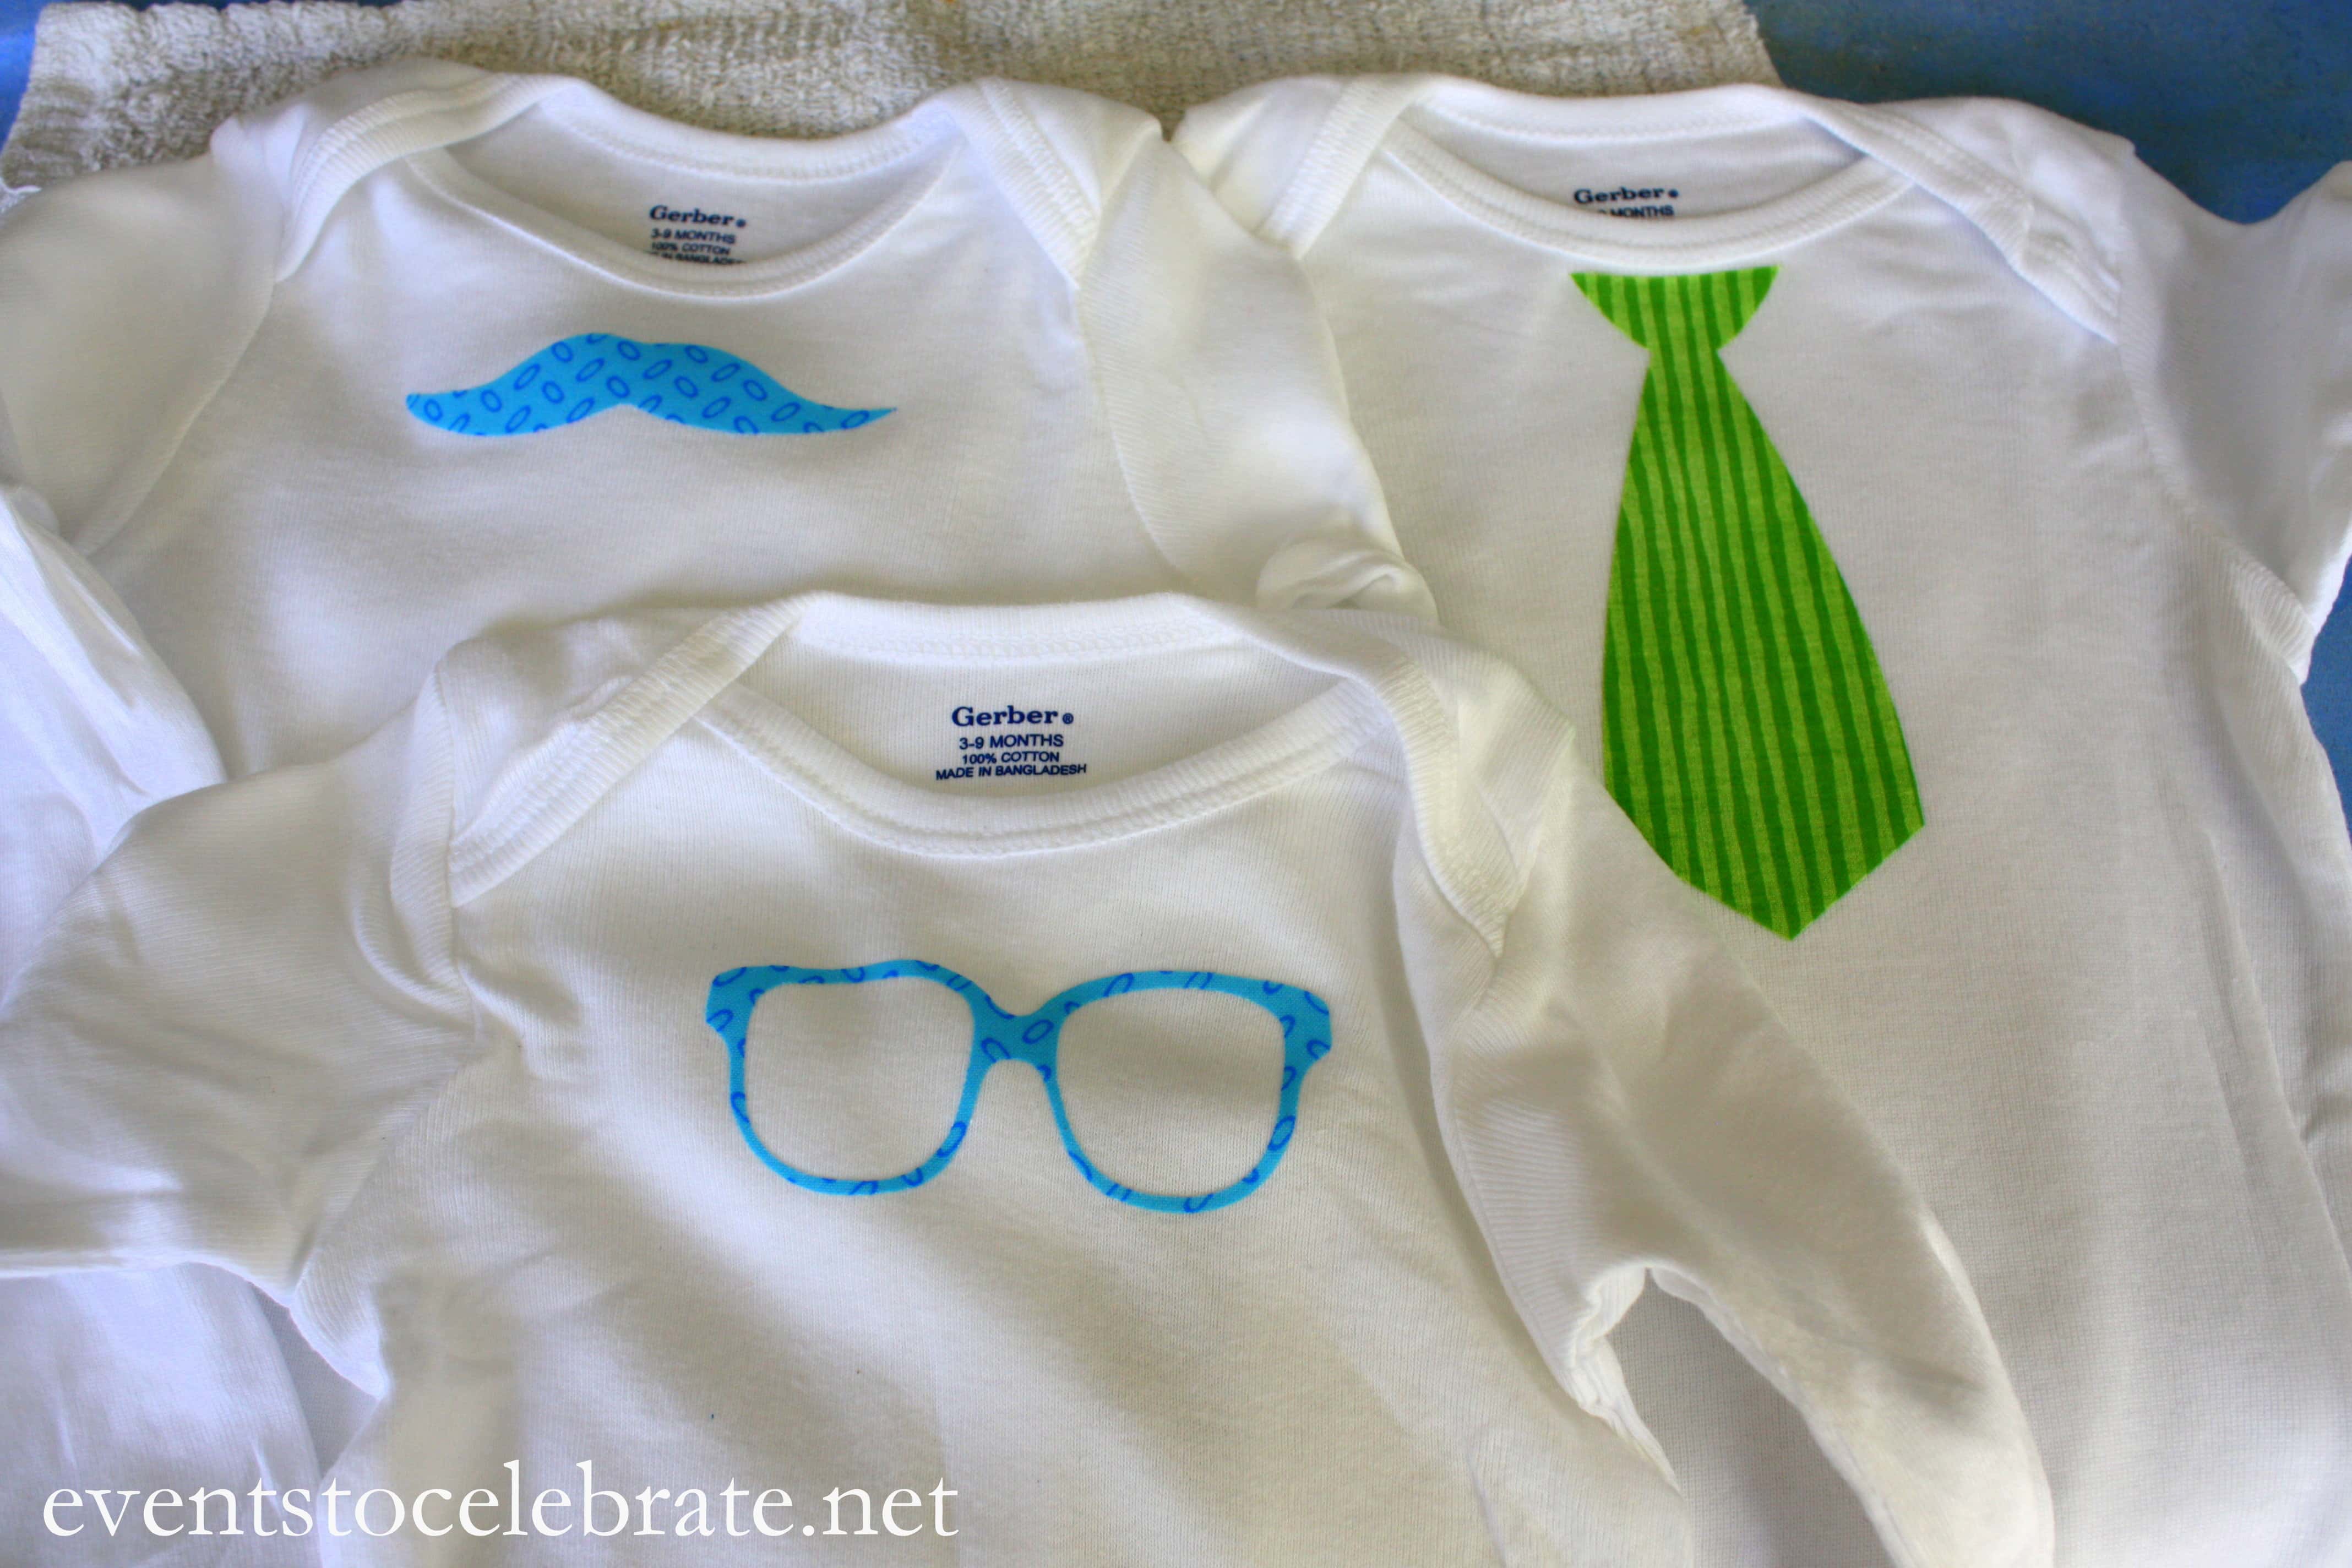
I want to walk you through how I made these adorable fabric applique onesies to put on a clothesline inspired garland. I will admit, I was a little intimidated by the idea of this project, but now that I’ve done it, I can assure you – you’ve got nothing to worry about! If I can do it, so can you (seriously)!!
Fabric Applique Onesie Supplies:
Iron
Ironing Board
Towel (I found it easier to get a good seal around the tiny edges if there is a plush towel underneath, but didn’t want to ruin a good one so I just used a garage towel)
Fabric
Gerber 3 Pack Longsleeve Onesies
Scissors
Silhouette Cameo (unless you plan to draw and cut out or free hand cut the shapes)
Thermoweb Heat’n Bond Ultra Hold Iron-On Adhesive (it also comes in a purple package for the light version, but I like the ULTRA since it is a much stronger hold and I didn’t plan on doing any sewing)
FABRIC APPLIQUE ONESIE TUTORIAL
Step 1: Cut your fabric to the approximate size you’ll need for your shape.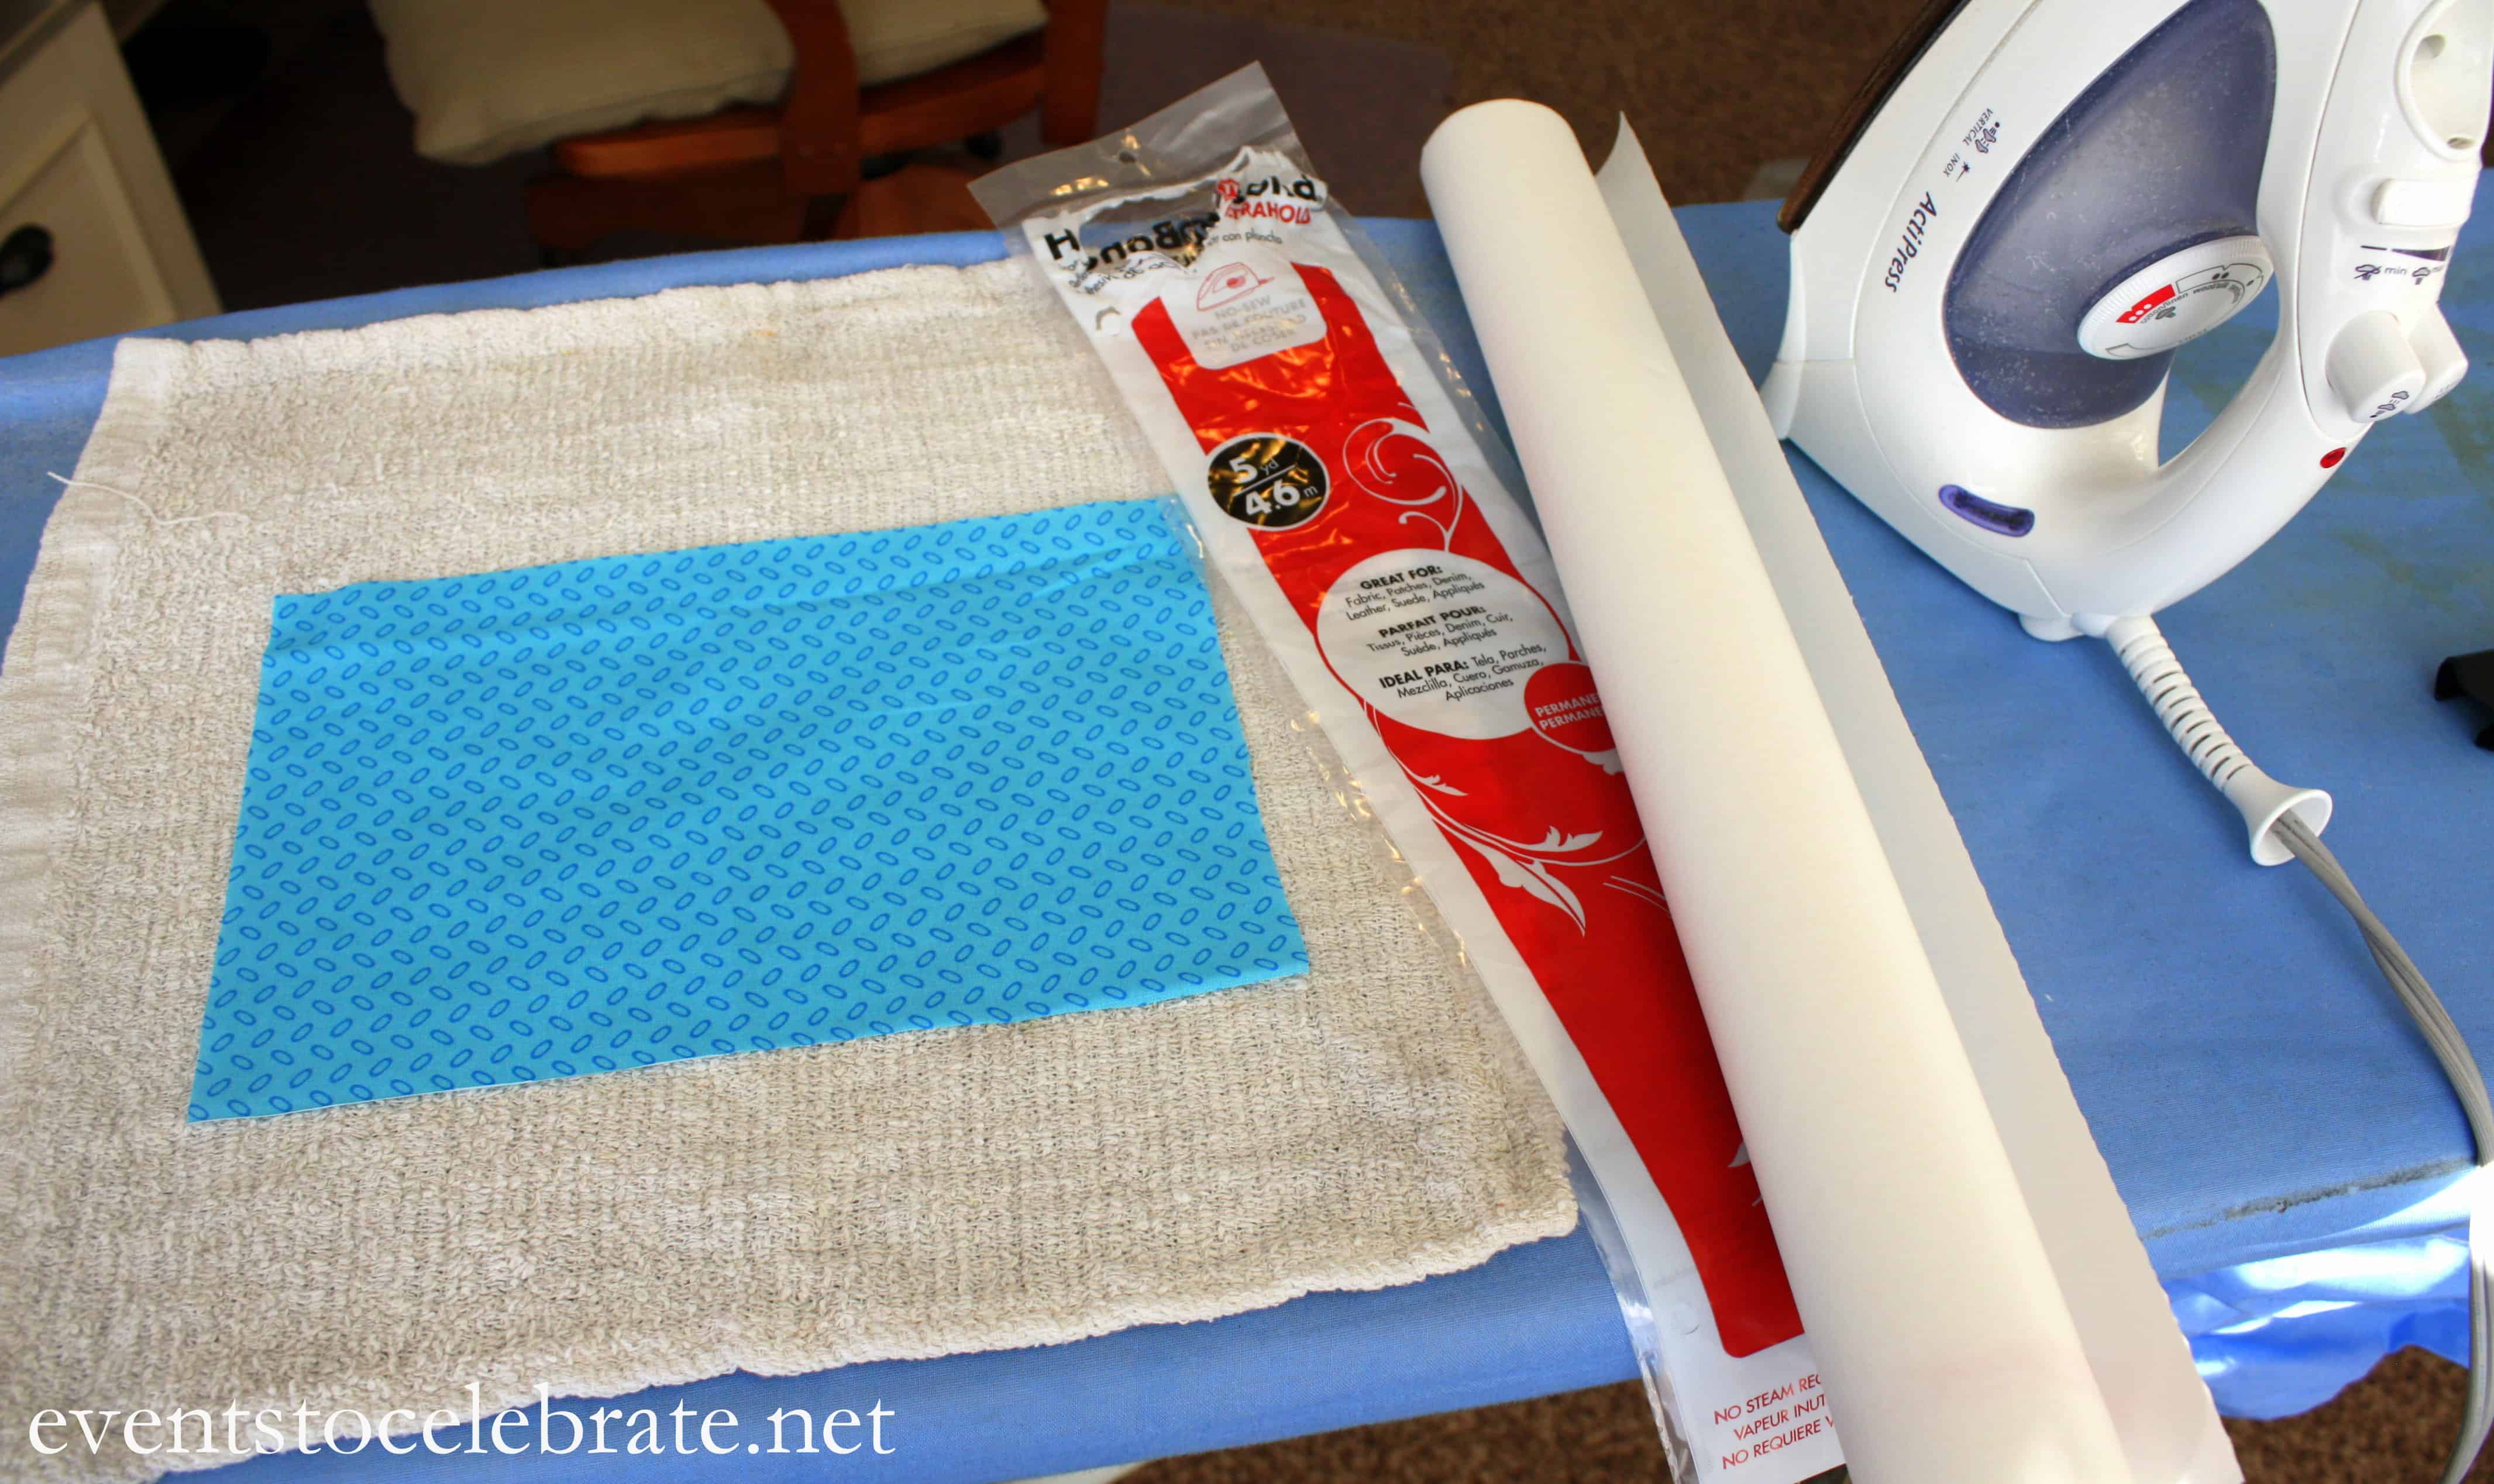
Step 2: Lay your fabric on the Heat’n Bond and cut it to size.
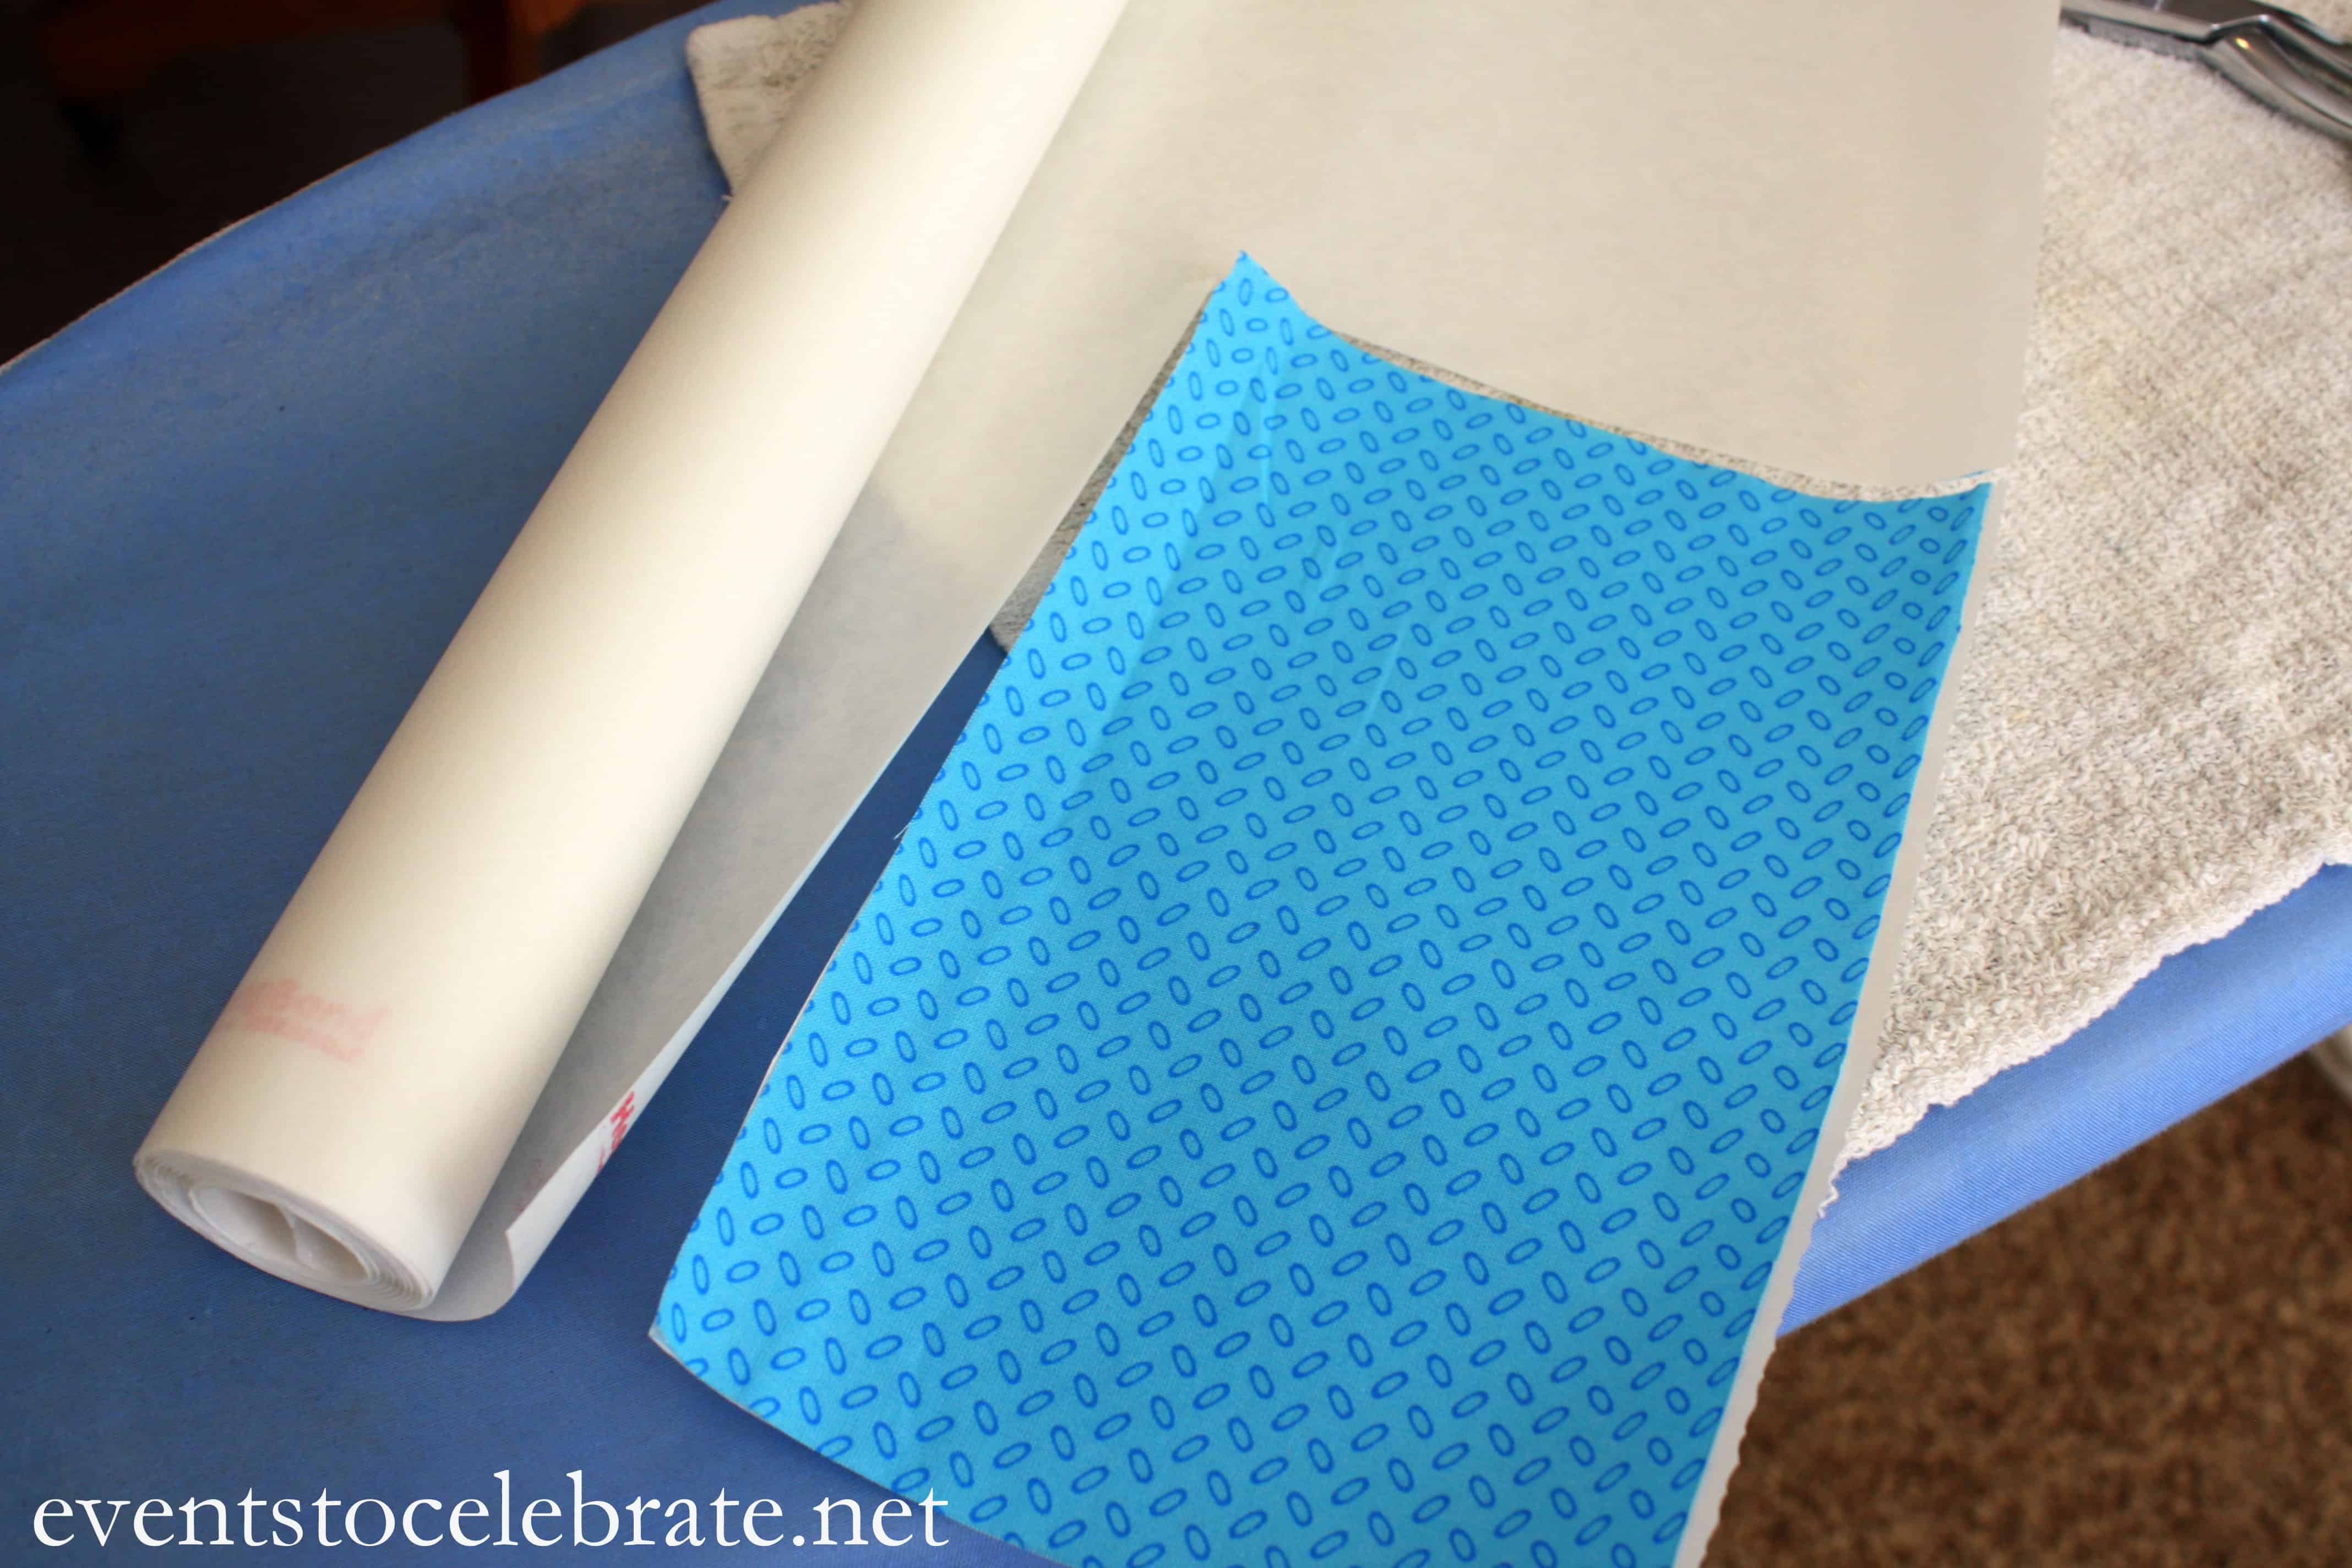
Step 3: Following package instructions, peel the paper layer from the Heat’n Bond to reveal a textured layer. Lay the fabric front side down and place the Heat’n Bond withe the texture down, on the fabric. Then press with an iron on medium heat for 2 – 3 seconds until fully bonded. Allow to cool.
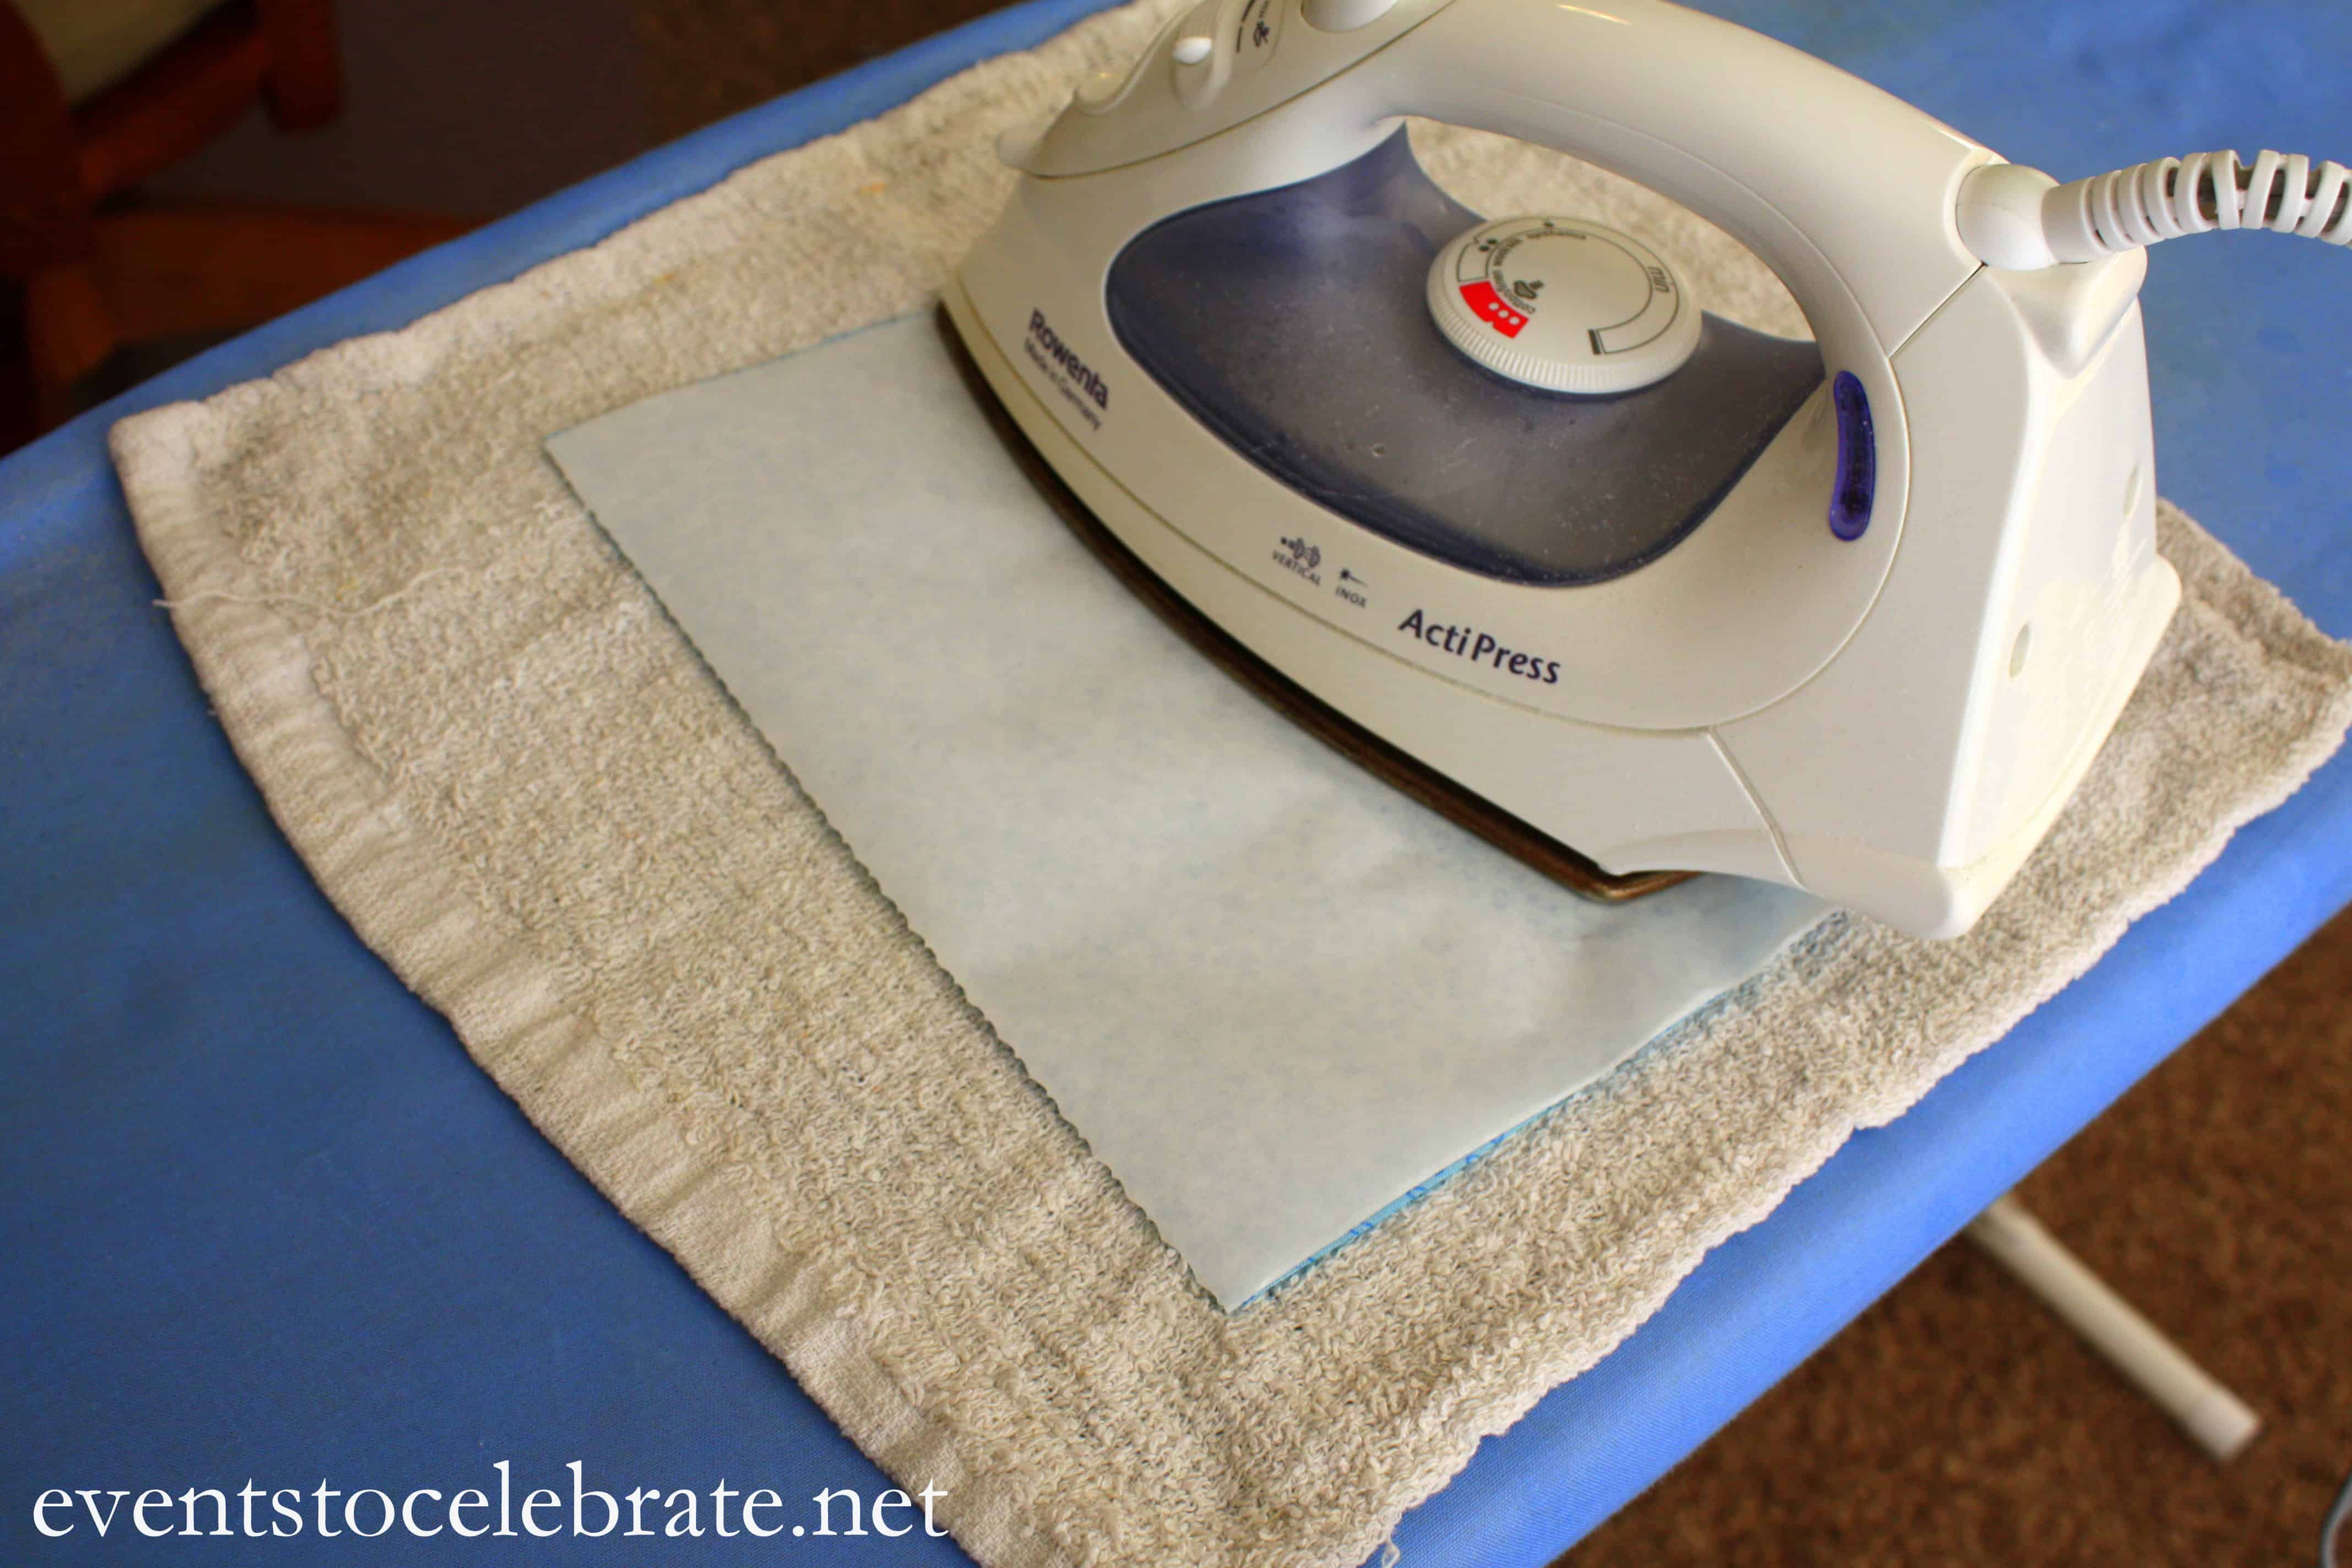
Step 4: Once cool, peel the fabric away from the remaining paper backing. The back of your fabric will now be have a shiny, plastic feel to it.

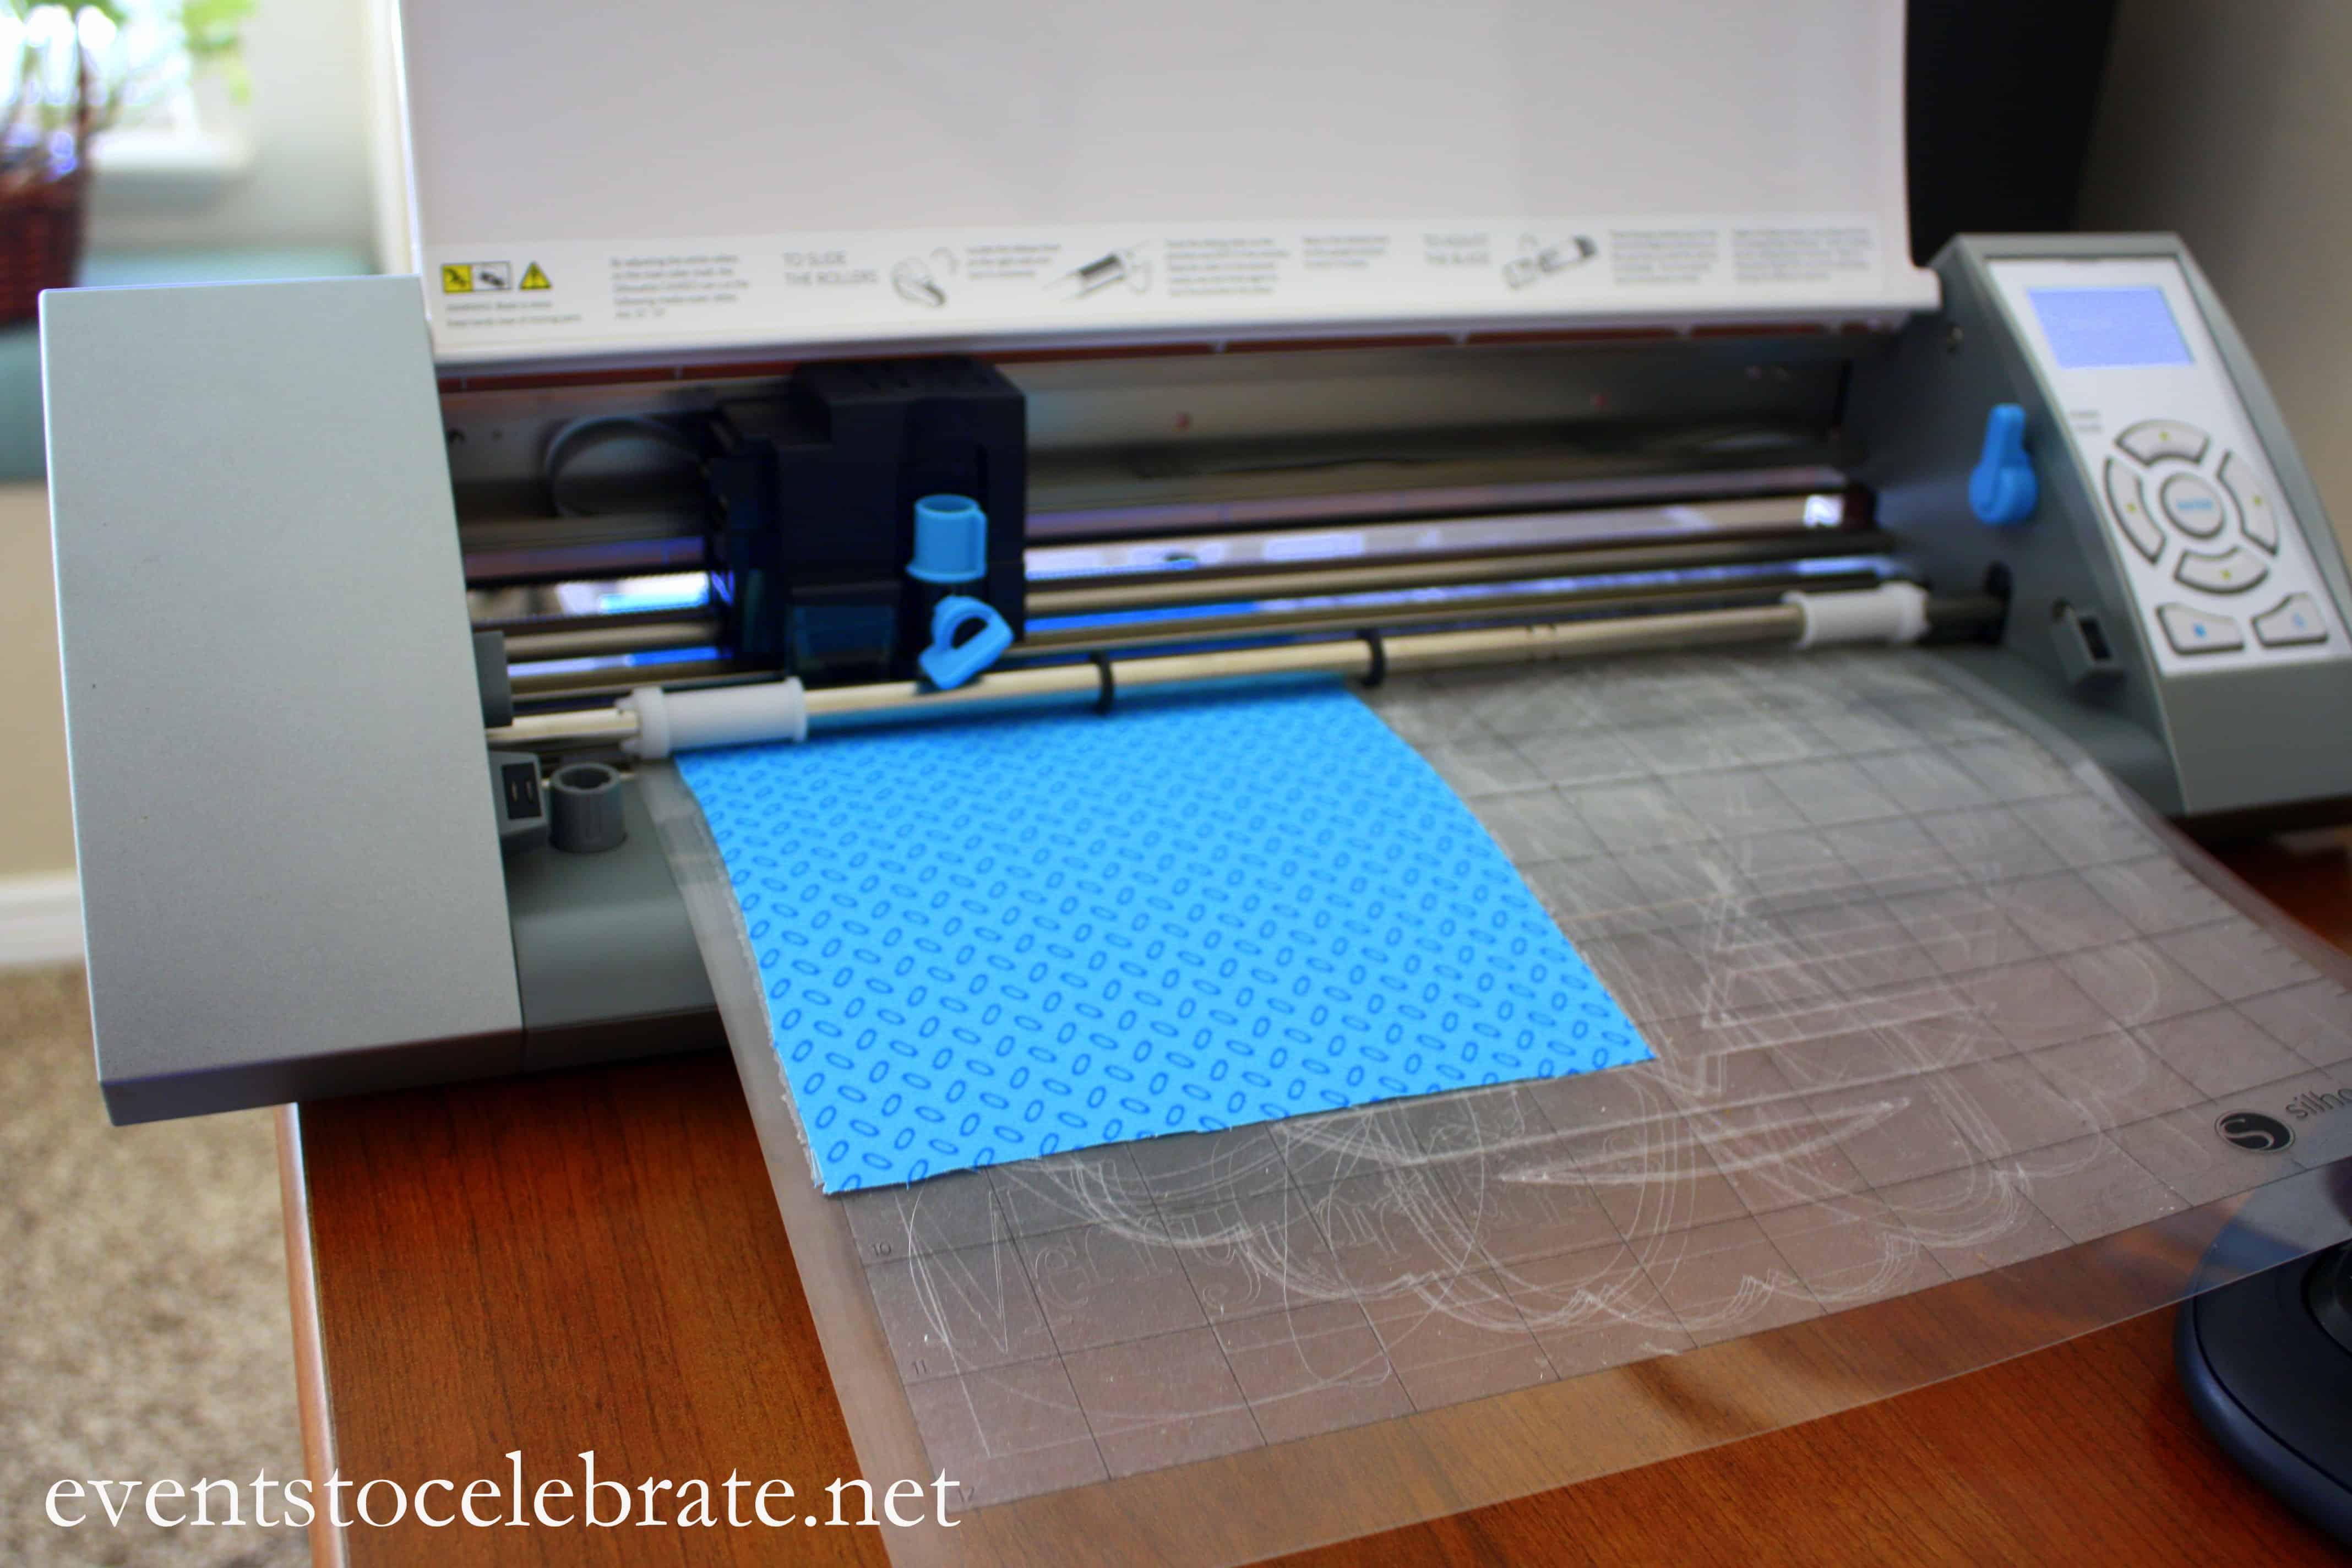
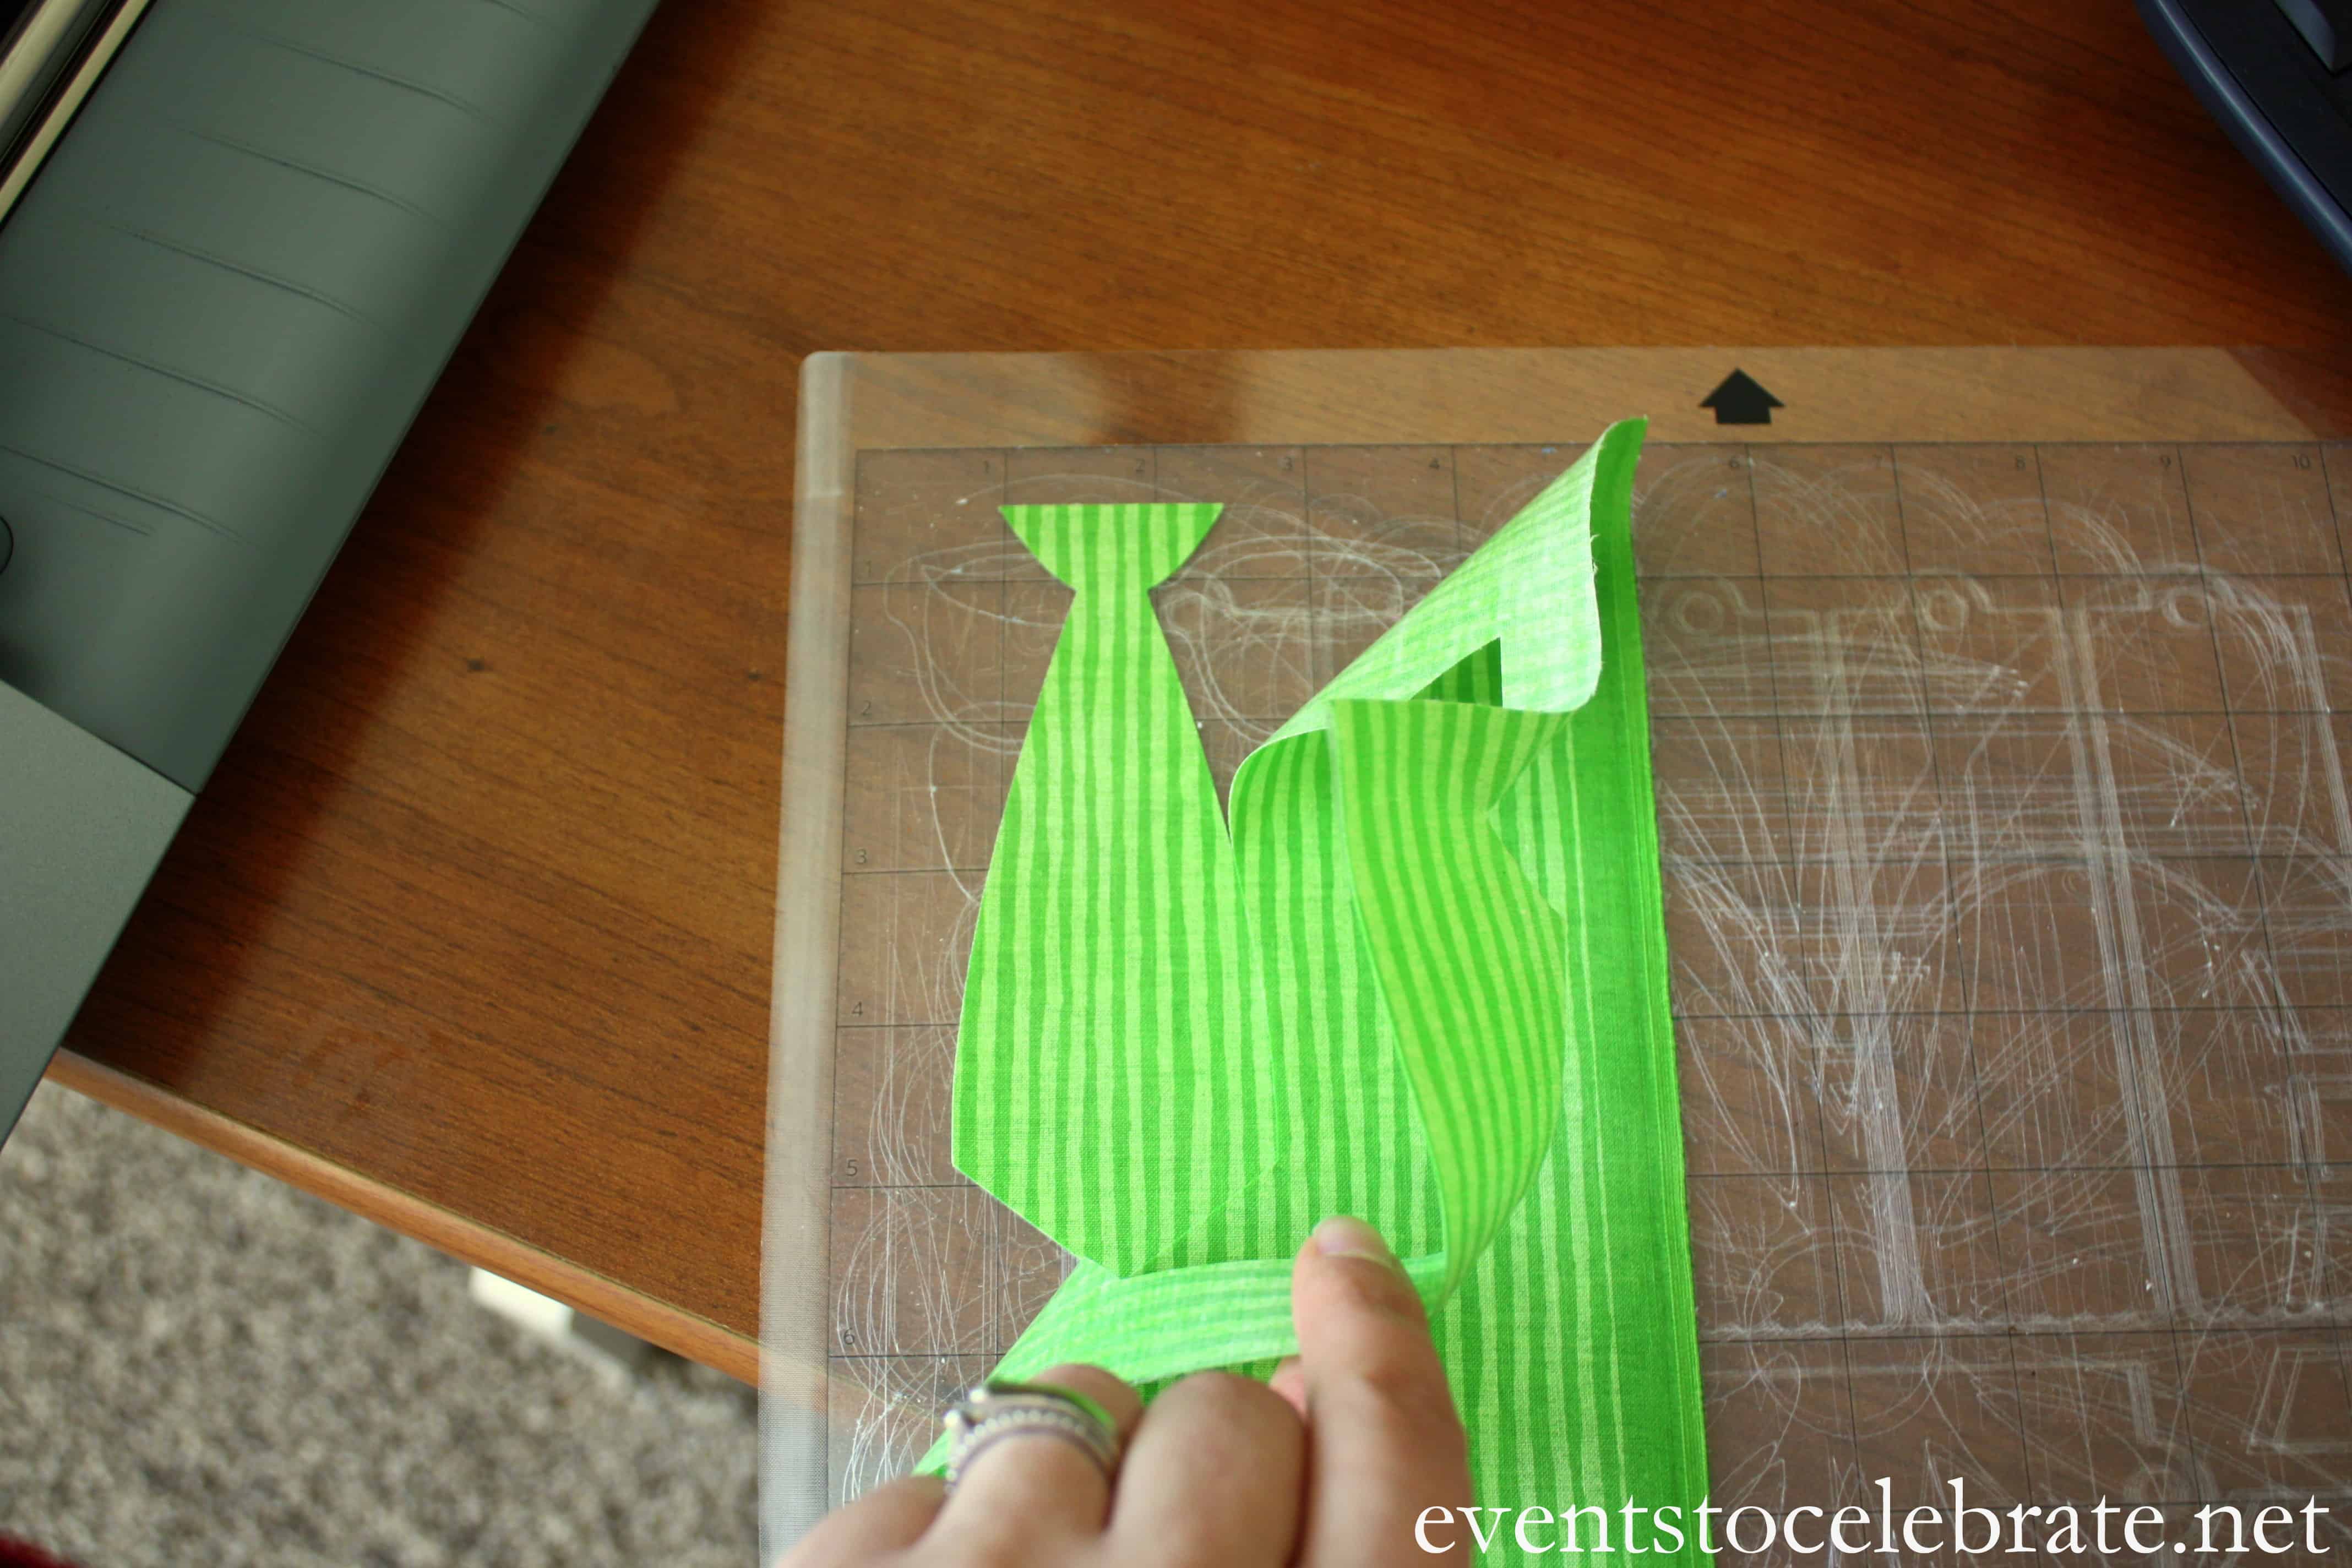
Step 5: Place your fabric on your Silhouette cutting mat and format the images you would like to cut. (If you aren’t using a Silhouette, this is where you would just draw and cut or free hand cut the shapes you would like.)

Step 6: Load the cutting mat into the Silhouette machine and cut. The machine has a setting for cutting fabric and asks you to put the blade depth to 3, but I did 5 just because I wanted to make certain it would cut cleanly.
Step 7: Peel away the fabric to reveal the shape you cut.
Step 8: Place the fabric shape on your onsie with the fabric side up.

Step 9: Press the shape with an iron on medium heat for 2-3 seconds in each spot to adhere. Make sure you pay close attention to the edges so they get a good seal.

Step 10: Allow to cool and you’ve got some adorable and totally custom outfits perfect for gifting or decorating!
Like us on Facebook. Follow us on Twitter. Keep up on Pinterest. See fun photos on Instagram. Join me in a Google+ circle.

Did they stay on without any sewing when you washed them? Or did they come off?
Yes, if you purchase the pellon that does not require sewing it will stay on.
Cute Tia! I just ordered some plain onesies last week because I have been wanting to design some cute things for our little boy! I also just got a cricut, so I am excited to do iron ons with that. Can’t wait to make some of these cute ideas. I really like the tie!
Perfect! They really were super easy, if I can do it, so can you!!