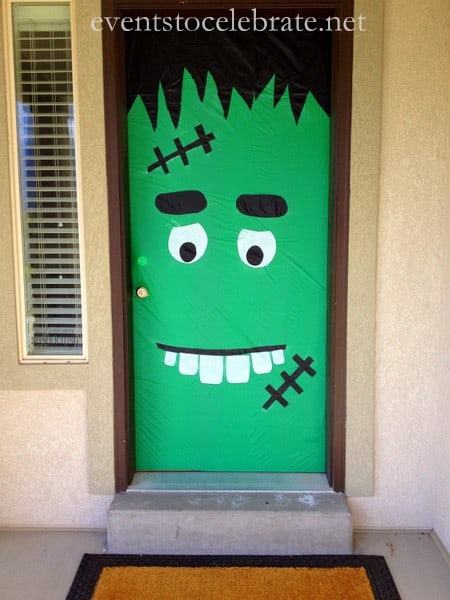
Halloween Door Decoration
October is officially my favorite month! I look forward to Halloween all year long! Yesterday, I put up all of my indoor Halloween/Fall decorations and today I made our Halloween door decoration. I decided Frankie needed to be on our front door. It’s about as simple as it gets. I used plastic table covers from the Dollar Store and spray adhesive (the same can that I’ve had a few years) – that’s it! I’d say that is $3.00 well spent.
Halloween Door:
TIPS:
– I measure the door and cut the green table cloth about 2″ wider and longer so it will wrap around the sides of the door once finished.
– Cutting and adhering the pieces to the green table cloth while it was on my floor, rather than once its on the door is easier for me. I suppose you could do it either way, but I just didn’t want to get spray glue all over my door casing.
– Just use clear packing tape to secure the finished piece to the door. I cut notches for the door handle and hardware.
I’m just 2 weeks away from my due date on my sweet baby boy and the next order of business is to figure out a name for this little guy. Maybe we’ll just name him Frankie. 🙂


2 Comments