
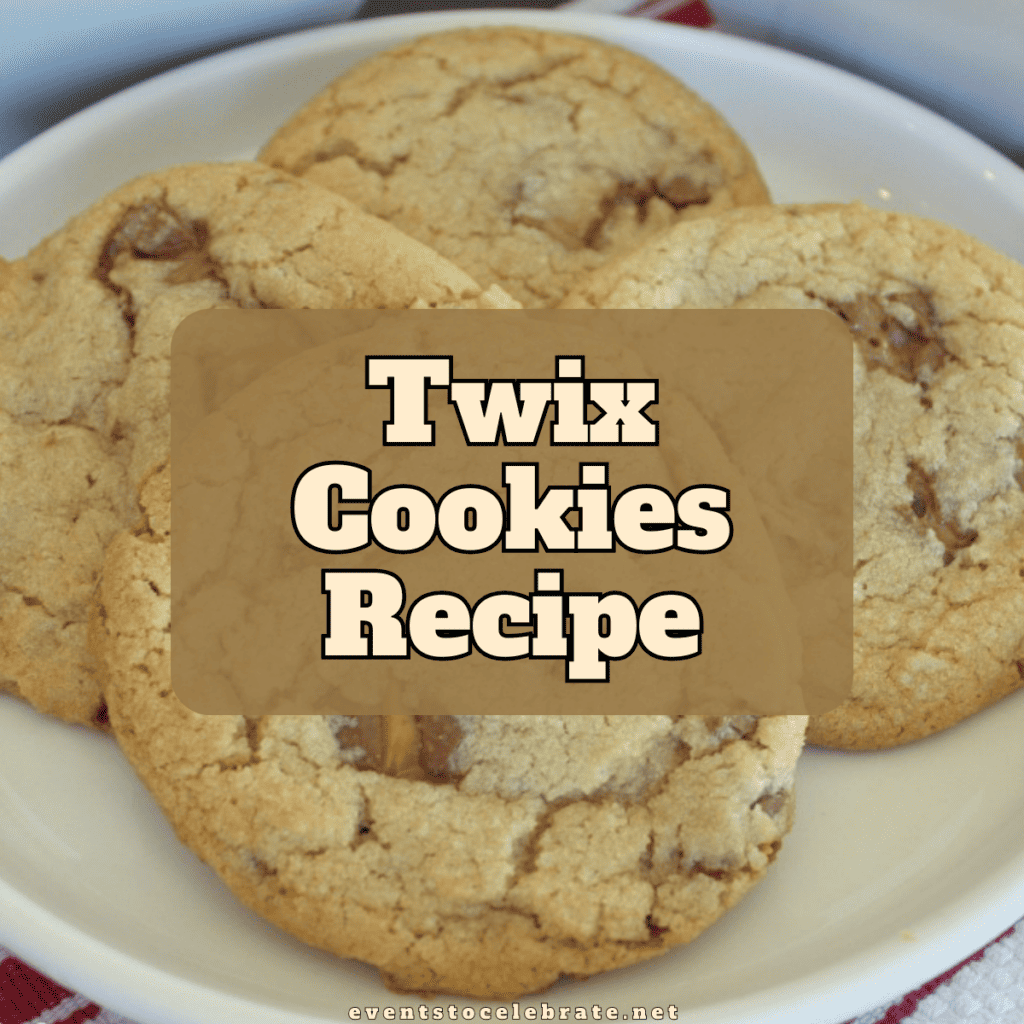
Easy Twix Cookies Recipe
This post may contain affiliate links, including Amazon Associate links. As an Amazon Associate, I earn from qualifying purchases at no additional cost to you. Please see my Disclosure Policy for more details.


As a self-proclaimed cookie monster, I can say that I know a good cookie when I eat it. 😉 In fact, it took me 5 years of recipe testing to find a chocolate chip cookie recipe that I genuinely loved. I may be picky about my cookies, but that’s how I know you’ll enjoy these!!
In this post I’ve included simple directions along with tips for baking and storage to help you successfully make and enjoy these Twix cookies!

Where this Recipe Originated
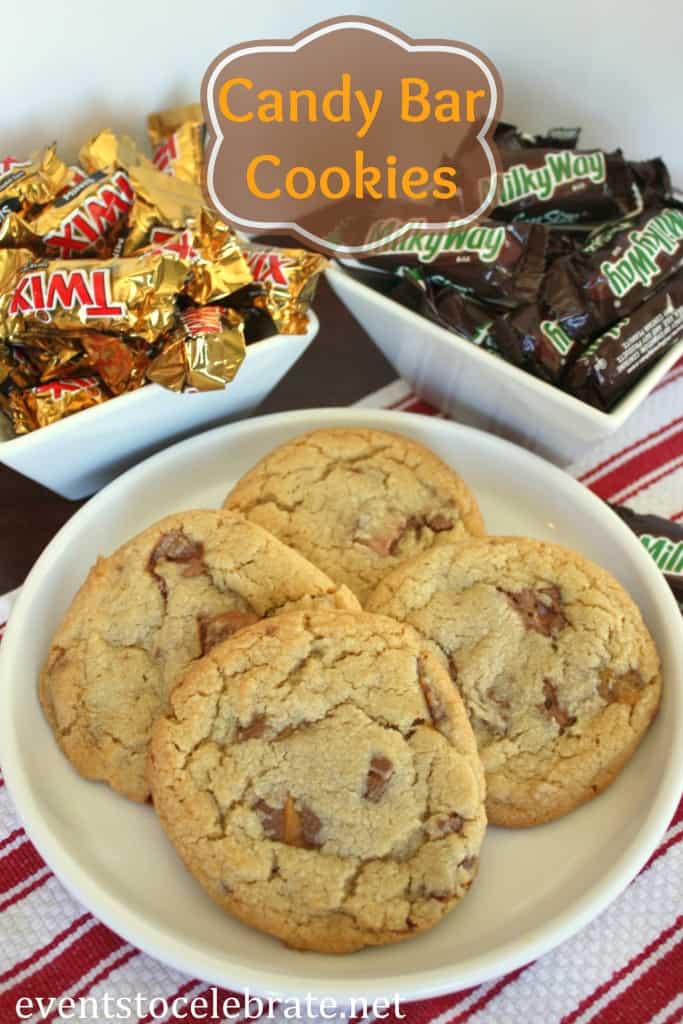
I first came up with this recipe after Halloween. My house was OVERFLOWING with candy. So, I decided to make a treat using some of the treats we already had lying around the house.
I chose to tweak my usual chocolate chip recipe to incorporate some of the candy bars we had left over. By substituting the chocolate chips with chopped candy bars, you can put a dent in that giant candy pile! It’s genius right?!
Frequently Asked Questions
Can I substitute any of the ingredients? – Yes, you can! Just about any of the ingredients below could be substituted. Some common substitutions include
- Vegetable shortening substituted with: coconut oil, butter, or margarine
- Baking soda substituted with: baking powder
- Sugar substituted with: honey or maple syrup
How many cookies does this recipe make? – 36-48 cookies can be made using this recipe. That number just varies depending on how large you choose to make each of your cookies!
Can I make this recipe with other kinds of candy bars? – Yes! I have tried it out with both Twix bars and Milky Way bars. In fact, I think I liked the Milky Way bars better, so give that a try too!
Ingredients for Twix Cookies
The nice thing about this recipe is that all of its ingredients are pretty standard when it comes to baking, except for the Twix candy bars of course. Those are the secret ingredients that make these so fun!
Ingredients:
1 c. Vegetable Shortening
1 c. Butter – room temperature
1 1/2 c. Granulated Sugar
1 1/2 c. Brown Sugar
3 Large Eggs – slightly beaten
1 Tbsp. Vanilla
1 1/2 tsp. Baking Soda
1 1/2 tsp. Salt
5 1/2 – 6 c. Flour (add the 5 1/2 c first and if the dough is still too wet, add in another 1/2 c)
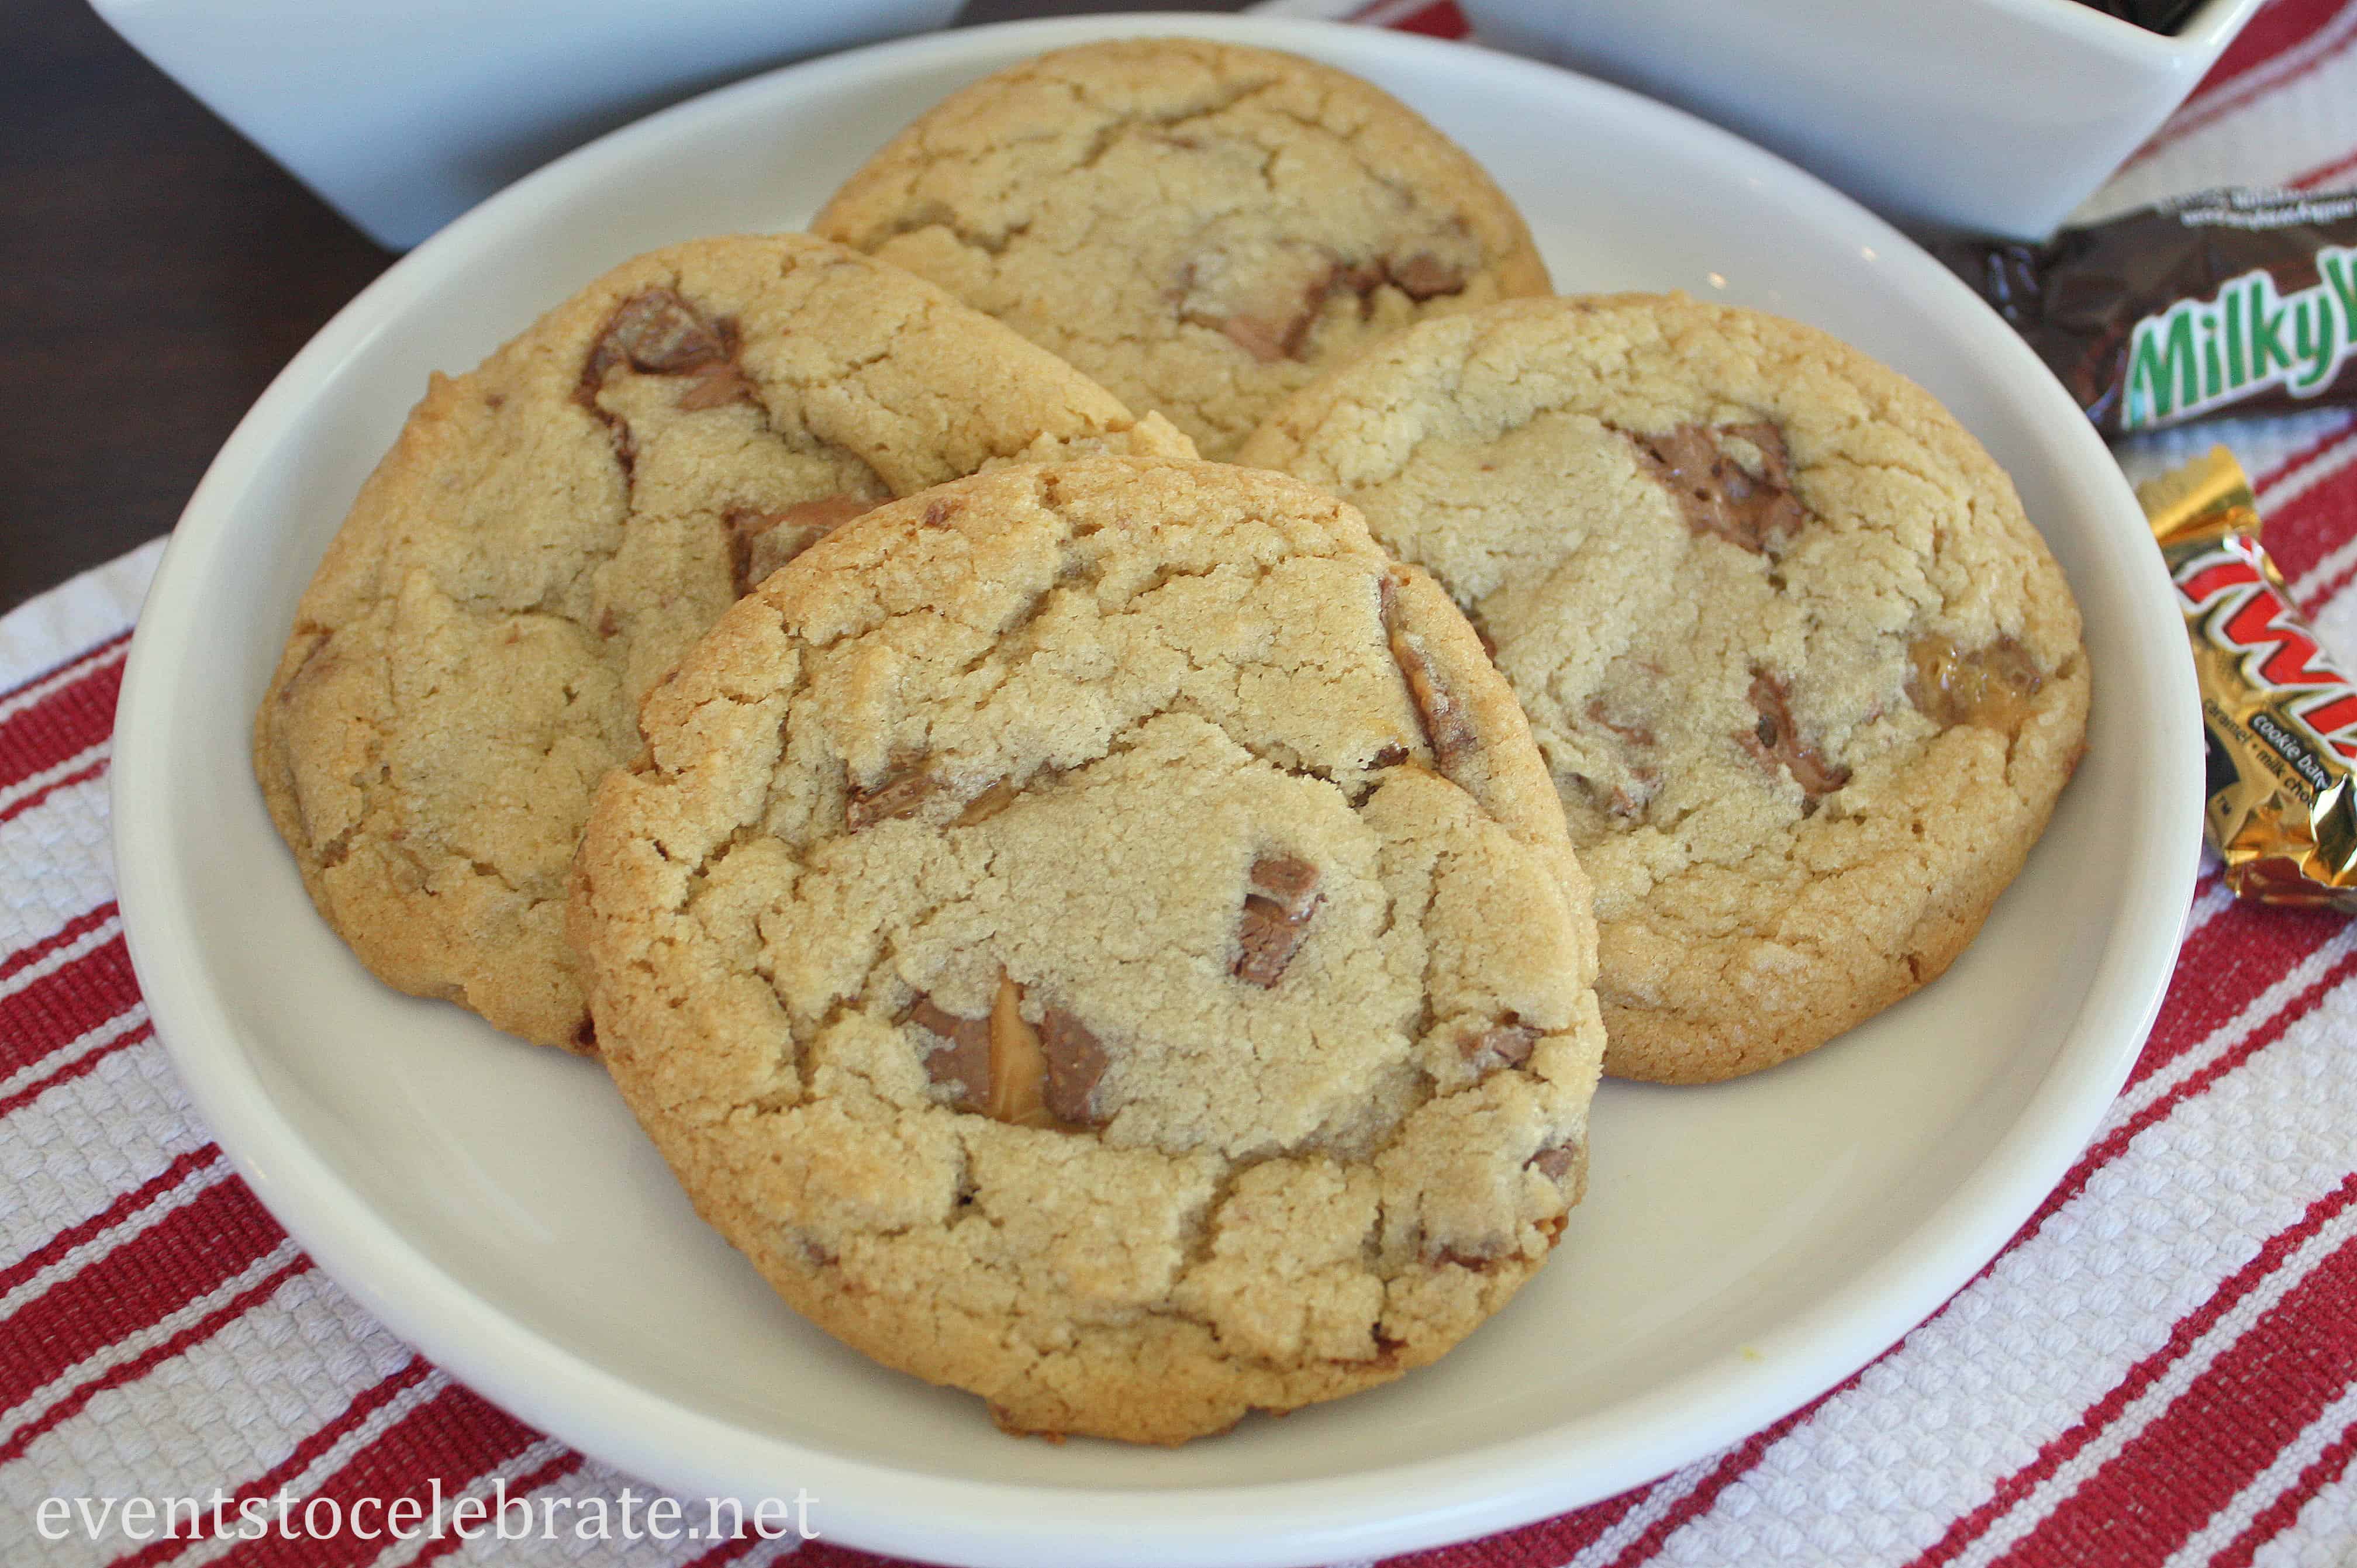
2 c. Chopped Candy Bar
How to Make Twix Cookies
Directions:
- Cream your fats and sugars – In a large mixing bowl cream together shortening, butter, granulated sugar and brown sugar for 2-3 minutes.
- Add in wet ingredients – To your creamed butter and sugar, add eggs and vanilla. Mix this until well combined.
- Add your dry ingredients to a separate bowl – In a new bowl, add flour, baking soda and salt. Whisk this together.
- Combine wet and dry ingredients – Slowly add your dry mixture into the creamed mixture. Add your dry mixture on low speed one cup at a time until just incorporated.
- Slice up your candy bars into small pieces – Think the size of 1-2 chocolate chips
- Mix in candy bar chunks with a spoon or rubber spatula – Don’t use your regular mixer. That will break up the candy bar chunks too much.
- Grease the sheet pan – Either spray your sheet pan or lay down some parchment paper to prevent your cookies from sticking.
- Spoon golf ball size portions (I use my Large cookie scoop from Pampered Chef) onto a cookie sheet. – You want to leave room (1-2 inches) between the cookies, because they will expand as they bake.
- Bake your cookies at 375 for 10 – 12 minutes – I like to do the earlier time and then check to make sure that they are cooking properly, but you can do what works best for you!
How to Store Cookies
There are a few different ways you can store cookies.
Short Term Storage
If you plan to eat your cookies within the next 3-4 days, let them fully cool and then place them in an airtight container. Allowing them to cool will make transportation into your container easier, help the cookies keep their shape, and prevent extra moisture in the container (from condensation). This container can either be stored at room temperature or in the fridge.
Long Term Storage
If you plan to save your cookies or cookie dough for more than a few days, place them in an air-tight container in the freezer. They can last for up to about 3 months in the freezer. And when you want to bake them or warm them up, just allow them to defrost.
It’s as simple as that!
Why You Should Come Back to My Page
Here at Events to Celebrate, my whole goal is to help real people plan for their kids’ birthday parties, life events, and holidays! Life is crazy. I GET IT. You don’t have endless time OR money to spend on parties, but you still want to help your guests have a great time. I’m here to help give you tips, tricks, and ideas for celebrating life on a budget.
As a mom, you want to do it all. You want to make your family happy and create special memories. My brand is all about creating special moments with those you love. The kind of moments that you will look back on years later and wish you could relive! So, if that’s something you’re interested in, stick around! I have an email list you can sign up for, so you don’t miss my future party ideas!

Oh dear. These look amazing! Candy bars make everything taste better. I’m definitely going to be trying these out.