
Easy Cheese and Cracker Platter
This post may contain affiliate links, including Amazon Associate links. As an Amazon Associate, I earn from qualifying purchases at no additional cost to you. Please see my Disclosure Policy for more details.


I’m excited about this post! An easy cheese and cracker platter can be used for just about any occasion. You can use use what you have in the fridge for an impromptu charcuterie or tailor it for a fancy occasion with specialty cheeses and high quality ingredients. They are easy to put together, always offers a little bit of the wow-factor and they’re delicious! Because of this, they can be a nice addition to any party, shower, sports-watching event, afternoon tea or even a “cooking” activity for the kids.

Another major highlight of the cheese and cracker platter is that you really can’t go wrong! Personalize the contents of the platter to your liking. Here are a few suggestions to get you started to create an affordable, gorgeous and easy cheese and cracker platter.
Food Platters 101
When it comes to creating the perfect and easy cheese and cracker platter, here are a few things to keep in mind.
1. Smooth Surface
Serve the food on a smooth, flat surface. Common options include a wooden cutting board, large plate, or large tray. Using a tray can be helpful, since the curved edges can prevent spilling. In reality though, any of these can work well as long as they are properly arranged.
2. Variety in flavors
A little variety goes a long way! Platters and charcuterie boards can get really expensive and overwhelming if you buy 20+ things to put on them. Generally, your guests will be satisfied with 3-5 options of both cheeses and crackers. You can even buy crackers which have several kinds of cracker in one box. Make sure to include different cheese with different flavors such as a sharp cheddar, a mild havarti and a rich Swiss cheese.
3. Variety in textures
Foods that excite our senses tend to be more enjoyable. Make your platter more appealing by adding ingredients with different textures, thicknesses, and sizes. You can also accomplish this through different types of cheeses. Utilize things such as cream cheese, baked brie, a cheese ball, or hard crumbly cheeses like feta to diversify the board.
It can also be fun to keep in mind the aromatics and visual appeal!
4. Colors
Many cheeses and crackers fall within the yellow-tan spectrum. This can leave your platter looking dull. Add a little color by including items such as cured meats, grapes, olives, nuts, honey, jams, balsamic, or fresh herbs. Not only will these add to the color dynamic, but they will present many more potential flavor combinations!
Additional Tips for Creating an Affordable, Beautiful and Easy Cheese and Cracker Platter
1. Choose 2–3 Budget-Friendly Cheeses
You don’t need a dozen fancy options! Stick to a few that offer variety in texture and flavor:
- Sharp cheddar – affordable, familiar, and flavorful
- Colby Jack or Monterey Jack – mild and kid-friendly
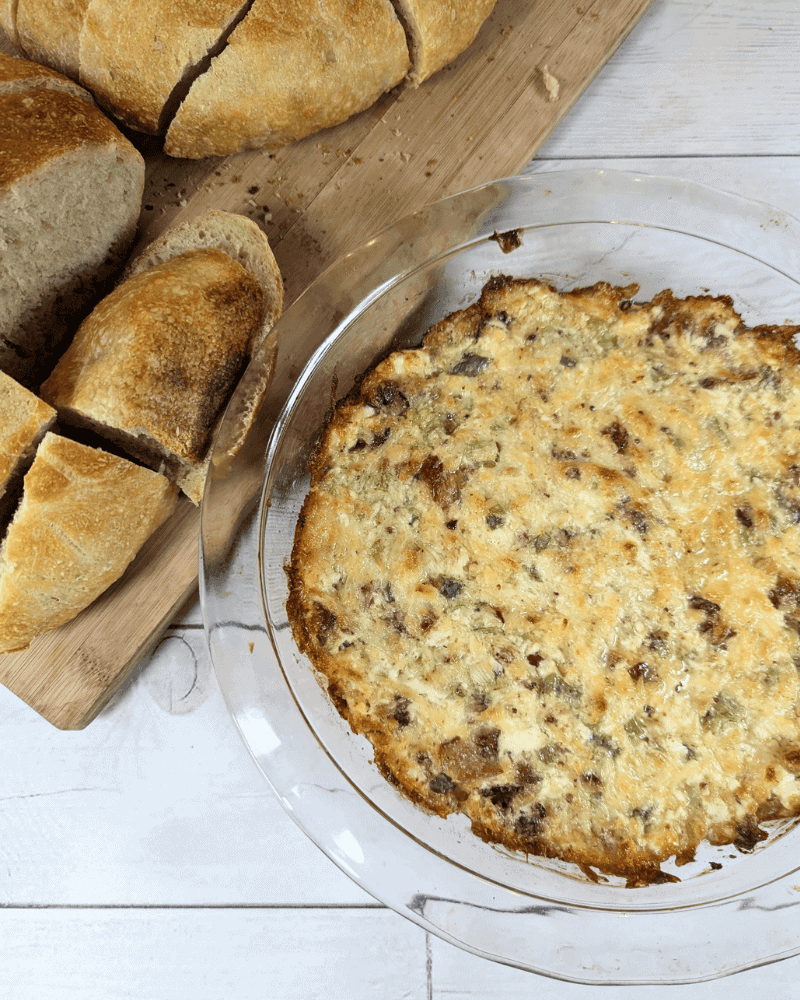
- Cream cheese bacon dip – soft and spreadable
- Swiss or provolone – great for slicing and pairing
- Wedges of Laughing Cow or Babybel – delicious and everyone loves it
Bonus tip: Buy cheese in blocks and slice it yourself—it’s cheaper and looks more generous on a platter.
2. Mix Up the Crackers
Use 2–3 kinds of crackers to keep it interesting:
- Classic butter crackers (like Ritz)
- Whole grain or wheat crackers
- Fancy seeded or flatbread crackers from the grocery store’s bakery section
Arrange crackers in curved lines, stacked rows, or small fans for visual appeal.
3. Add Color and Texture with Affordable Fillers
Use pantry and fridge staples to fill in gaps:
- Fresh fruit: Grapes, sliced apples (toss with lemon to prevent browning), strawberries, or clementine wedges
- Dried fruit: Raisins, apricots, or cranberries
- Nuts: Almonds, cashews, or even trail mix
- Olives or pickles: Add savory depth
- Baby carrots or cucumber rounds for crunch and color
Use small bowls or silicone cupcake liners to hold wet or rolling items like olives or pickles.
4. Add a Budget Dip or Spread
Even one small spread elevates the board:
- Hummus (store-bought or homemade)
- Honey or jam (like fig, raspberry, or pepper jelly)
- Dijon mustard or a herbed cream cheese spread
- Tapenade

5. Make It Pretty with Simple Arranging Tricks
- Start with the cheese first, then add crackers around them.
- Fill in the spaces with fruits, nuts, and extras.
- Use a cutting board, sheet pan, or even a rimmed baking tray as your base—no need for a fancy platter.
Group items in odd numbers (3 slices of cheese, 5 crackers, etc.) for a more natural look.
6. Mini Platters for Small Gatherings or Kids
Use small plates or lunch trays for:
- Date nights
- After-school snacks
- Toddler-friendly boards with string cheese, teddy grahams, and fruit
7. Seasonal & Themed Ideas
Add seasonal flair for holidays or parties:
- Spring: Fresh berries, goat cheese, snap peas
- Summer: Watermelon cubes, feta, mint
- Fall: Apple slices, cinnamon cream cheese, pecans
- Winter: Cranberries, rosemary sprigs, spiced nuts
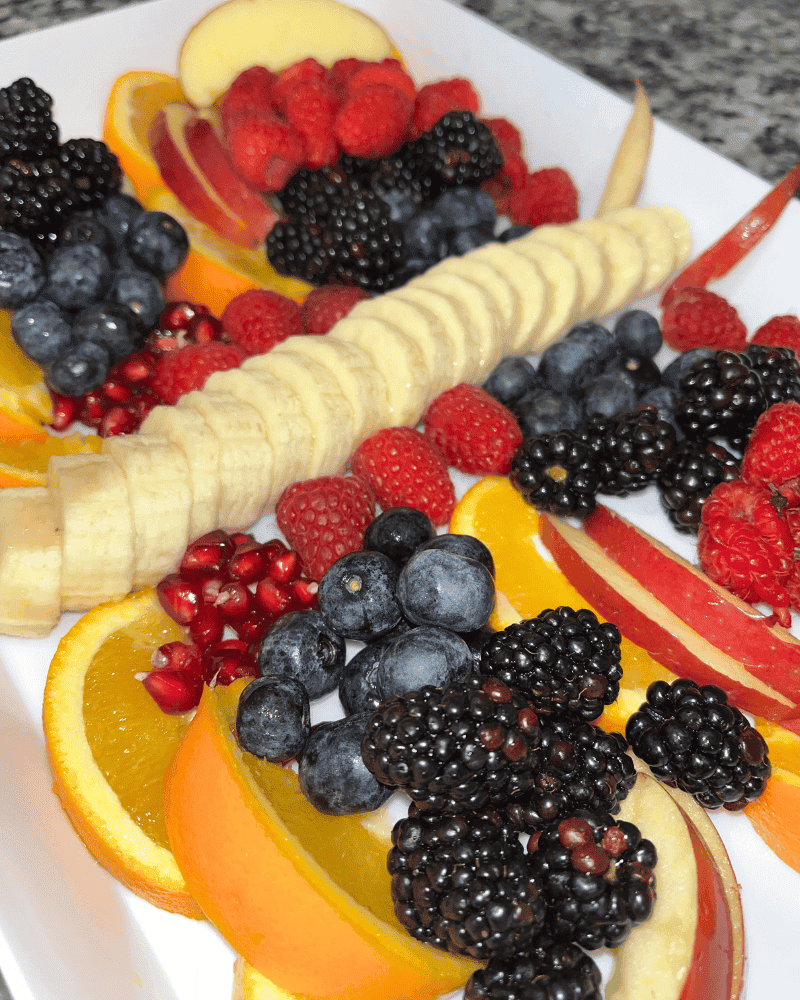
For a bridal shower or baby shower, use pastel-colored fruits or cheese cut into fun shapes with cookie cutters or arrange in a fun shape like this butterfly fruit tray.
How to Keep Your Wooden Cutting Boards in Great Shape
Wooden cutting boards are beautiful for serving a cheese and cracker platter—but they need a little care to stay in top condition. Here’s how to keep yours looking good and lasting for years:
1. Clean Gently (No Dishwasher!)
- Never put a wooden board in the dishwasher—it can crack, warp, or split.
- Instead, wash by hand with warm, soapy water and a sponge.
- Rinse and dry immediately with a towel. Don’t let it soak in the sink.
2. Sanitize Naturally
If you’ve used the board for meat or want to give it a deeper clean:
- Sprinkle coarse salt or baking soda on the board.
- Scrub with half a lemon to deodorize and sanitize.
- Rinse and dry right away.
3. Oil Regularly
Moisturizing your board keeps it from drying out and cracking.
- Use food-grade mineral oil or beeswax-based board cream.
- Apply a generous coat with a soft cloth, let it soak in for several hours (or overnight), and wipe off the excess.
- Do this once a month, or whenever your board looks dry or rough.
Avoid using olive oil or vegetable oil—they can go rancid.
4. Store It Properly
- Store your board in a dry place, standing upright if possible, so air can circulate.
- Avoid keeping it near heat sources or in direct sunlight, which can dry it out unevenly.
DIY Cutting Board Oil with Coconut Oil & Beeswax
Should you wish to make your own excellent cutting board conditioner, here’s a recipe to try.
Ingredients:
- 1/2 cup refined, food-grade coconut oil (use only refined coconut oil as unrefined can go rancid)
- 2 tablespoons beeswax pellets (or grated beeswax)
- (Optional) A few drops of vitamin E oil to extend shelf life
Why It Works:
- Coconut oil hydrates and conditions the wood
- Beeswax creates a protective barrier and light water resistance
- Vitamin E helps prevent spoilage
Directions:
- In a double boiler (or a glass bowl over a pot of simmering water), melt the coconut oil and beeswax together, stirring occasionally.
- Once melted and fully combined, remove from heat and stir in vitamin E oil if using.
- Carefully pour into a small jar or tin and let cool completely. It will firm up into a balm-like consistency.
- To use, scoop out a small amount and rub it into your wooden board using a soft cloth or paper towel.
- Let it sit overnight, then buff off any excess.
Store in a cool, dry place. This blend should stay fresh for 4–6 months.
Putting together a beautiful and easy cheese and cracker platter doesn’t have to be expensive or complicated. With a few simple ingredients, a little creativity, and some thoughtful presentation, you can create a crowd-pleasing snack board anytime! Whether you’re hosting a party, planning a date night at home, or just want to make snack time feel a little more special, these easy ideas are sure to impress. Don’t forget to care for your wooden serving boards so they stay in great shape for years to come. If you try one of these platter ideas or DIY board care tips, I’d love to hear about it in the comments—or tag me on social media so I can see your creation!
