
Easy Trunk Or Treat Monster Tutorial
This post may contain affiliate links, including Amazon Associate links. As an Amazon Associate, I earn from qualifying purchases at no additional cost to you. Please see my Disclosure Policy for more details.
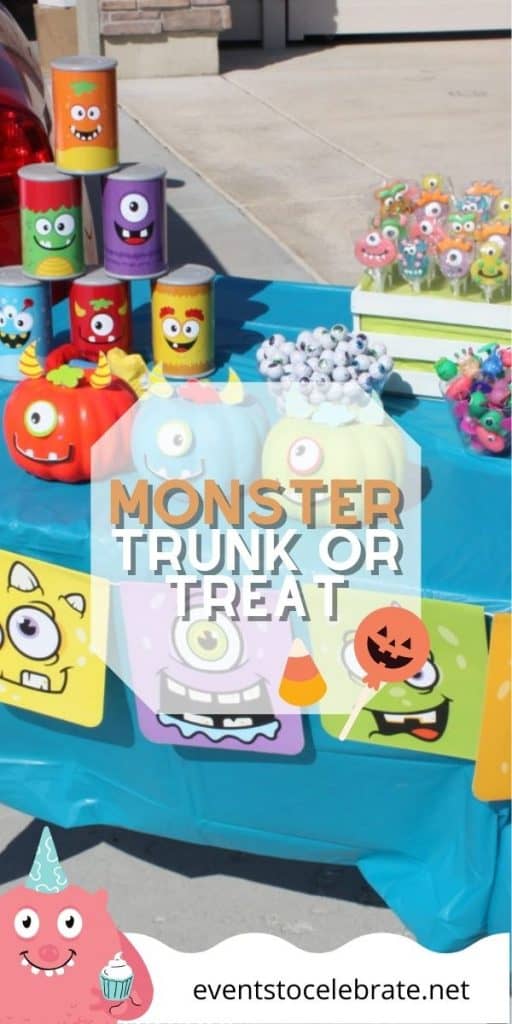
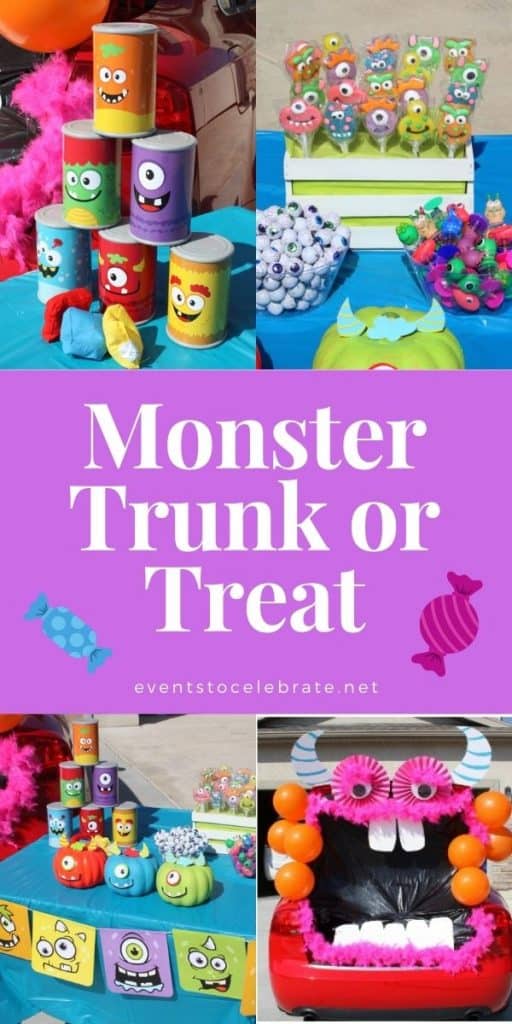


For a simple Trunk or Treat idea, check out this Trunk or Treat Monster Tutorial! Here I will give you a list of needed materials, easy-to-follow steps WITH pictures, and tips for making this fun Halloween decor.
Why You Have Come to The Right Place
Here at Events to Celebrate, my whole goal is to help real people plan for their kids’ birthday parties, life events, and holidays! I am a mom and I GET IT. You don’t have endless time OR money to spend on parties, but you still want to help your guests have a great time. I’m here to help give you tips, tricks, and ideas for celebrating life on a budget.
As a mom, you want to do it all. You want to make your family happy and create special memories. My brand is all about creating special moments with those you love. The kind of moments that you will look back on years later and wish you could relive! So, if that’s something you’re interested in, stick around! I have an email list you can sign up for, so you don’t miss my future party ideas!
Now, on to the Trunk or Treat Monster!
Frequently Asked Questions about Trunk or Treats
What is a Trunk or Treat?
- It is a Halloween celebration that is really family-friendly and safe for kids. Essentially, the members of a neighborhood or community will all come and park in a parking lot to hand out candy. Generally, people will come with themed designs for decorating their car and at least one adult will stay by the car to hand out candy while the kids go trick-or-treating at all the other cars! It is amazing to see the trunk or treat decorating ideas people come up with!
What do you bring to a Trunk or Treat?
- The main things you need for a trunk or treat are costumes, a decorated car, and something to hand out to trick-or-treaters who visit your car. Most people will come with their costumes already on, the car decorated, and have candy to give away.
Is it expensive to decorate your car for a Trunk or Treat?
- While you could spend a lot of money and totally deck your car out, there are lots of fun, inexpensive ways to decorate for a Trunk or Treat. As you will see in the materials list, many of the items used for this Trunk or Treat Monster are already around your house. And the items you don’t already have will be pretty cheap. You could definitely buy the materials to decorate your car while staying budget-friendly!
How long does it take to make this Trunk or Treat Monster?
- This trunk or treat idea took about an hour to assemble the decorations, and about 30 minutes to put it all up. Not bad for a totally awesome trunk!
Easy Trunk or Treat Idea
Materials you need for this Project
- Black garbage bags
- A white poster board
- Scissors
- Painters tape
- 2 feather boas
- 2 sheets large colorful paper
- Balloons
- 2 giant googly eyes
Trunk or Treat Monster Decor
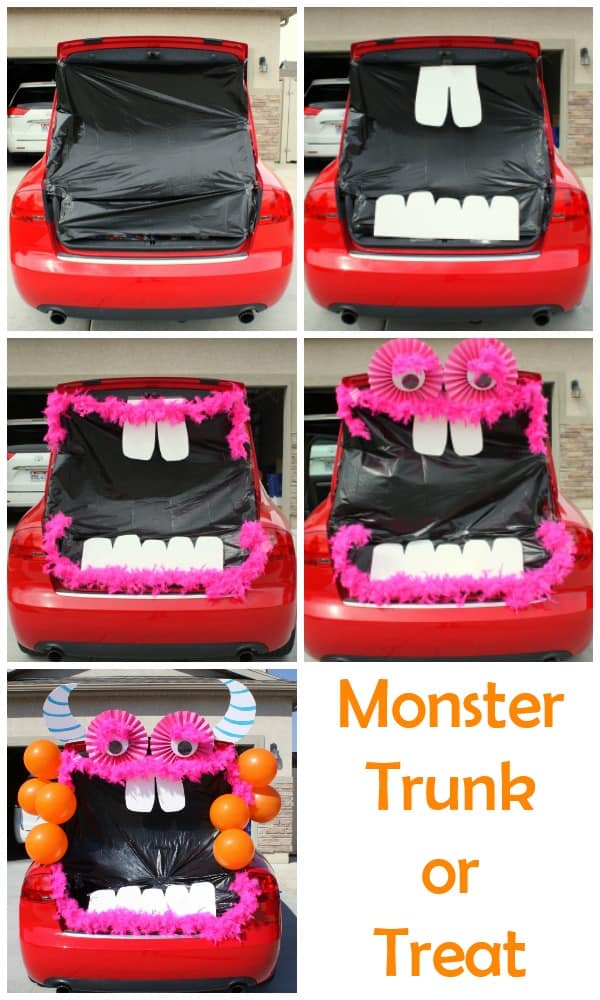
Step 1:
Cover the trunk opening with black garbage bags.
Step 2:
Add the teeth. I used a white poster board to cut out some silly teeth.
Step 3:
Hang a feather boa on the top and bottom of the trunk.
Step 4:
Add the eyes. I used two 12″ paper fans that I taped a giant googly eye to.
I also added a 6″ length of the feather boa to the top to create some fluffy eyelashes.
Step 5:
What? You’re wondering why I added two things in this photo? It started to rain on me so I had to pull my car back into the garage and wait 2 days for the weather to clear. Then I had forgotten what step I was on and just finished the car without taking a separate picture.
Whoops.
I strung 4 balloons together on sewing thread and taped them on either side. It is easier to tape the string holding the balloons together to the car than it will be to tape individual balloons to the car. Don’t ask me how I know that. It’s not because I taped them on individually and they kept popping off one at a time while I was trying to photograph them like popcorn in a hot kettle. Nope. Just string them together. Trust me.
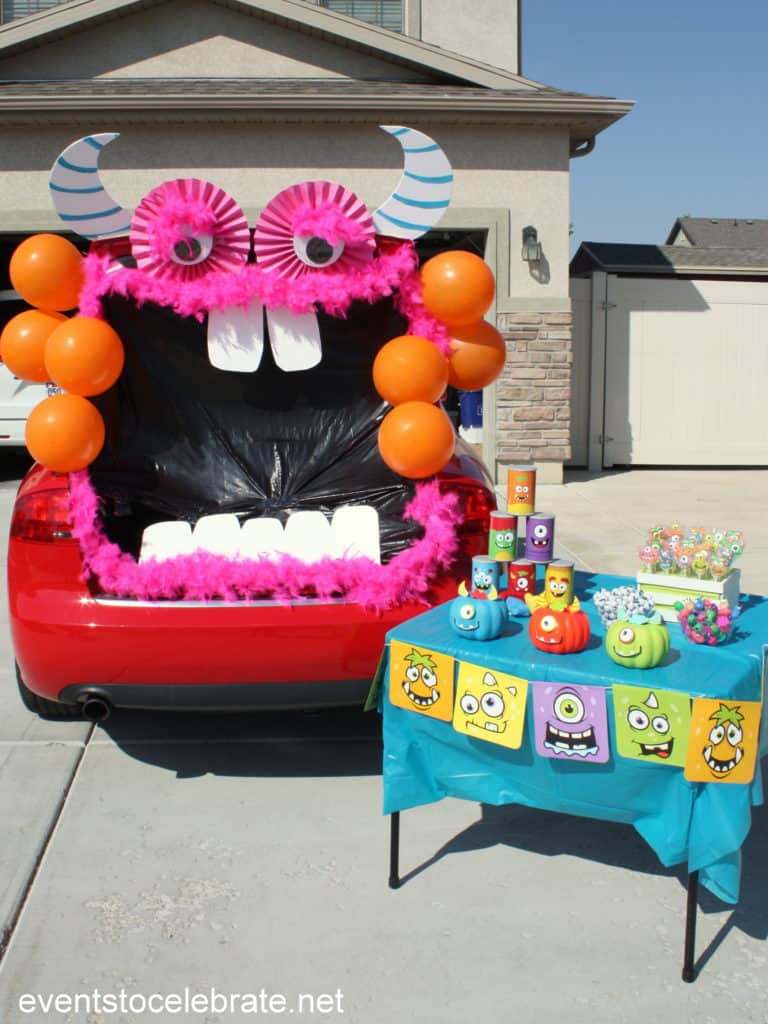
The last detail are the awesome horns. I cut those out of foam board and added blue stripes with craft paint. That’s the trunk. Now, that would be cute and fun, but I wanted to take things a step further by doing a Monster themed table with a game and Monster treats.
Tips for Making this Trunk or Treat Monster
- If you’re able to, prep these items beforehand. Halloween gets busy, and it will be nice if all you have to do is assemble it.
- Use bright colors. This just helps your car design stand out.
- Use painter’s tape or masking tape if you are adhering something to the paint of your car. This will ensure that you don’t rip your car paint off!
- If you have a car with a smaller trunk, you may want to use that car. It just makes attaching the garbage bags easier.
Monster Trunk Or Treat Table
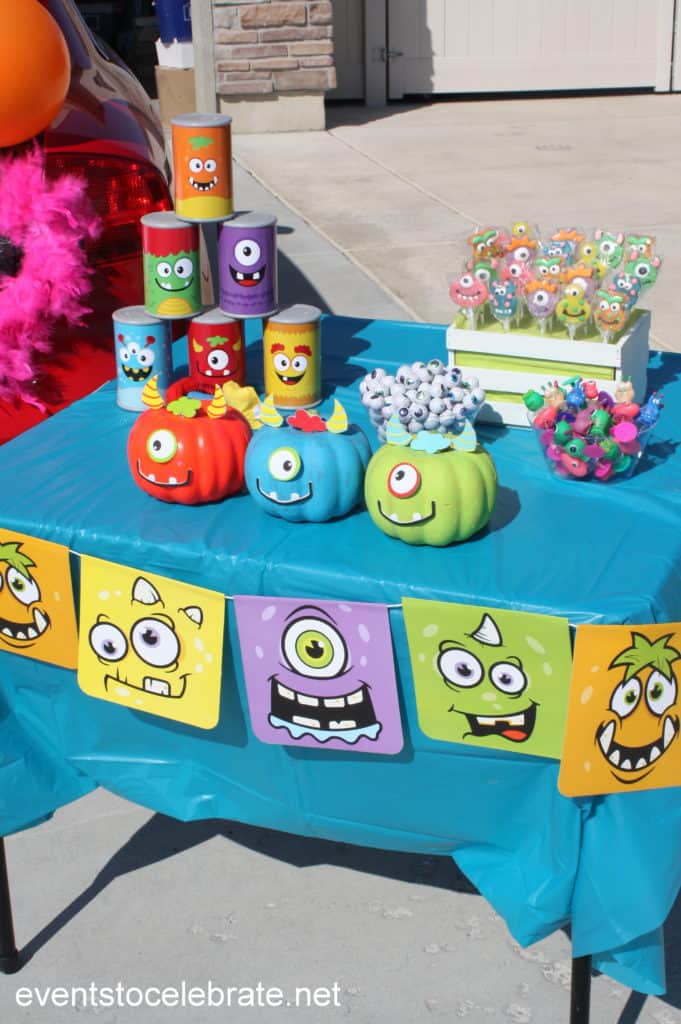
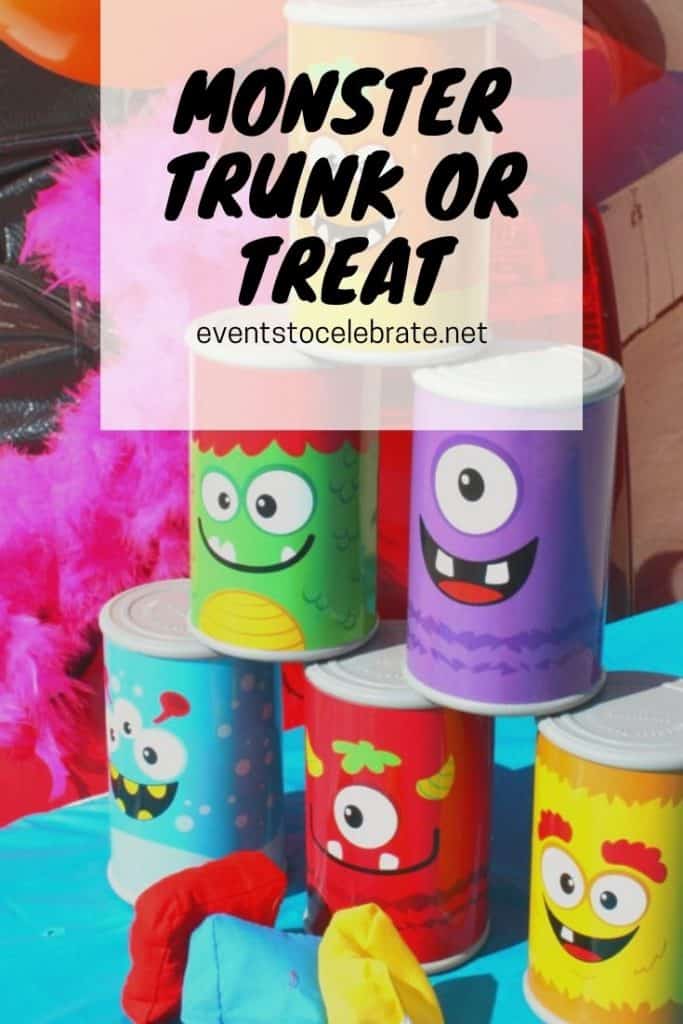
The Oriental Trading line of Mini Monster party supplies was so perfect for this table. I used the mini monster garland, monster head lollipops, monster pop-up toys and monster bean bag toss game from them. I even got the foam mini monster pumpkin decorating kit from them.
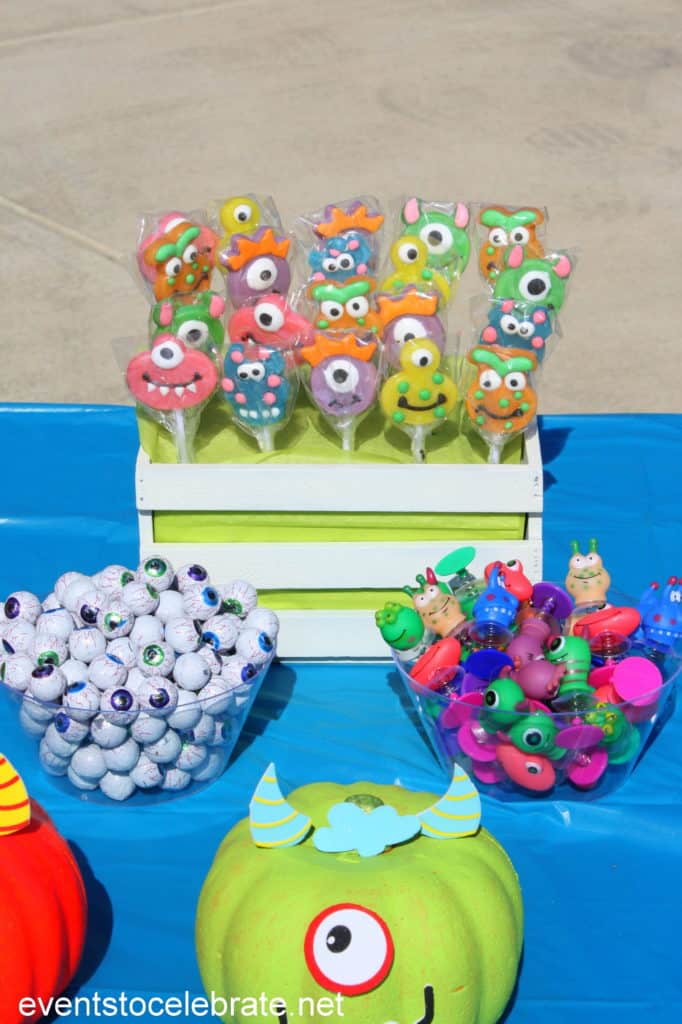
For the treats to hand out kids can select a mini monster pop-up, a monster head lollipop or eyeball candy that I found at Dollar Tree! I think it is so important to have a non-candy option for those cuties with allergies!
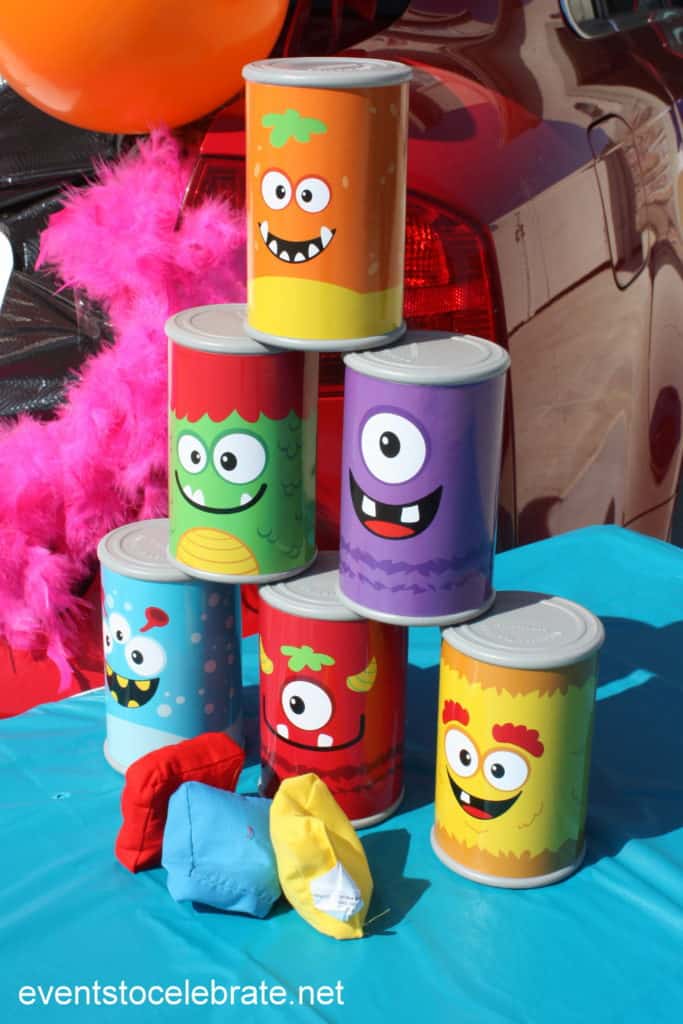
The monster can toss is the perfect thing to distract the kids so you have 10 seconds to say hi to your friends as they come around. Parents need to have fun too!
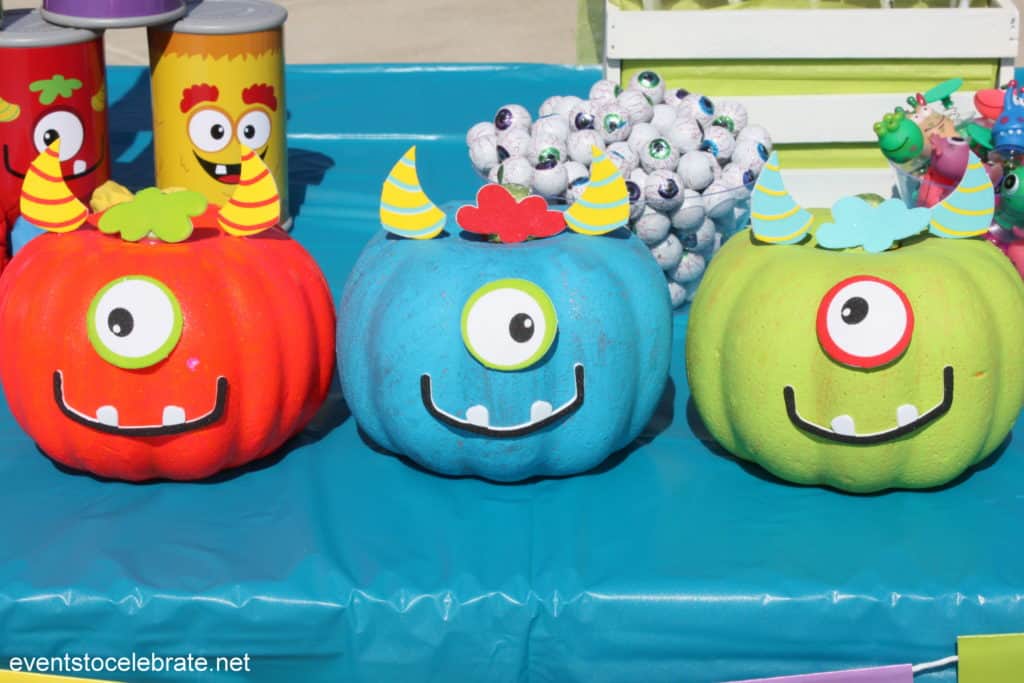
These turned out SO dang cute, I want to display them in my office year round! I took an orange foam pumpkin from Dollar Tree and painted it with craft paint. Then I added the foam monster decorating kit stickers and was all done!
These would make a fun craft for a class party – you could leave the pumpkins unpainted and they’d still be super cute! Make sure you do a teal pumpkin so trick-or-treaters know you have an allergy friendly option to hand out!

READ NEXT –> ULTIMATE TRUNK OR TREAT ROUNDUP