How To Make An Easy Veggie Tray
This post may contain affiliate links, including Amazon Associate links. As an Amazon Associate, I earn from qualifying purchases at no additional cost to you. Please see my Disclosure Policy for more details.

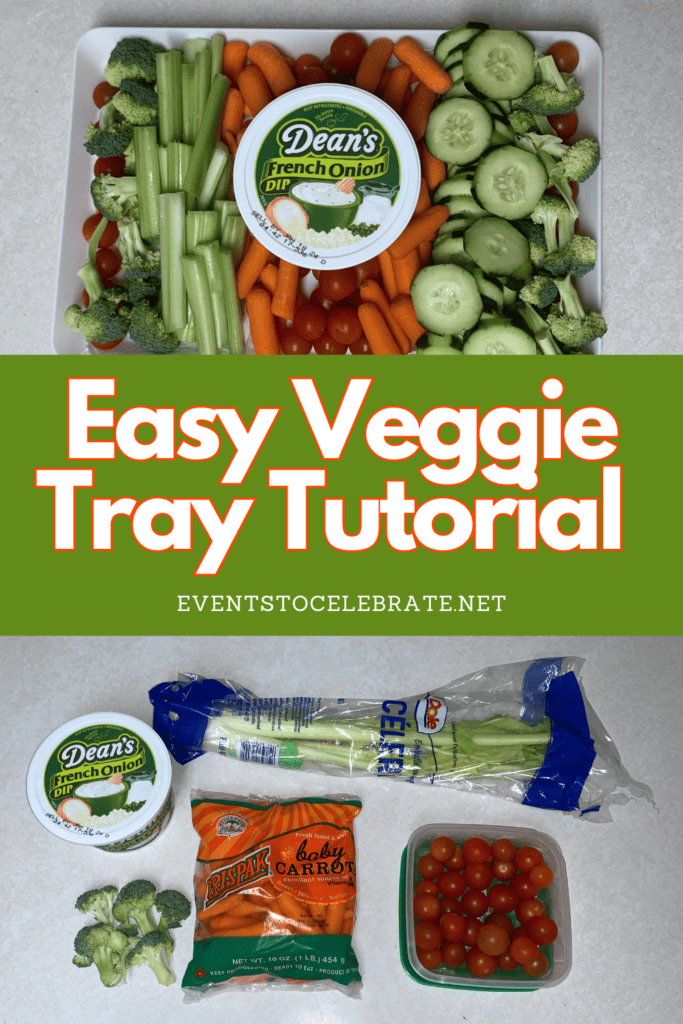
This veggie tray is so easy anyone can make it! Here are simple steps, tips, and even pictures to help you put together a show-stopping vegetable platter.
**Other names for this is a veggie charcuterie board or veggie platter.
Veggie Tray FAQs
What should go on a veggie tray?
- Veggie trays often include an assortment of 4-8 different kinds of vegetables and a dip.
- Some common items include carrots, cucumbers, broccoli, celery, cherry tomatoes, snap peas, cauliflower, bell peppers, and olives.
Food to serve this with?
- Veggie trays are a great appetizer to go alongside other appetizers at a party or be a compliment to meals such as lunch meat sandwiches, pizza, wings, and burgers.
- Some other appetizers you could enjoy this with are a 7-layer dip, cheese platter, or bacon cream cheese dip.
What settings/events are good to bring a veggie tray to?
- Veggie trays can be a great addition to just about any event! They are great for birthday parties, picnics, work events, potluck dinners, healthy afternoon snacks, and so much more!
- And if you’re looking to plan an event, make sure to check out our other content. We have everything from kid birthday party themes to decorations and food!
How far ahead can you cut vegetables for a veggie tray?
- In order to maintain freshness, you want to cut your vegetables no earlier than 1-2 days before you plan to serve them. If you do this, make sure to store them in an airtight container in the fridge. Then can be arranged on the platter a few hours before being served. However, the sooner you can prepare them to when they will be consumed, the better.
What you will need:
Don’t worry, there are no fancy kitchen gadgets or appliances needed to make a veggie tray. You should have all of these things lying around your kitchen or be able to easily acquire them.
- Sharp cutting knife
- Cutting Board
- Food Tray
- Strainer/ Salad Spinner
- Paper Towels
- Your choice of veggies!

Tips for assembling a veggie tray
- Place paper towels down before adding veggies to the tray – While this step isn’t necessary, it can make clean-up very simple. Plus, sometimes the veggies have additional moisture, and the paper towels can keep them from getting soggy.
- Use a tray or board that has a curved edge – This can help prevent spilling and keep your beautifully assorted vegetables in their place.
- Have a variety – You want to have a mix of different sizes, textures, and colors. Doing so will make the tray more visually appealing, but also more appetizing. Get something for everyone!
- For cucumbers, lightly sprinkle with salt – Cucumbers have a high water content. Because of this, they can end up with extra moisture that you don’t want. To avoid this, slice your cucumber and then add a touch of salt to each slice. Let them sit for a minute or 2 and then press them with a paper towel to collect the water.
- Make all the veggies finger-food size – Snacking is much easier when the foods are in individual, bite-sized portions.
How to make your own veggie tray:
In a few easy steps, you can have your very own, fresh vegetable tray to serve and share.

- Purchase/Collect fresh produce – The fresher your items the better! We have a community garden that has been bursting with produce, so we were lucky to grab a few of these items from there. However, items from your local supermarket will work just as well.
- Rinse and dry the produce – It’s a good rule of thumb to wash any of your produce before eating it. This can clean off any bugs, dirt, or germs. If you want a more thorough cleaning, try this method. Once you have cleaned your veggies, pat them dry with a paper towel or clean rag.
- Cut the veggie into small pieces – You may not need to cut all your items. But for things like cucumber or celery, it is helpful to break them down into more manageable pieces.
- Place a paper towel onto the tray – This will absorb extra moisture.
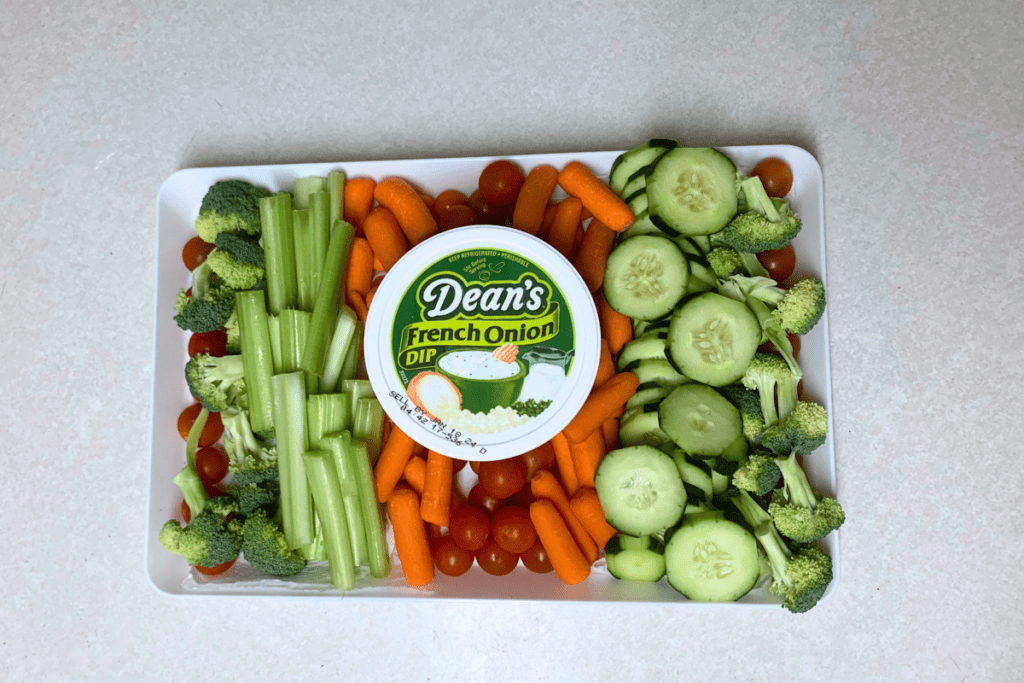
- Assemble food on the tray to your liking – Since I had a veggie dip, I placed that in the center of the tray and then added all of my cut vegetables around it.
- Refrigerate until you are ready to serve! – In order to keep your veggies fresh, place your completed veggie tray in the fridge until you are ready to bring it out. As a result, the vegetables will be crisp and delicious when eaten!
If you make your own veggie charcuterie board or veggie tray, share a picture in the comments!
Don’t Go Just Yet
Here at Events to Celebrate, my whole goal is to help real people plan for their kids’ birthday parties, life events, and holidays! Life is crazy. I GET IT. You don’t have endless time OR money to spend on parties, but you still want to help your guests have a great time. I’m here to help give you tips, tricks, and ideas for celebrating life on a budget.
As a mom, you want to do it all. You want to make your family happy and create special memories. My brand is all about creating special moments with those you love. The kind of moments that you will look back on years later and wish you could relive! So, if that’s something you’re interested in, stick around! I have an email list you can sign up for, so you don’t miss my future party ideas!