
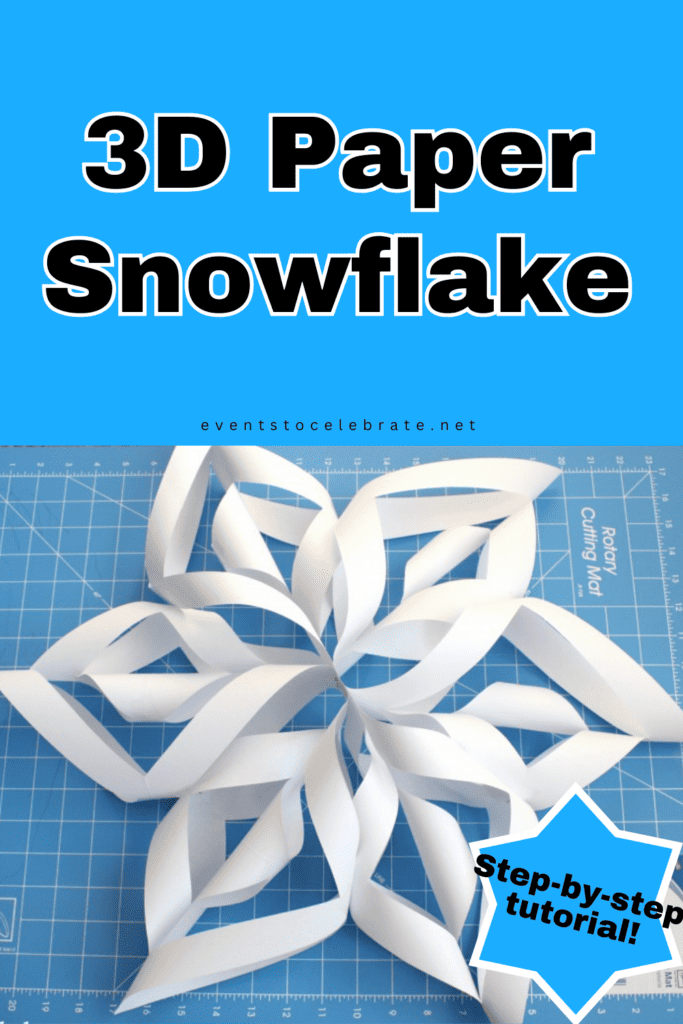
How to make a 3D Paper Snowflake (Easy Tutorial!)
This post may contain affiliate links, including Amazon Associate links. As an Amazon Associate, I earn from qualifying purchases at no additional cost to you. Please see my Disclosure Policy for more details.

If you’re looking for an easy-to-master holiday craft, you’ve come to the right place!
In this tutorial for making a 3D paper snowflake, I have laid out the materials needed, step-by-step instructions, and even included pictures to help you follow along!
What I love about this craft is that it’s the perfect project for kids, an easy party decoration, or even a fun class activity! If the kiddos can do it, you can too. 😉 So follow along with me as we take ordinary paper and use it to turn your space into a winter wonderland!
3D Snowflake Frequently Asked Questions
What is a 3D snowflake?
- A 3D snowflake is a snowflake that isn’t flat. The term “3D” is a shortened term for the phrase “3 Dimensional”. This means that rather than being flat, or 2D, an object has length, width, AND height.
What paper is best for making snowflakes?
- Printer paper or construction paper is the best for making snowflakes. When choosing which paper to use, you can select all kinds of colors or sizes.
- The one mistake you don’t want to make is using thick, inflexible paper. Since you do a lot of folding and cutting when making paper snowflakes, it is best to avoid materials such as cardstock.
Can I use glue instead of tape?
- Yes, however, glue doesn’t always hold as well. My suggestion is to use tape if possible.
- Of course, you can use glue if that’s all you have. Just keep in mind that your materials may need a minute or two to dry, and that the glue may need to be reapplied.
- Especially if you want to hang the snowflakes you make, it is worth it to secure your snowflakes with tape. You don’t want all you hard work going to waste and them immediately falling apart!
How do you hang 3D snowflakes?
- An easy way to hang snowflakes is with string or clear fishing wire. These are cheap, easy to use, and don’t draw attention away from the snowflake. Hanging your 3D paper snowflakes this way can give the illusion of snow falling from the sky.
- Another option is to staple your individual snowflakes together to make a garland. Once the garland is made, use tape or string to hang it.
Snowflake Materials
This craft requires only a few items to complete. And the good news is, you likely already have them all in your home!
For your snowflake making, you will need:
- 6 sheets of paper, cut into identical size squares
- Stapler
- Clear Tape
- Scissors/Paper Trimmer
- Measuring tool
- Optional: Glitter Spray Paint
3D Paper Snowflake Tutorial
Step 1: Cut the Paper
You can use any size of paper for this project, but you will need each sheet cut into a square piece of paper. The square shape is essential for making this snowflake design!
For this tutorial, I’ll be cutting 6 sheets of regular printer/copy paper into 8 1/2″ squares.
This creates a pretty large snowflake. If you want yours to be smaller, simply use smaller size squares of paper.

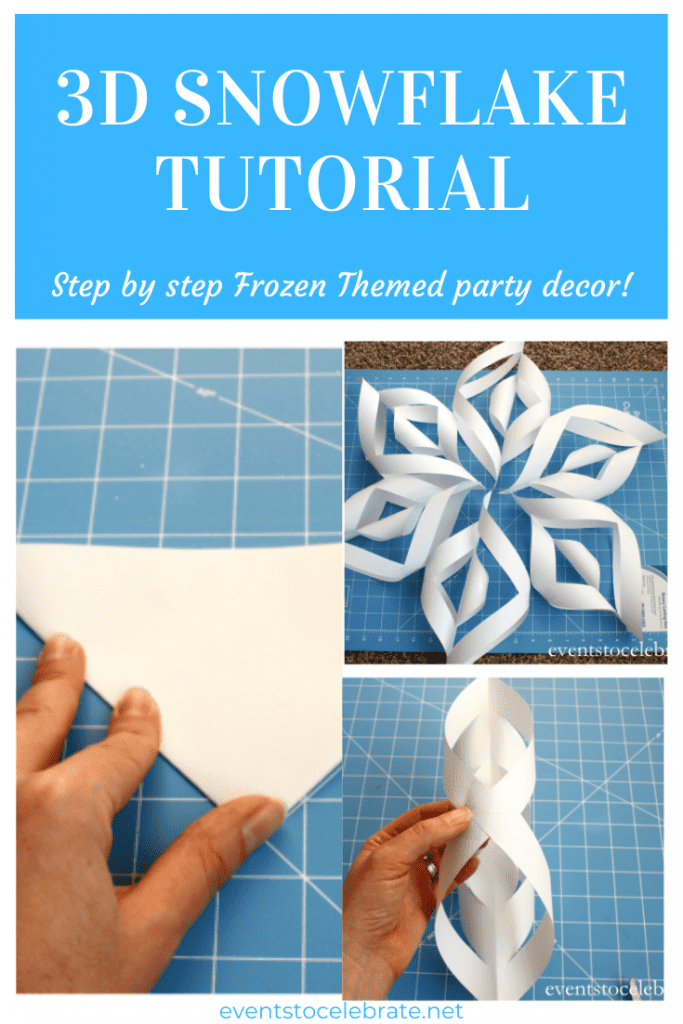
Step 2: Fold Each Piece
Fold each square diagonally from bottom right corner to top left corner to create a triangle. Fold corners again to make a smaller triangle. Repeat with each of the 5 remaining pieces.

Step 3: Cut Each Piece
Use scissors to cut from the side with the double folds toward the single fold of the triangle. Be sure to end your cut about 1/4″ from the edge. Repeat with each of the 5 remaining pieces.

Step 4: Unfold and Tape Alternating Directions
Unfold the triangle and rotate so the uncut center line is vertical. Take the innermost cuts and bring them to the center – making a roll. Secure with a small piece of tape. Turn the paper over and roll the next paper cuts to the center in the opposite direction from the first ones and secure with a piece of tape. Last, turn the paper over again and take the remaining pieces and bring them to the center and secure with a small piece of tape. Repeat with each of the 5 remaining pieces.

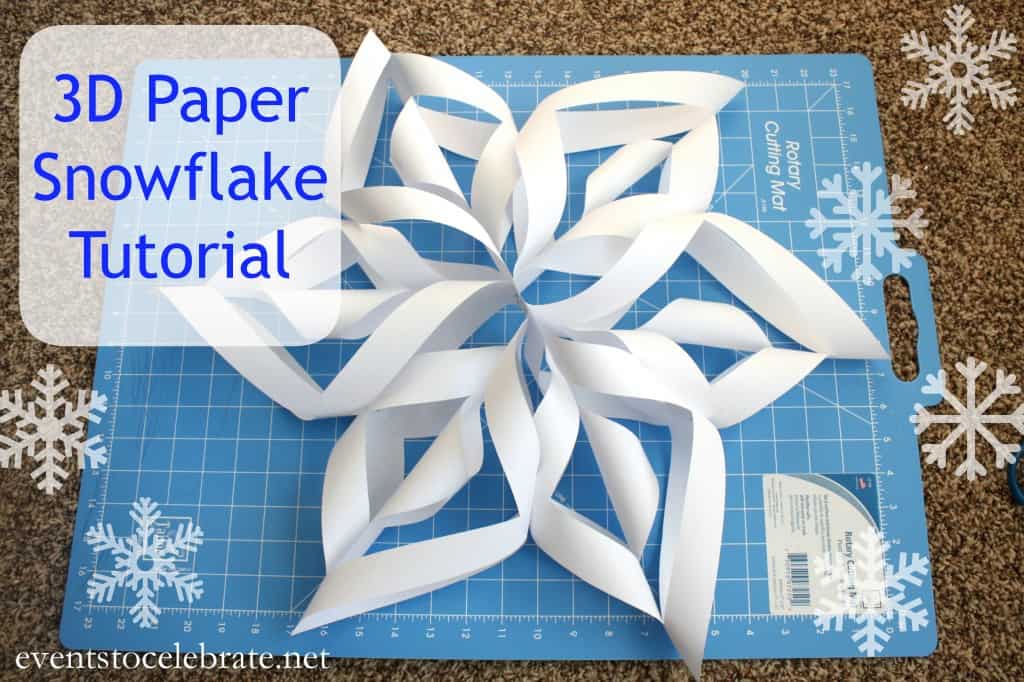
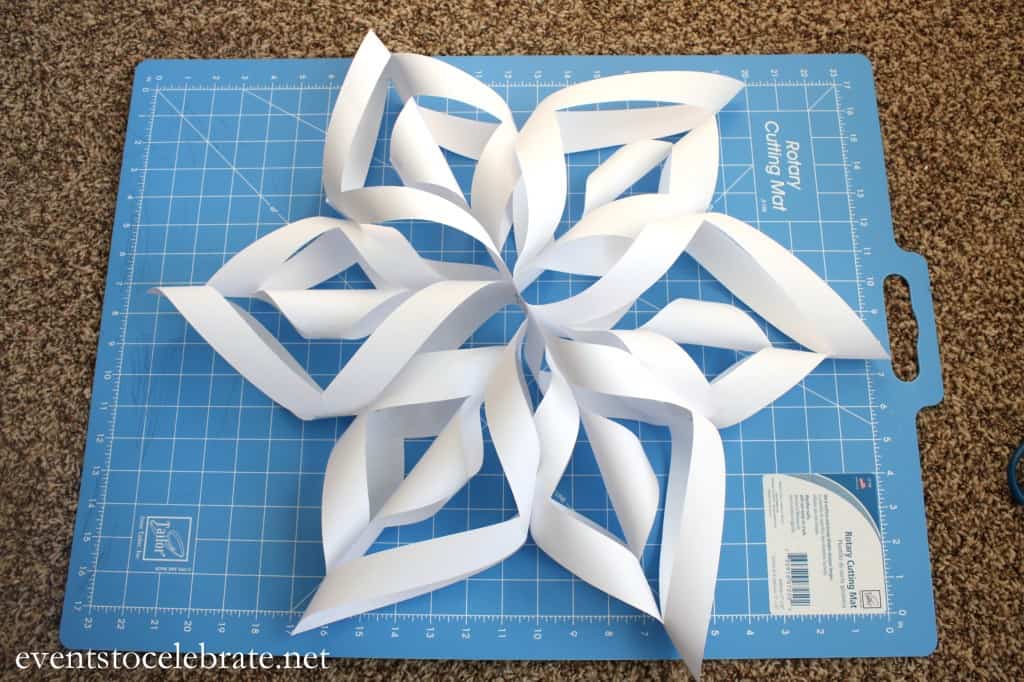
Step 5: Arrange and Staple
Lay your six pieces out into a snowflake pattern. Pinch three of the centers together and secure with a staple. Pinch the remaining three centers together and secure with a staple. Then take the two halves and staple them together. Last, add a staple to the connection point in between each section.

Optional Step: Spray them with Glitter
While I don’t love working with glitter (IT GETS EVERYWHERE!), this step was a must at our house. Why? Well, let me tell ya!
With the popularity of the Disney movie Frozen, my daughter asked me for a Frozen birthday party. Her party theme is what led me to create this 3D Paper Snowflake tutorial in the first place. I mean, c’mon. Making 3D paper snowflakes would make the perfect activity for young kids at a Frozen party. (Need ideas for a Frozen bday party? See mine here and here!!)
Not only that but they are really cheap decorations too! With just a few pieces of paper and some tape, I turned our house into a Frozen wonderland!
So yes, the glitter was much needed on our end, but it was SO worth it. The glitter just gave the snowflakes that sparkly, magical look that you get when the light hits fresh snow. So fun!
Dear Tia,
I tried making 3-D Paper Snowflake Tutorial, But It was too hard and confusing… Can you please E-mail me back with some tips for the snowflake? I would be very thankful.
From,
Lina
Lina – Here is a video tutorial that might be better. It goes through very slowly each step. They do it a little different than I do, but the end result is very similar. Good luck!
Tia
http://www.youtube.com/watch?v=5tmhFQpruyE