Easy DIY Butterfly Craft for Kids (Preschool and up!)
This post may contain affiliate links, including Amazon Associate links. As an Amazon Associate, I earn from qualifying purchases at no additional cost to you. Please see my Disclosure Policy for more details.

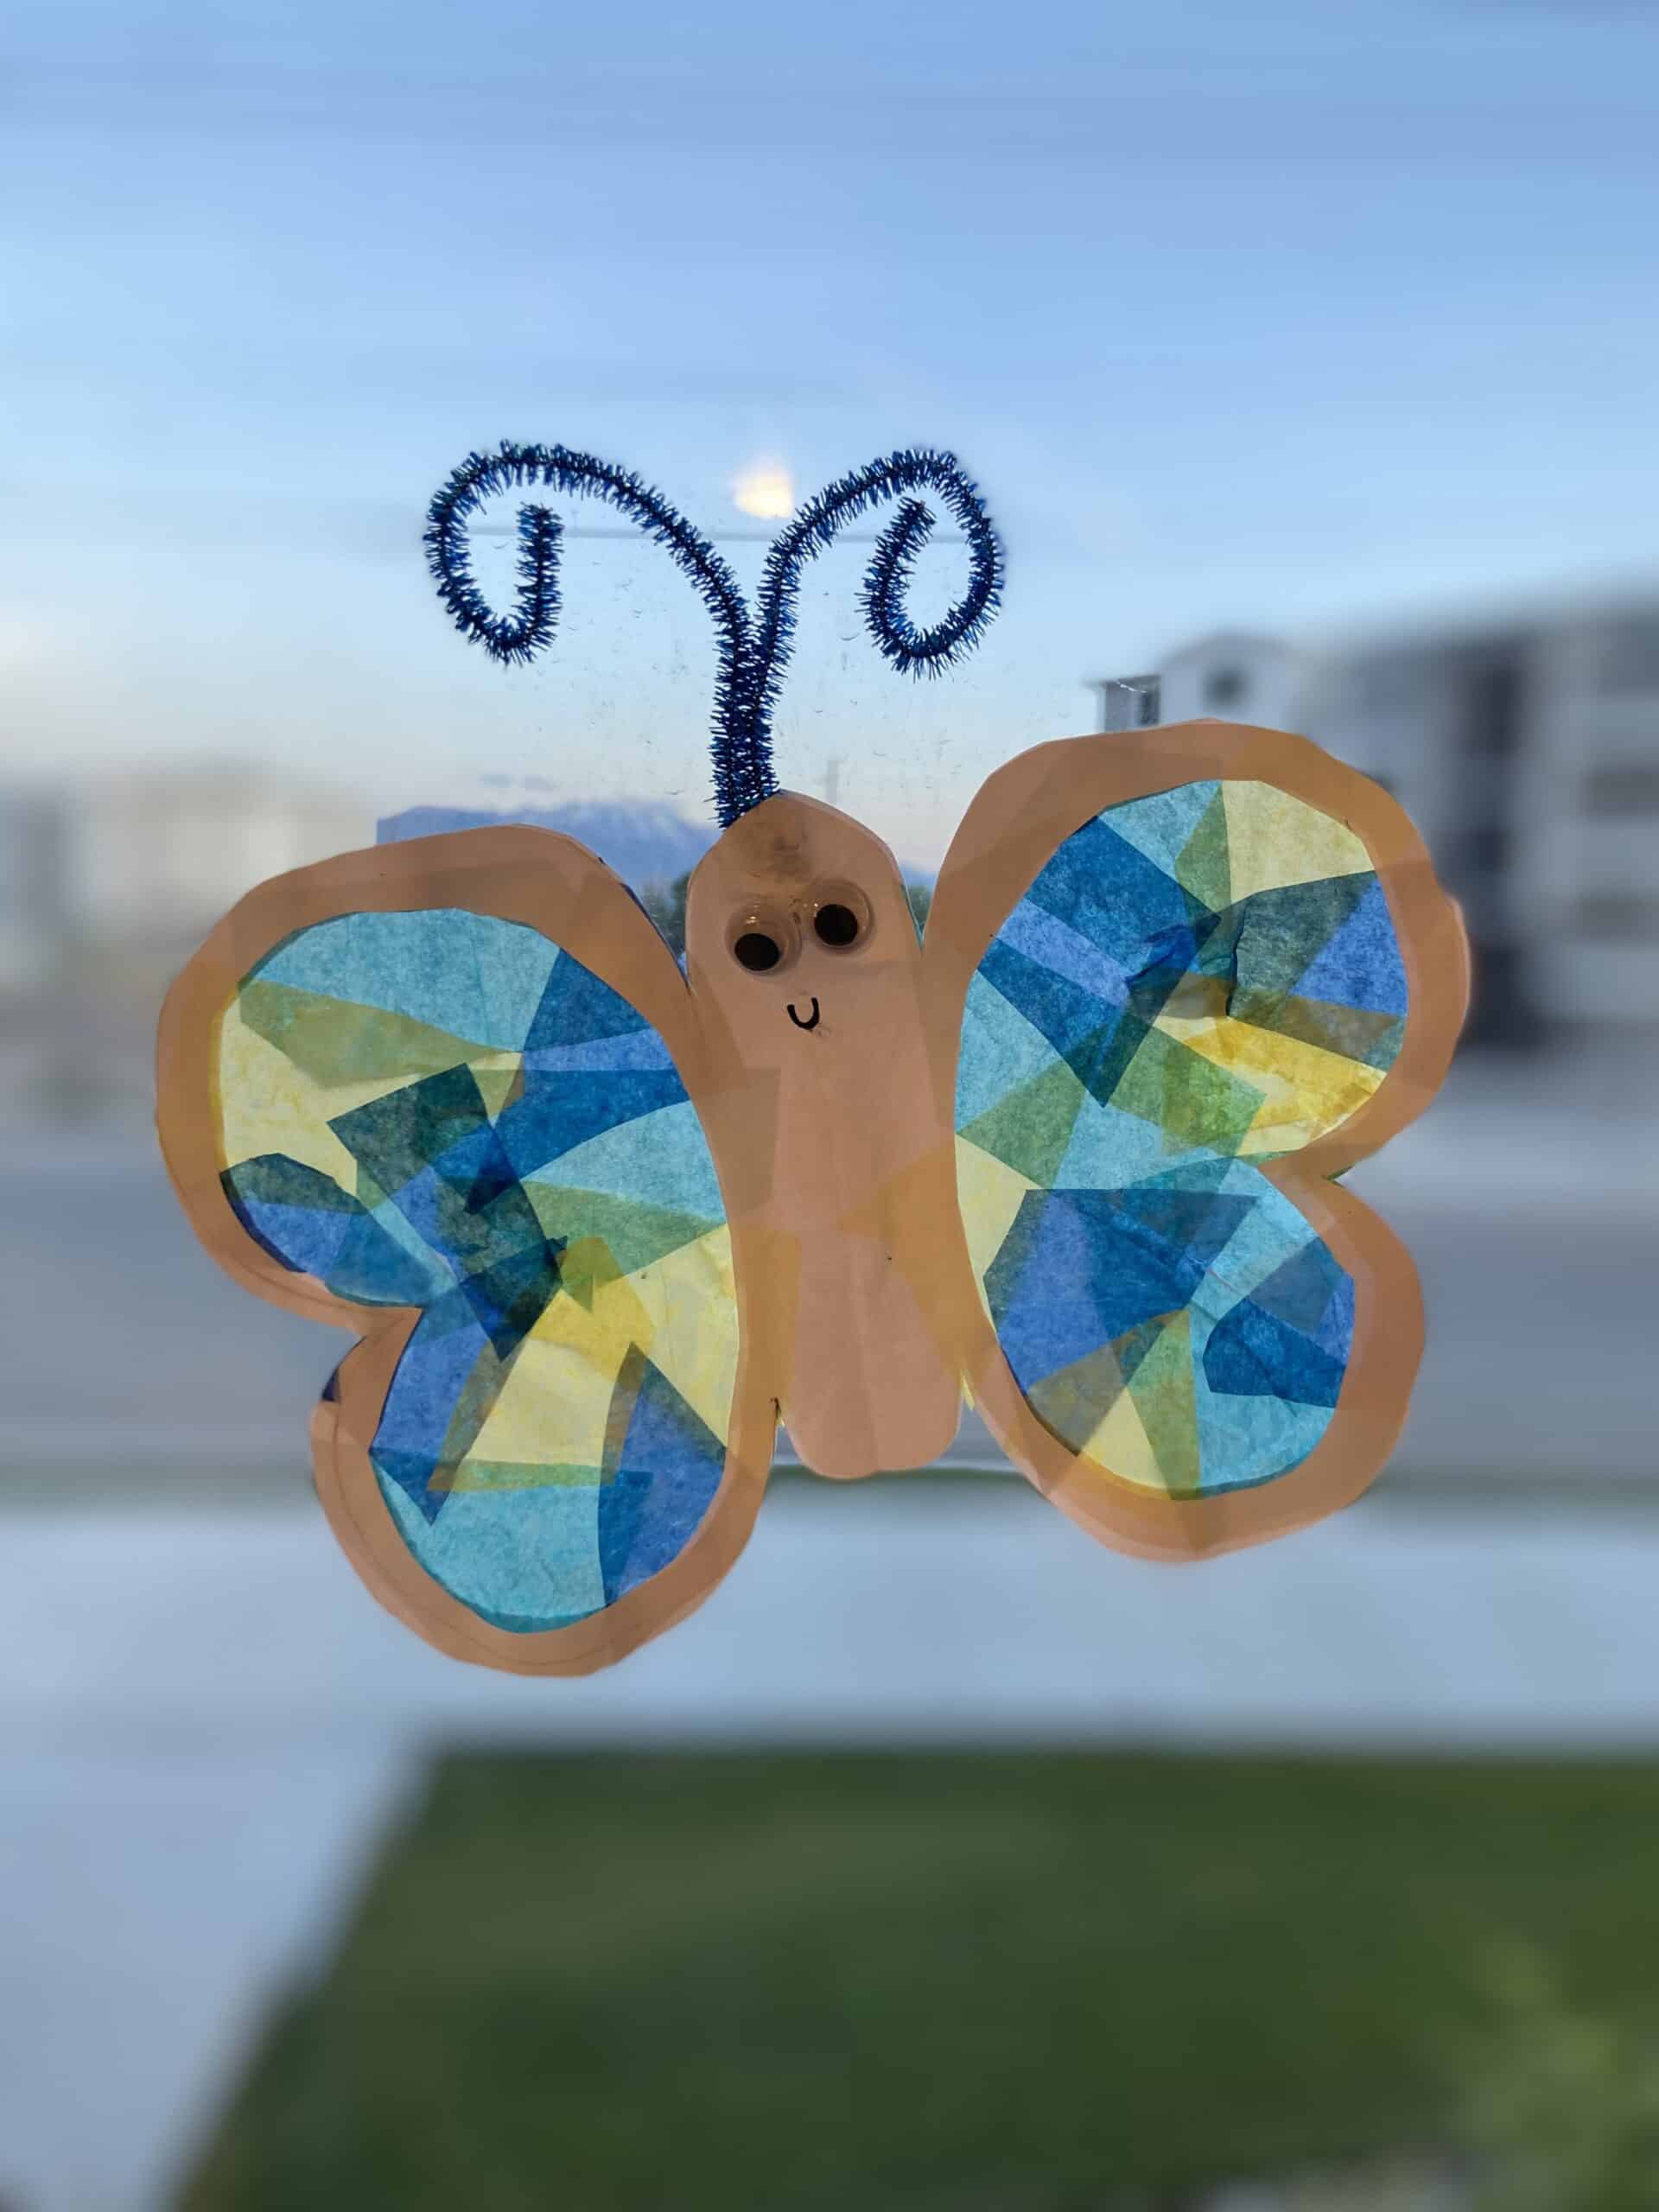
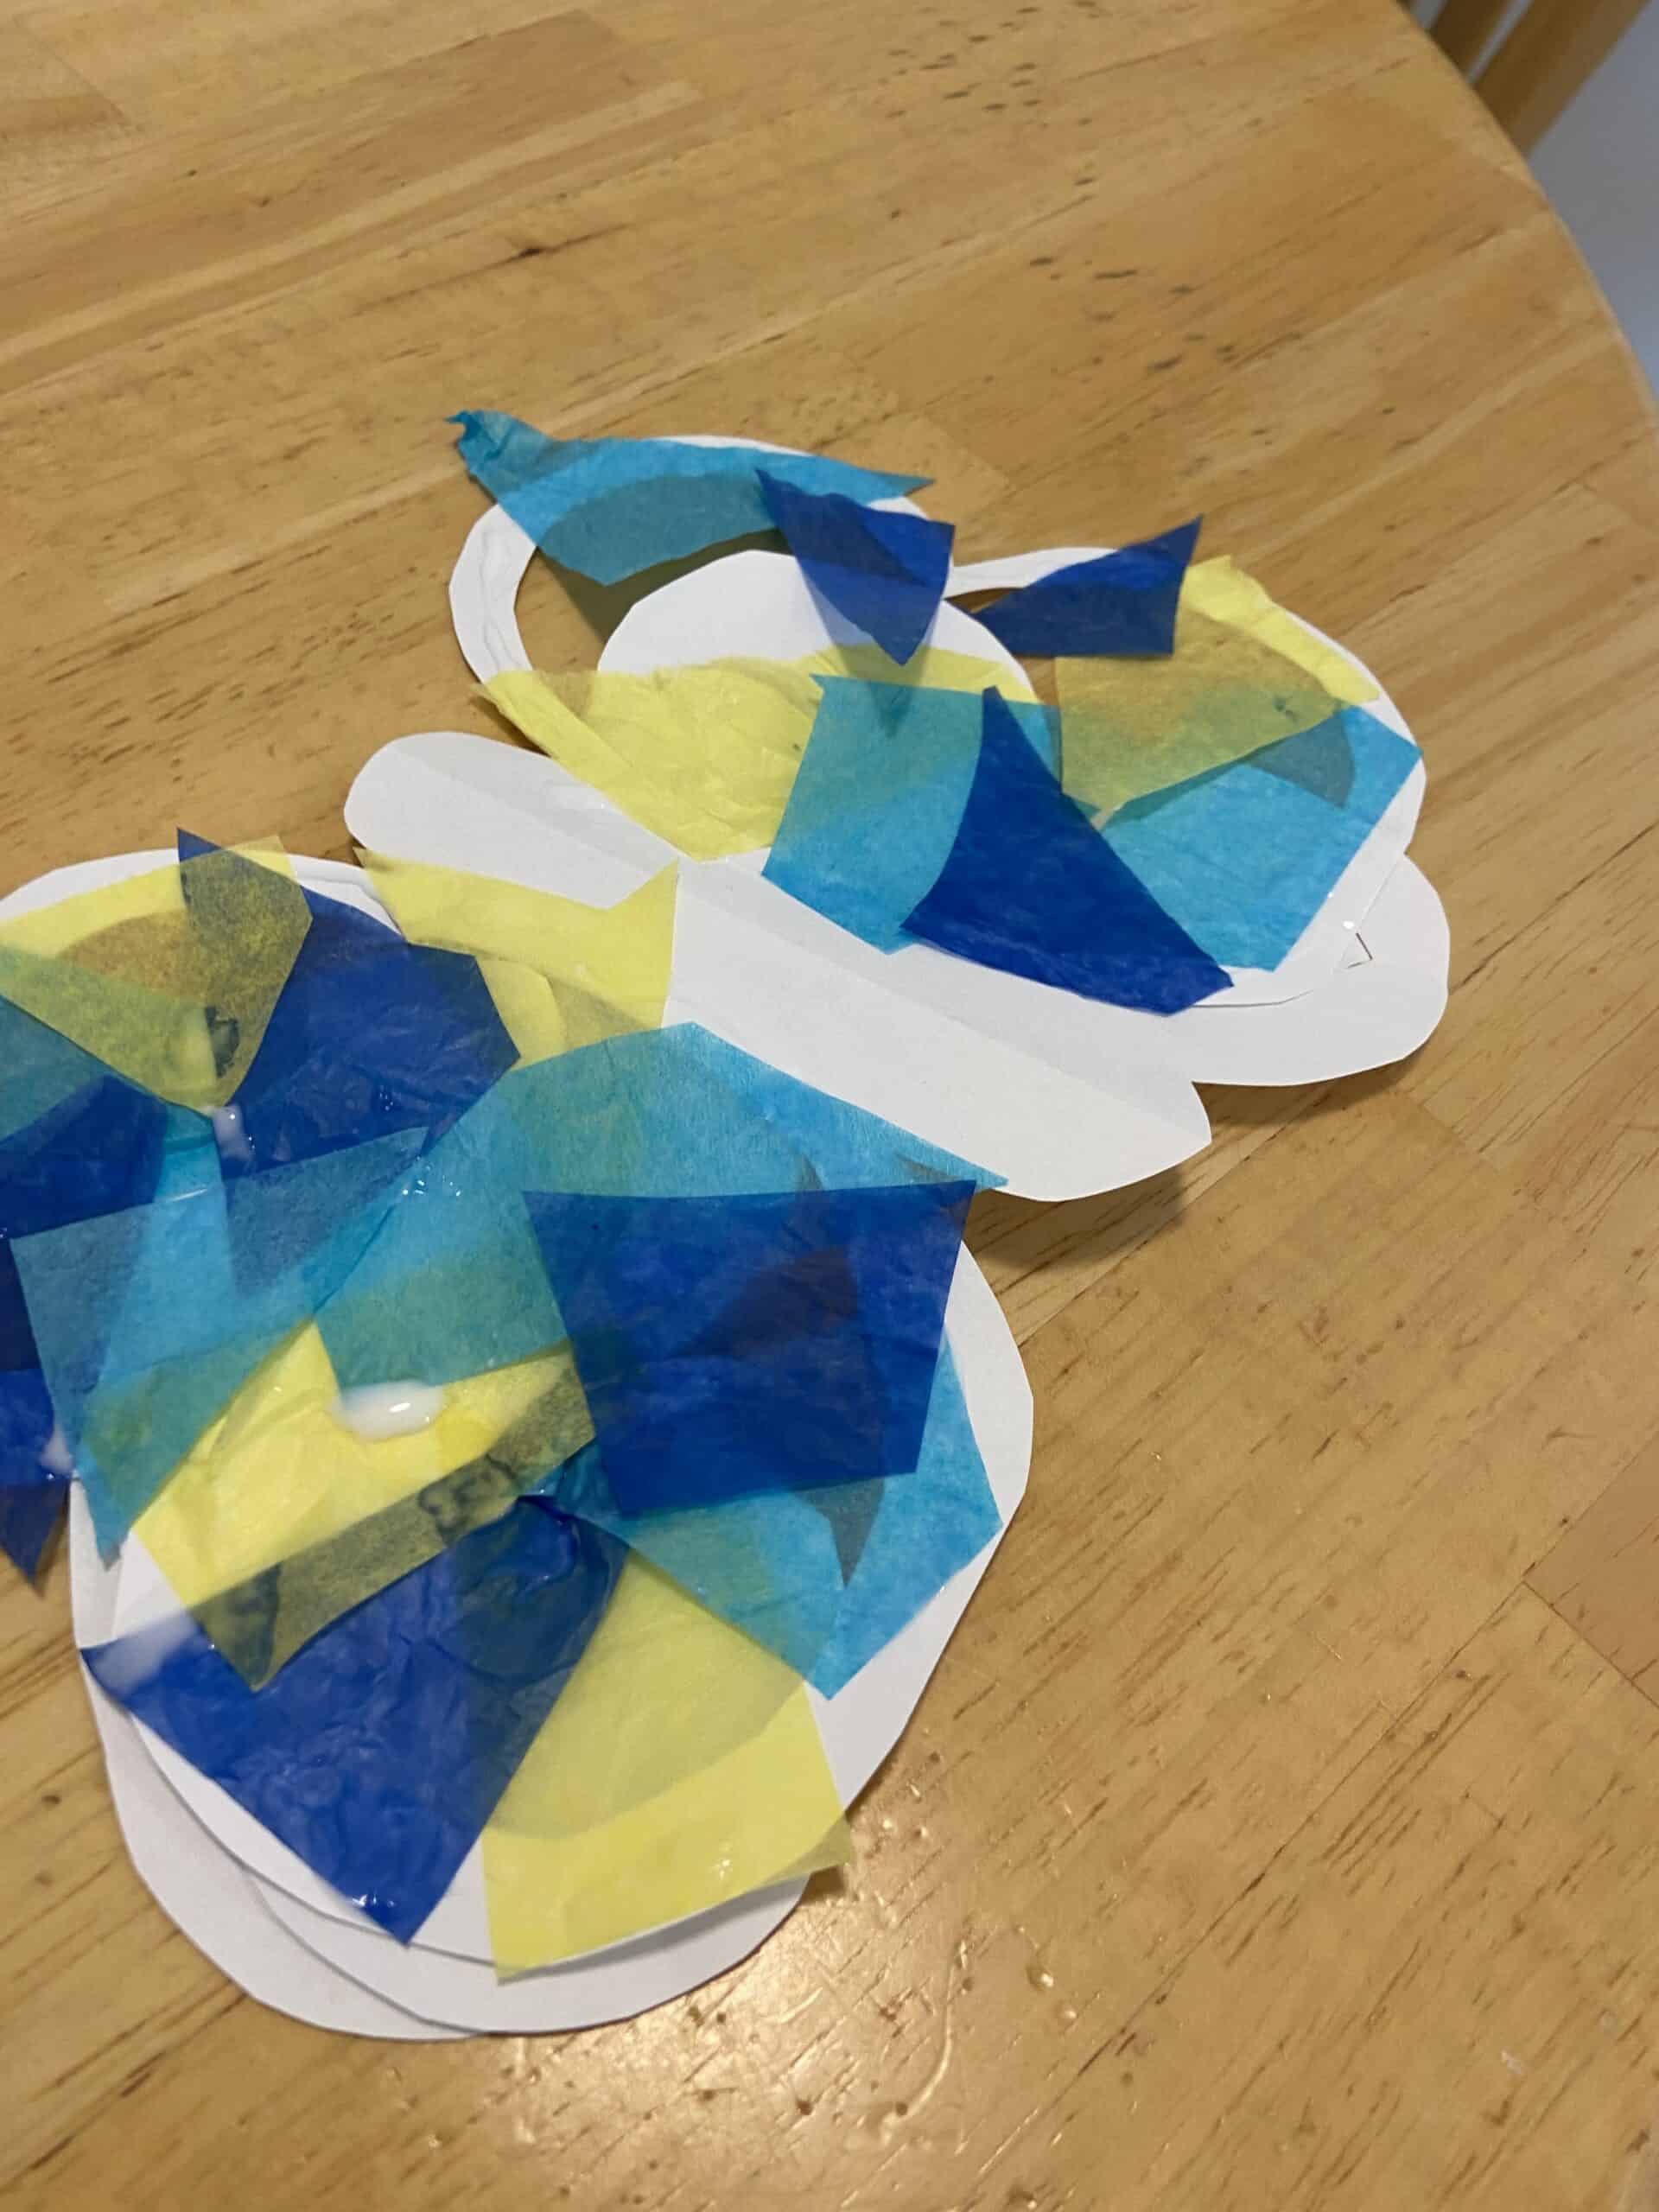
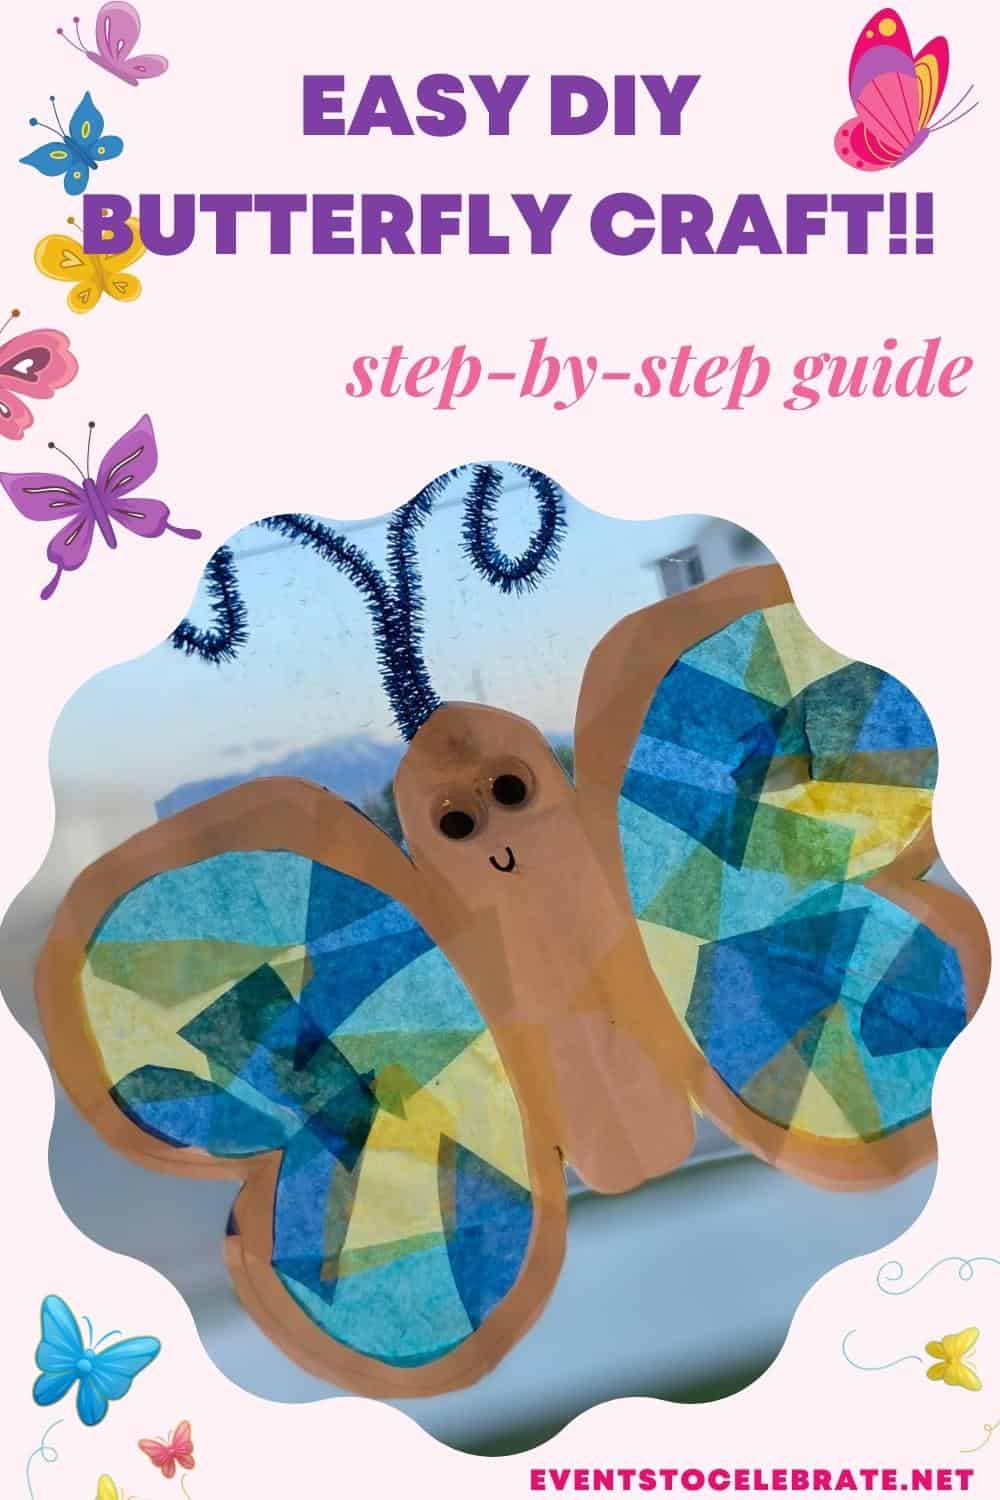
This easy kids butterfly craft only needs a few supplies. Kids from preschool and older will love to make it with tissue paper, cardstock, googly eyes, and pipecleaners.
School is out and it is time for some fun summer activities. This cute little window butterfly is the perfect day activity for all ages.
What ages can make this tissue paper butterfly
The best part about this fun summer activity is that you can involve everyone! Even my two year old loved to help glue on the different pieces of tissue paper. Preschool kids through kids in elementary school would all love making their own butterfly. (Ages 2-12)
Second, there are plenty more shapes to do. Allow your children to use their imaginations and creativity to create something that makes them happy.
Listed are the majority of supplies you will need. If you are doing something other than a butterfly you may need to include a few other things or even take away a few of the item needed.
Supplies Needed for Butterfly craft:
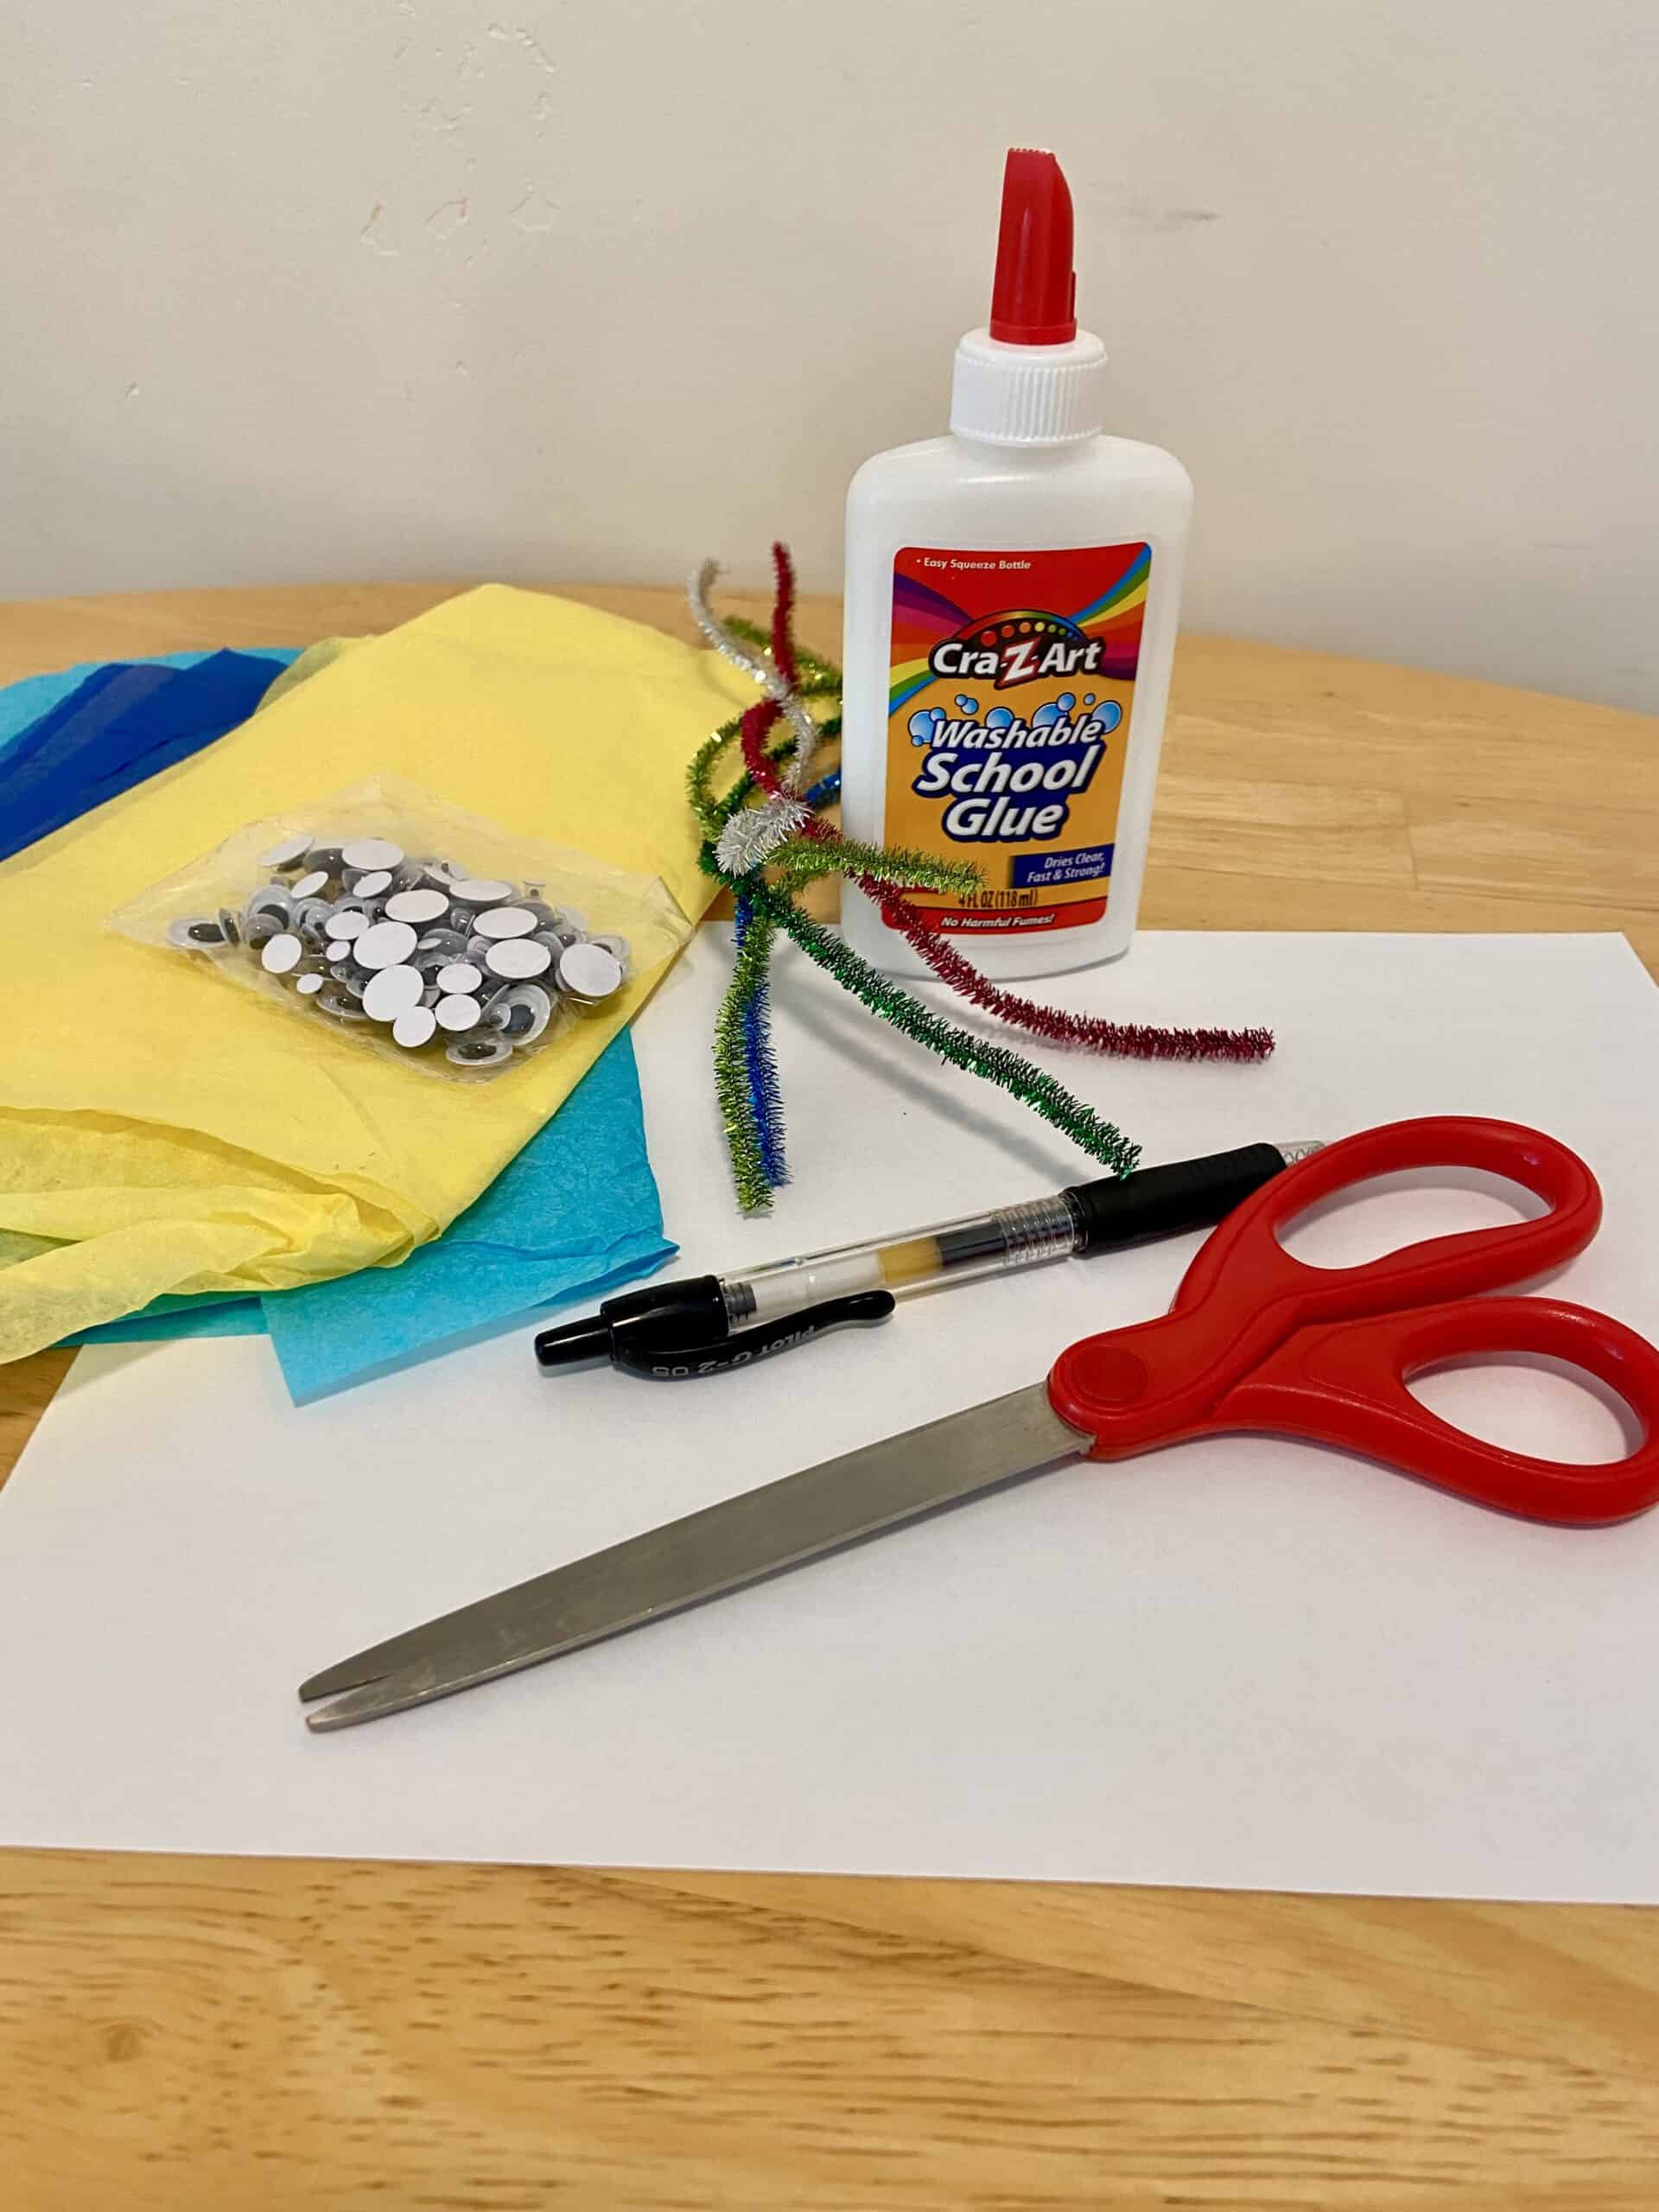
- Glue– I just used normal kids glue, due to the fact I was having my son help me. However, you can use hot glue as well.
- Tissue Paper– This is where you can allow the kids to really get creative, provide a variety of colors. Walmart has a few big variety packs for less then $10
- Cardstock– I prefer cardstock over regular paper because it is a bit thicker and more durable, however you can just use regular paper. Provide a variety of paper to chose from or take the kids shopping to find their own
- Pipe Wire– This is used for the ears, you can also use something like q-tips or a rolled up piece of paper.
- Googly Eyes– If you do any kind of animal the googly eyes are a must! They make the whole thing come to life. The best thing about googly eyes is they usually come in a big pack so save them for another craft as well!
- Scissors– I did all the cutting for our butterfly that we did, but if your child is a bit more coordniated and a little bit older have them do all the cutting. Not only does this help take up some time, but helps them gain more coordination.
- Pen or Marker– I just used a black pen to draw on a nose and smile but do it however you’d like to do it. It is your creation!
Steps for making the paper butterfly
- First, trace out a shape on the cardstock. You will need two of the same shape. This can be done in a few different ways.
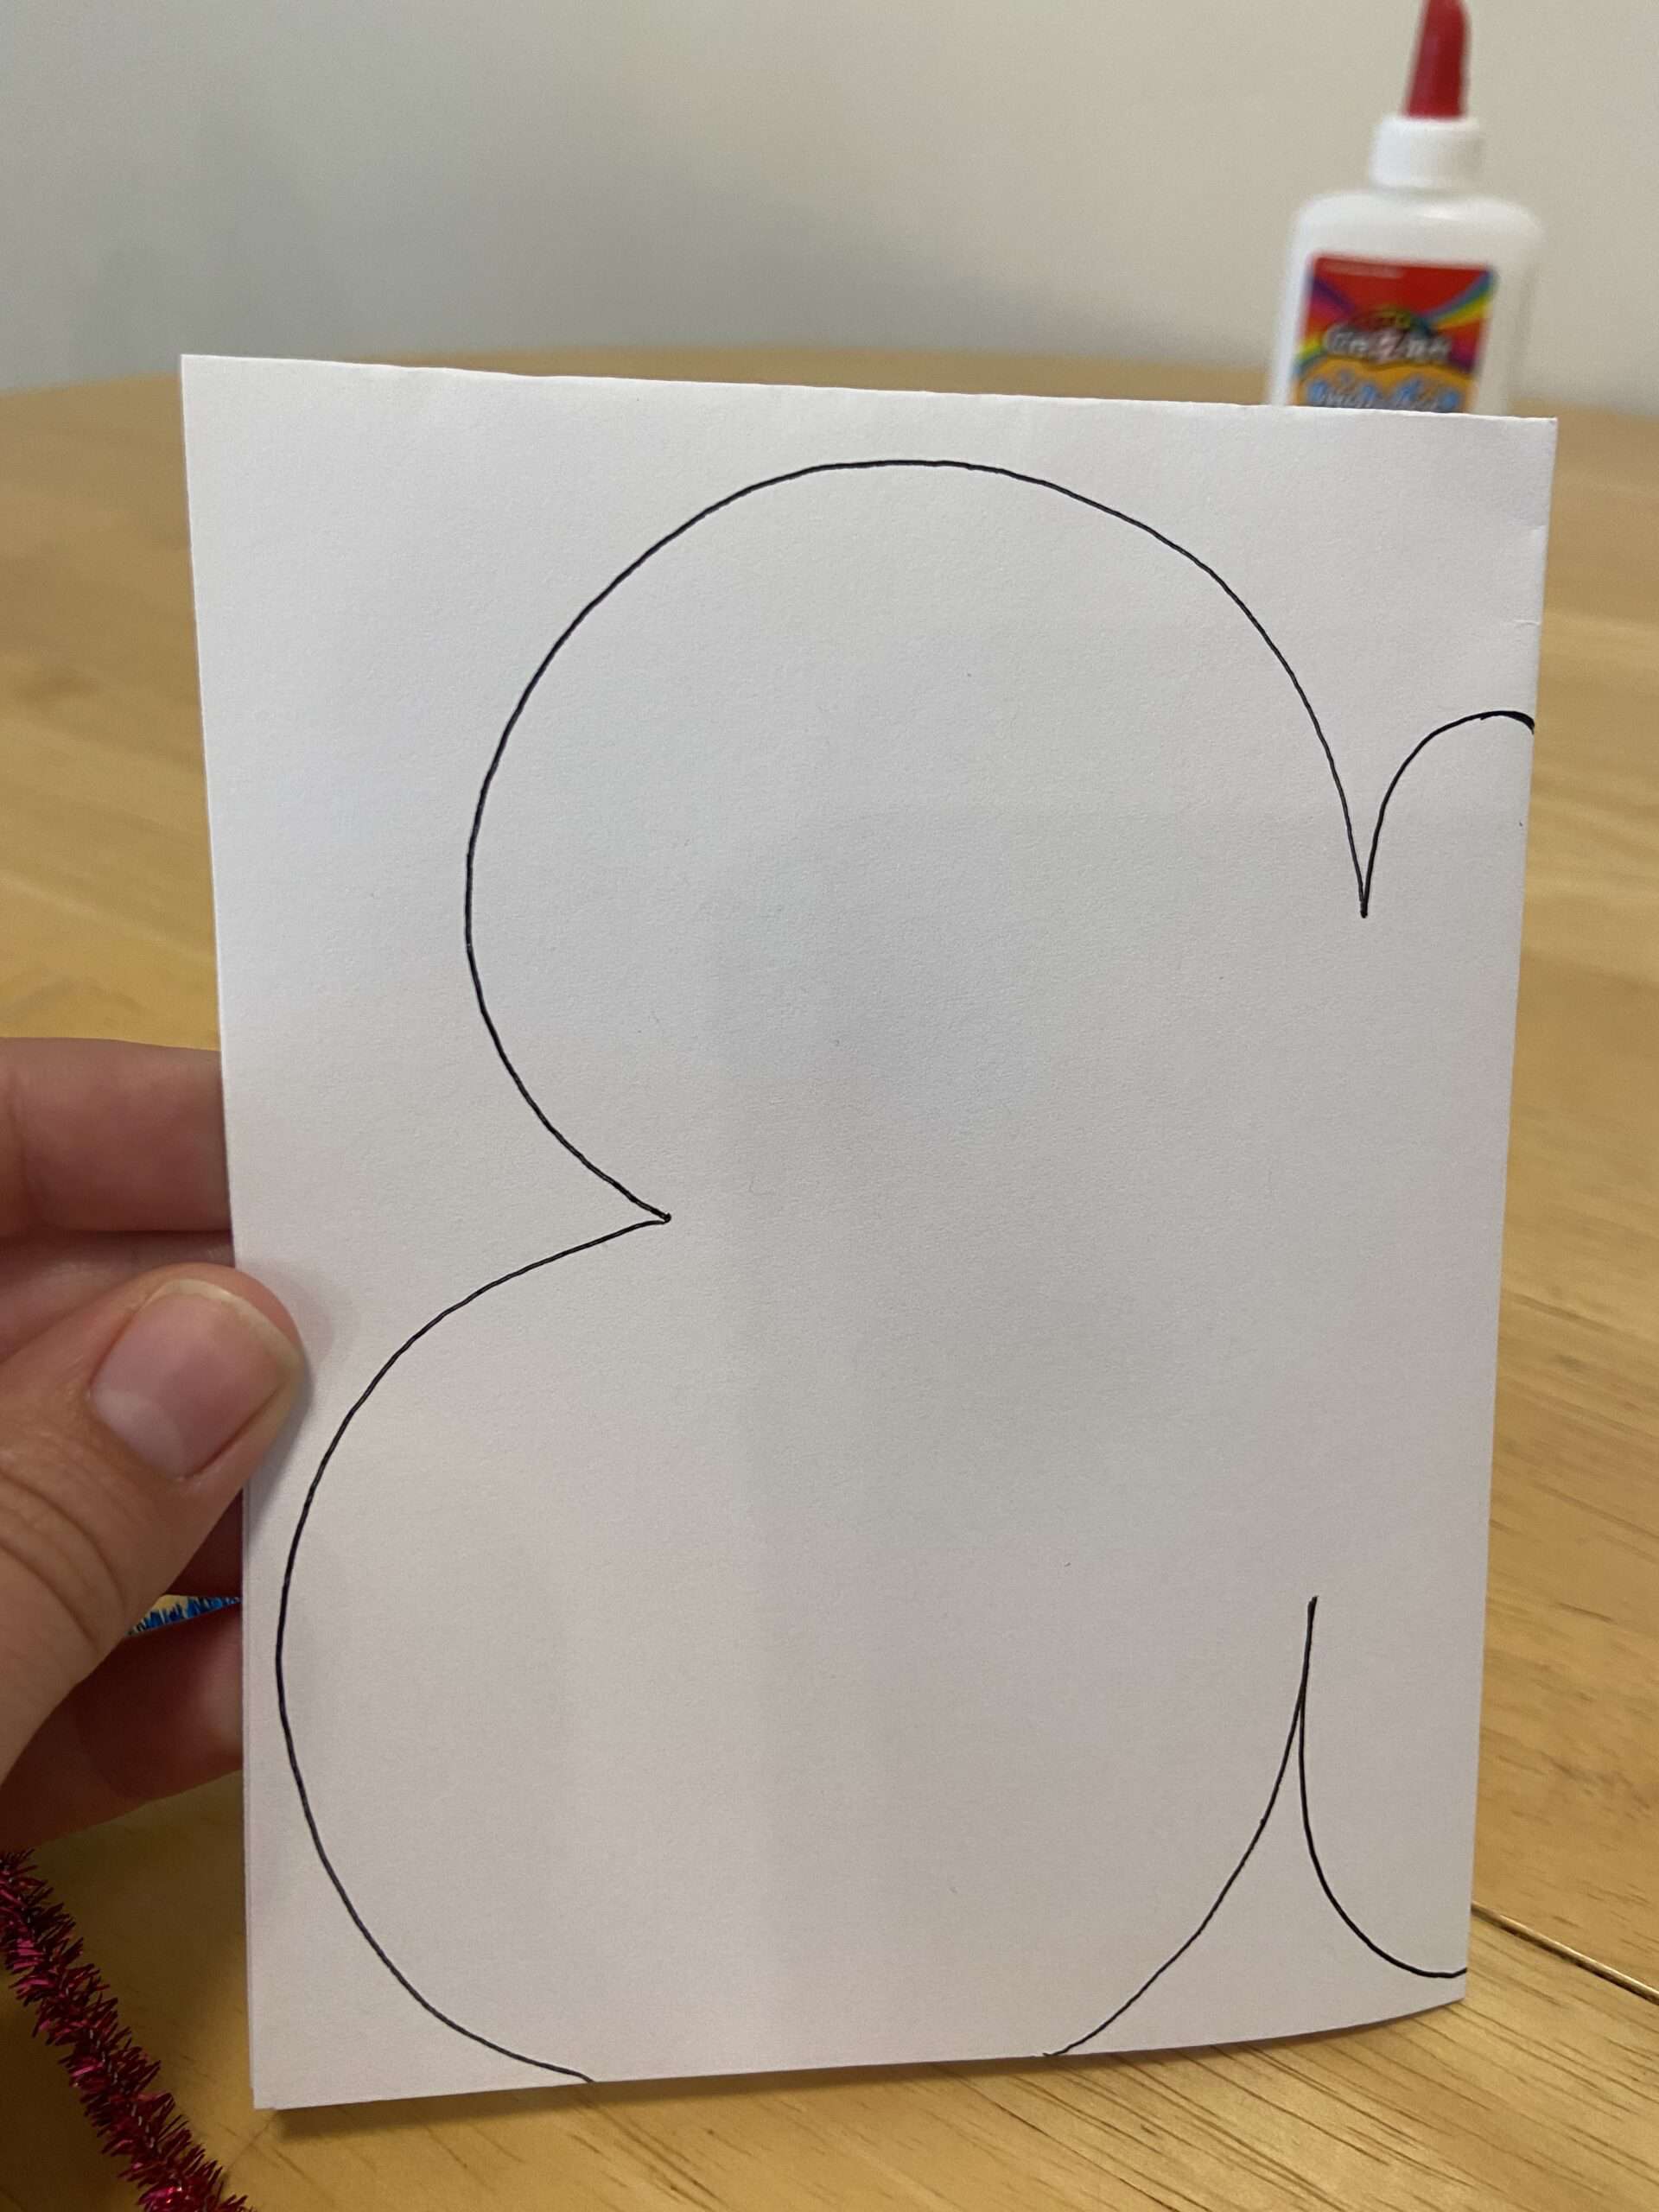
One way is to place two full size sheets of paper on top of each other and cut them out together. The other way is to fold the sheet of paper in half and to cut the shape out of that. It really depends on how big you are wanting the design to be.
Some fun shapes to cut out include, but are not limited to a butterfly, flower, rainbow, and kite. Leave about 1 inch around the edge of the design or in this case, the butterfly.
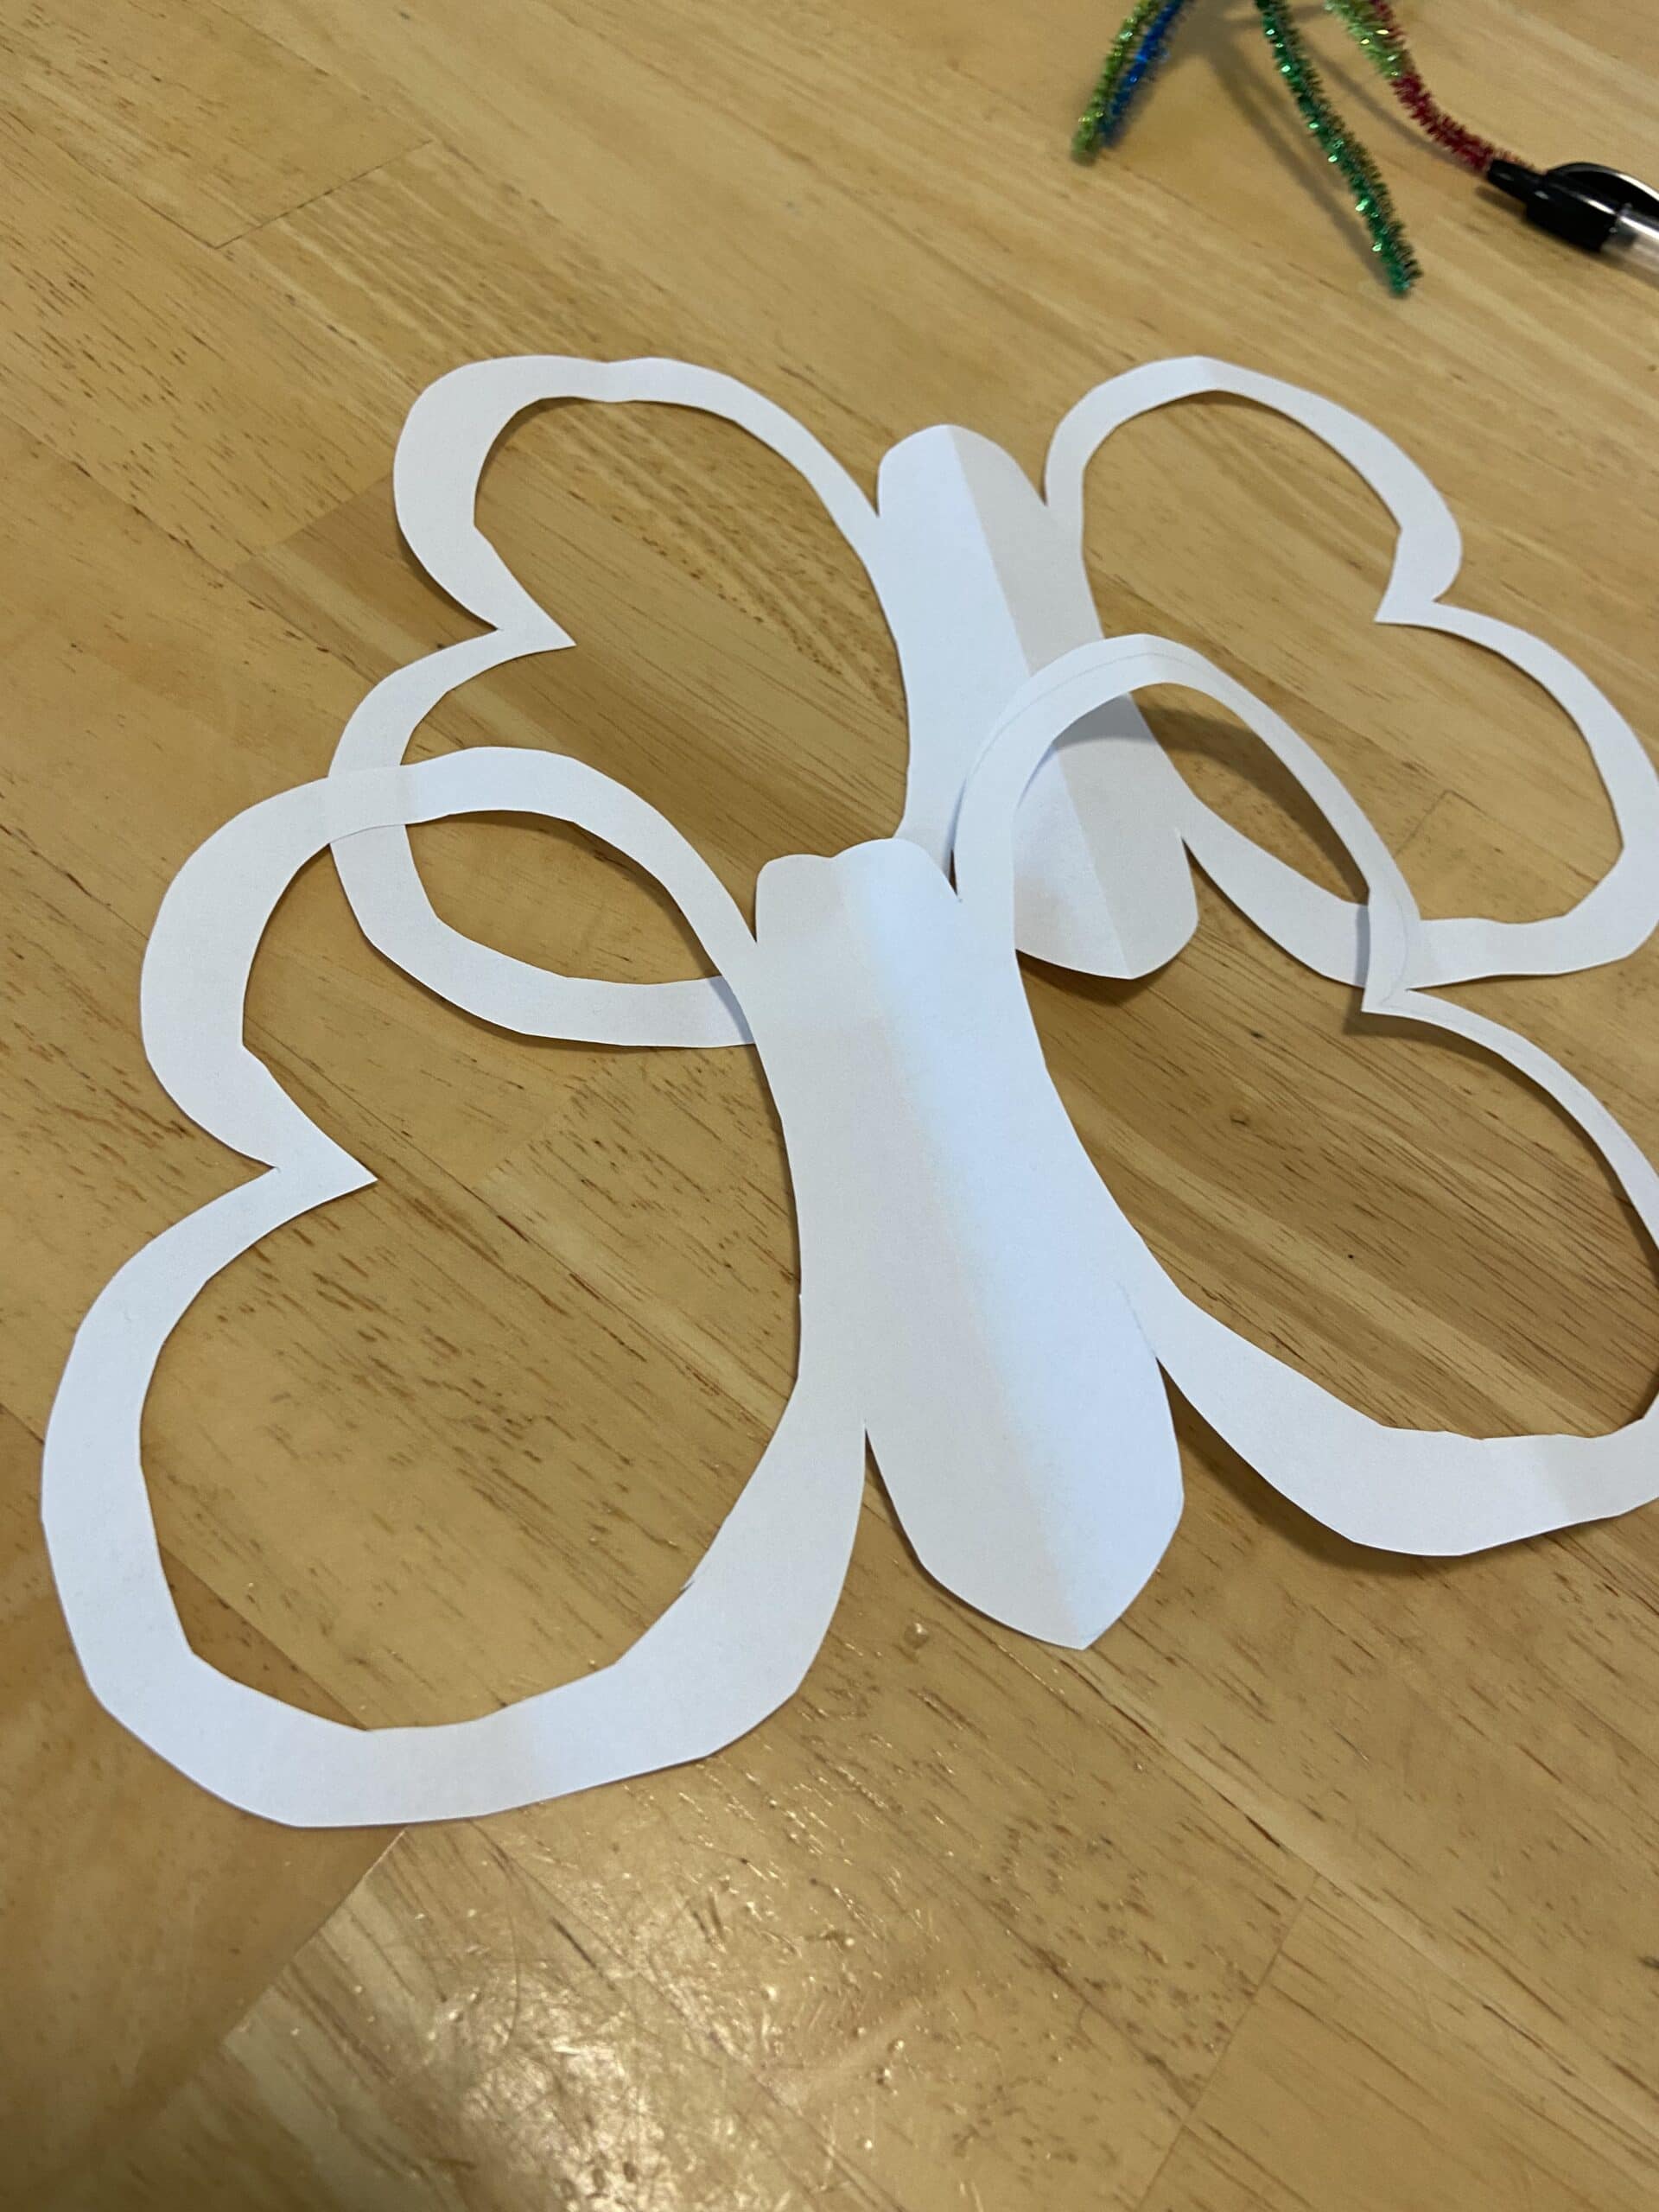
Pinch the insides of the wings and do a small cut. Continue to cut out the rest of the middle out. Be sure not to cut in too far as it will not allow the shape to hold.

2) Next take a variety of tissue paper and cut into pieces. It is easiest if the pieces are cut into 1 to 2 inch shapes.
3) Third, drizzle the glue and outline the cut shape with it. Once the glue has been laid, start applying the tissue paper around the edge floating to the middle.
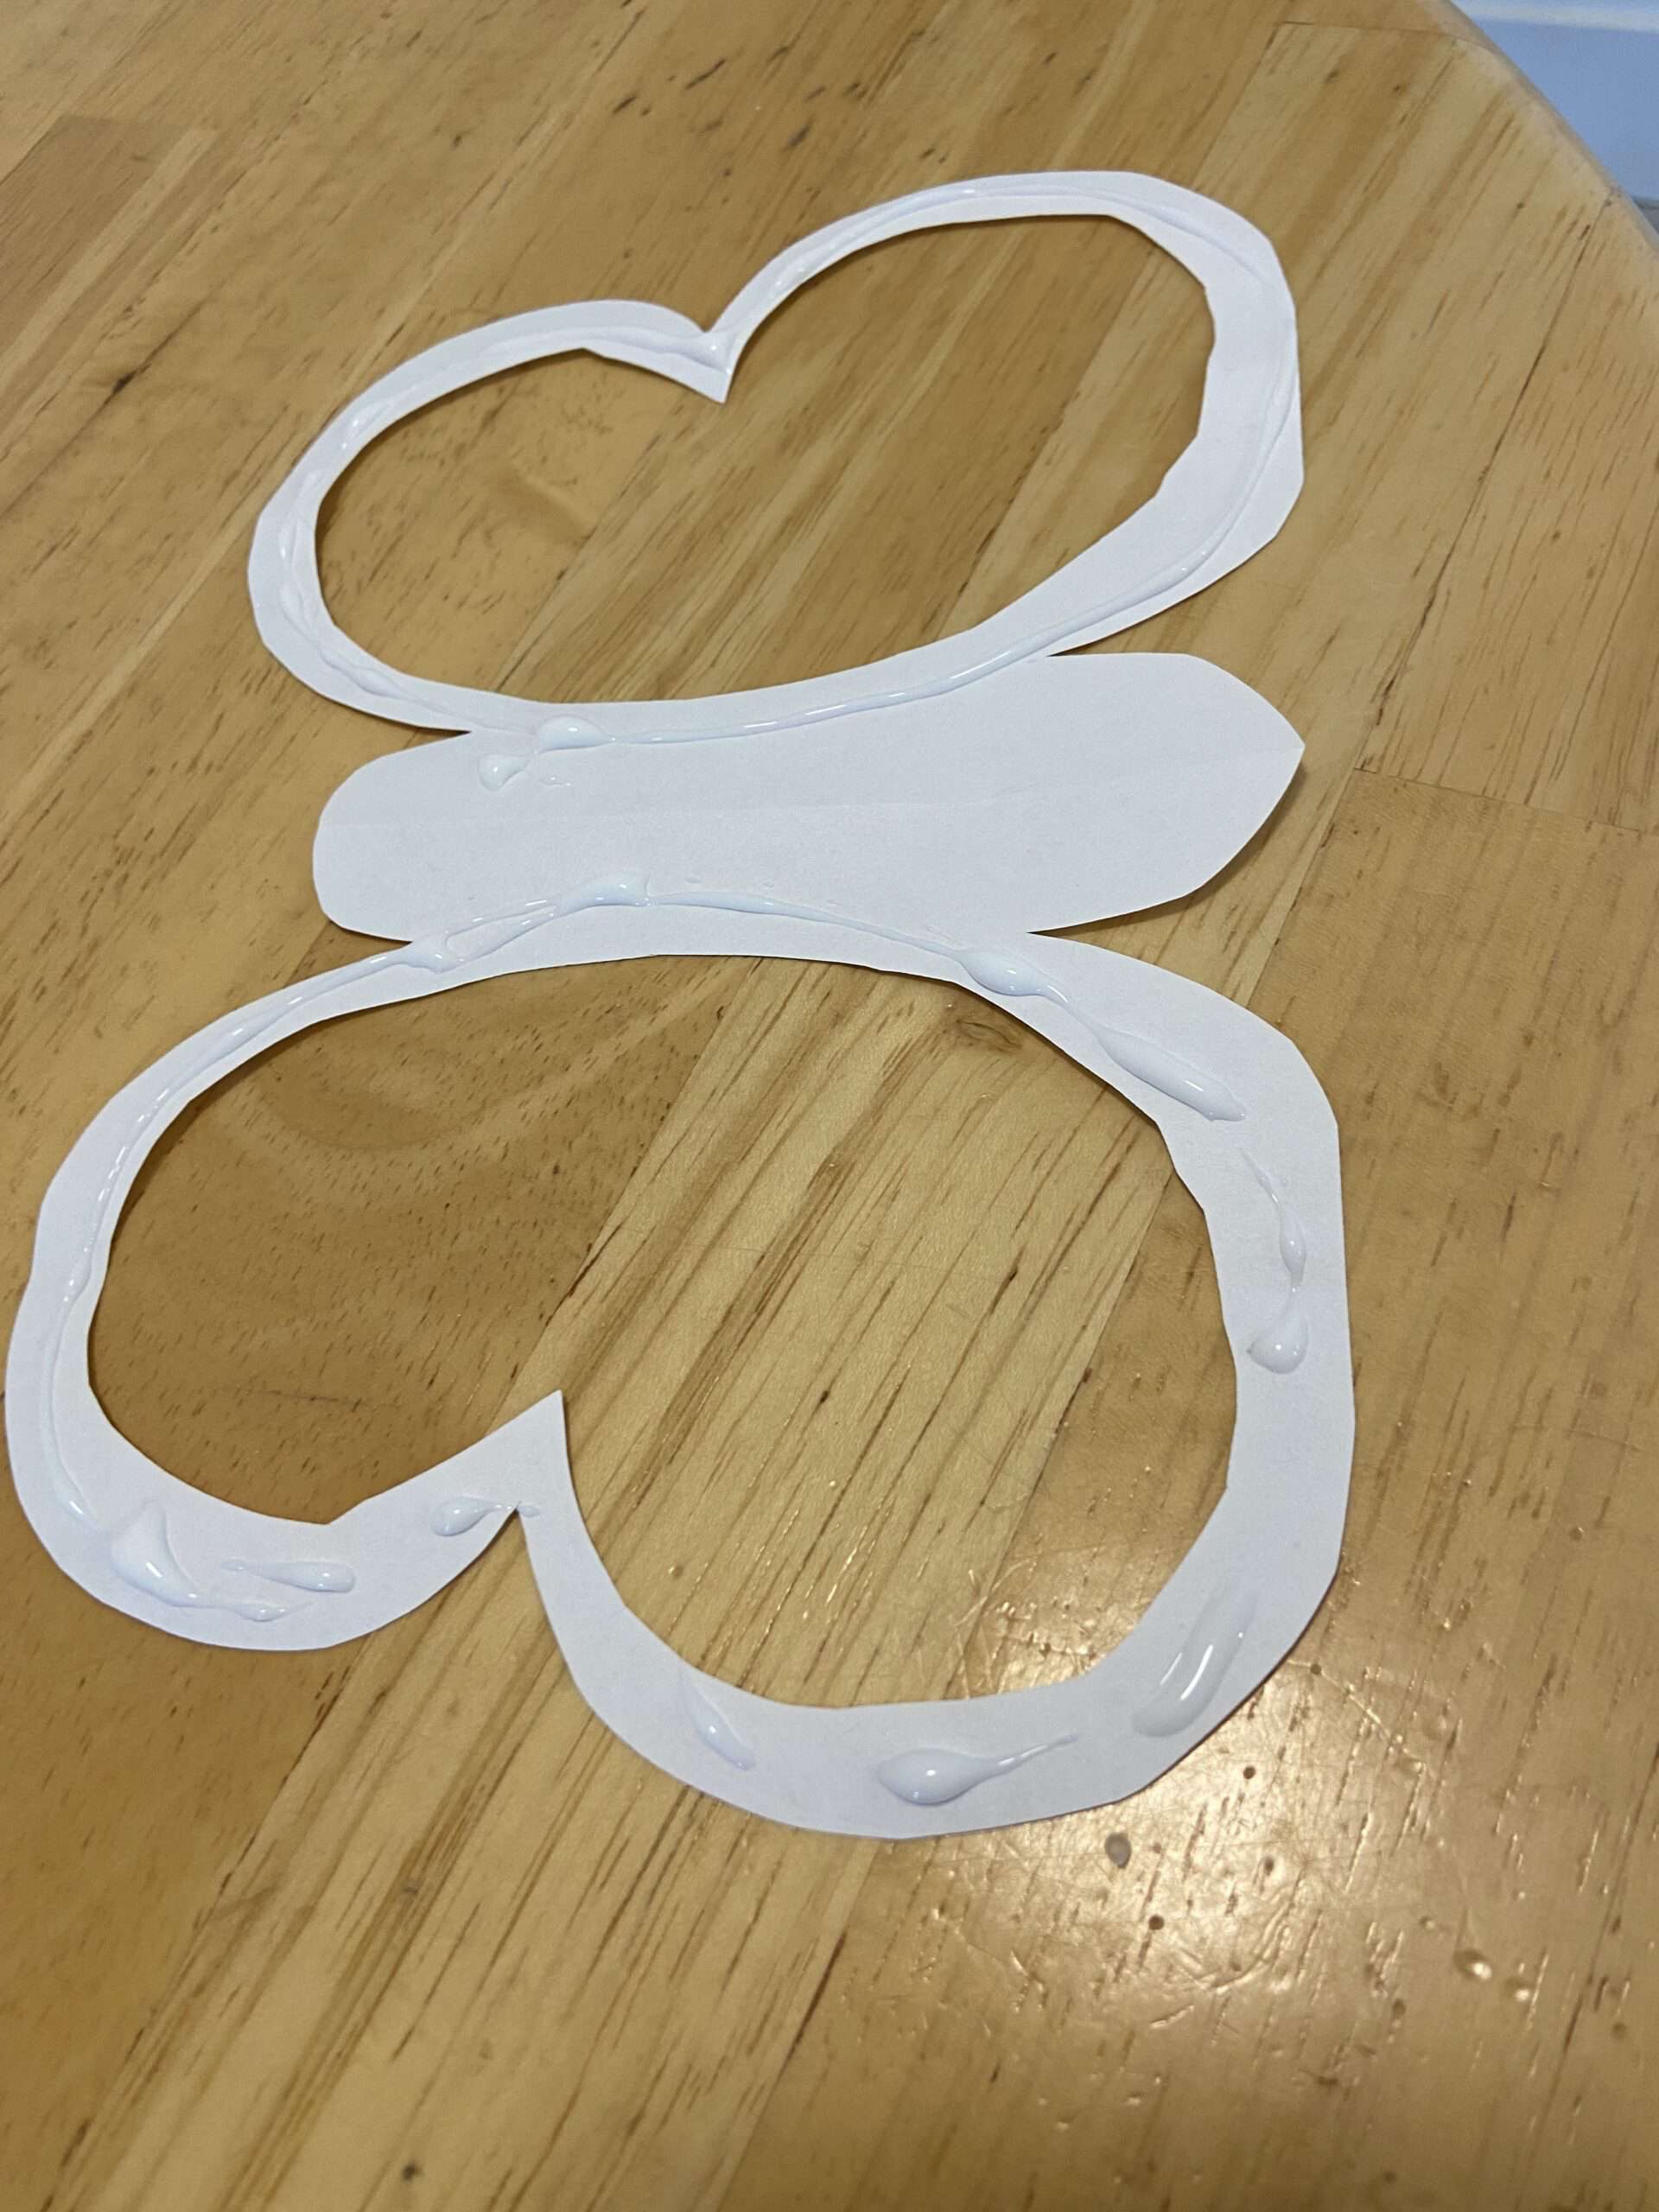
Continue this until the outer edge is completely covered. Then place a dot of glue on the inner triangles until it is covered the rest of the way.
Allow the glue to dry for about 15 minute. Then gently pick up the shape and move it, so that it doesn’t stick to the table.
4) Fourth, take the pipe cleaners and curl the ends to make the ears for the butterfly. Or the kite strings, or whatever accessories you need for your shape.
5) Fifth, take the second piece of cut paper and outline and draw whatever you need on it. I applied the googly eyes, smile and nose to my butterfly.
6) Finally, take the two shapes that have been cut out and apply glue to one side. Glue the trim pieces together to make a clean cut.
Allow the design to completely dry, usually I like to wait over night. Once the shape is completely dry, cut off any excess tissue paper.
Tape into your window and enjoy.
Now, I would love to hear some input of hands on activities you want to see this summer. I love trying new things and helping you come up with great ideas.
I know that summer can get long, and we need our children’s brains to stay active.
So give it a try and let me see what you do!
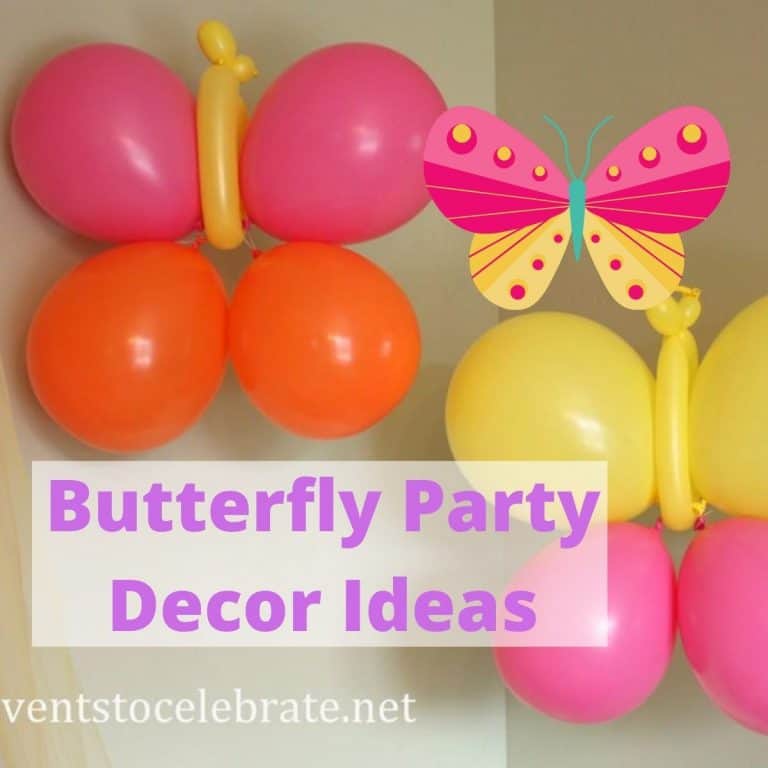
Butterfly themed party ideas
-
Birthday | Celebrations | Centerpieces | Decor | DIY Decorations | favors | Kids Birthday Parties | Printables
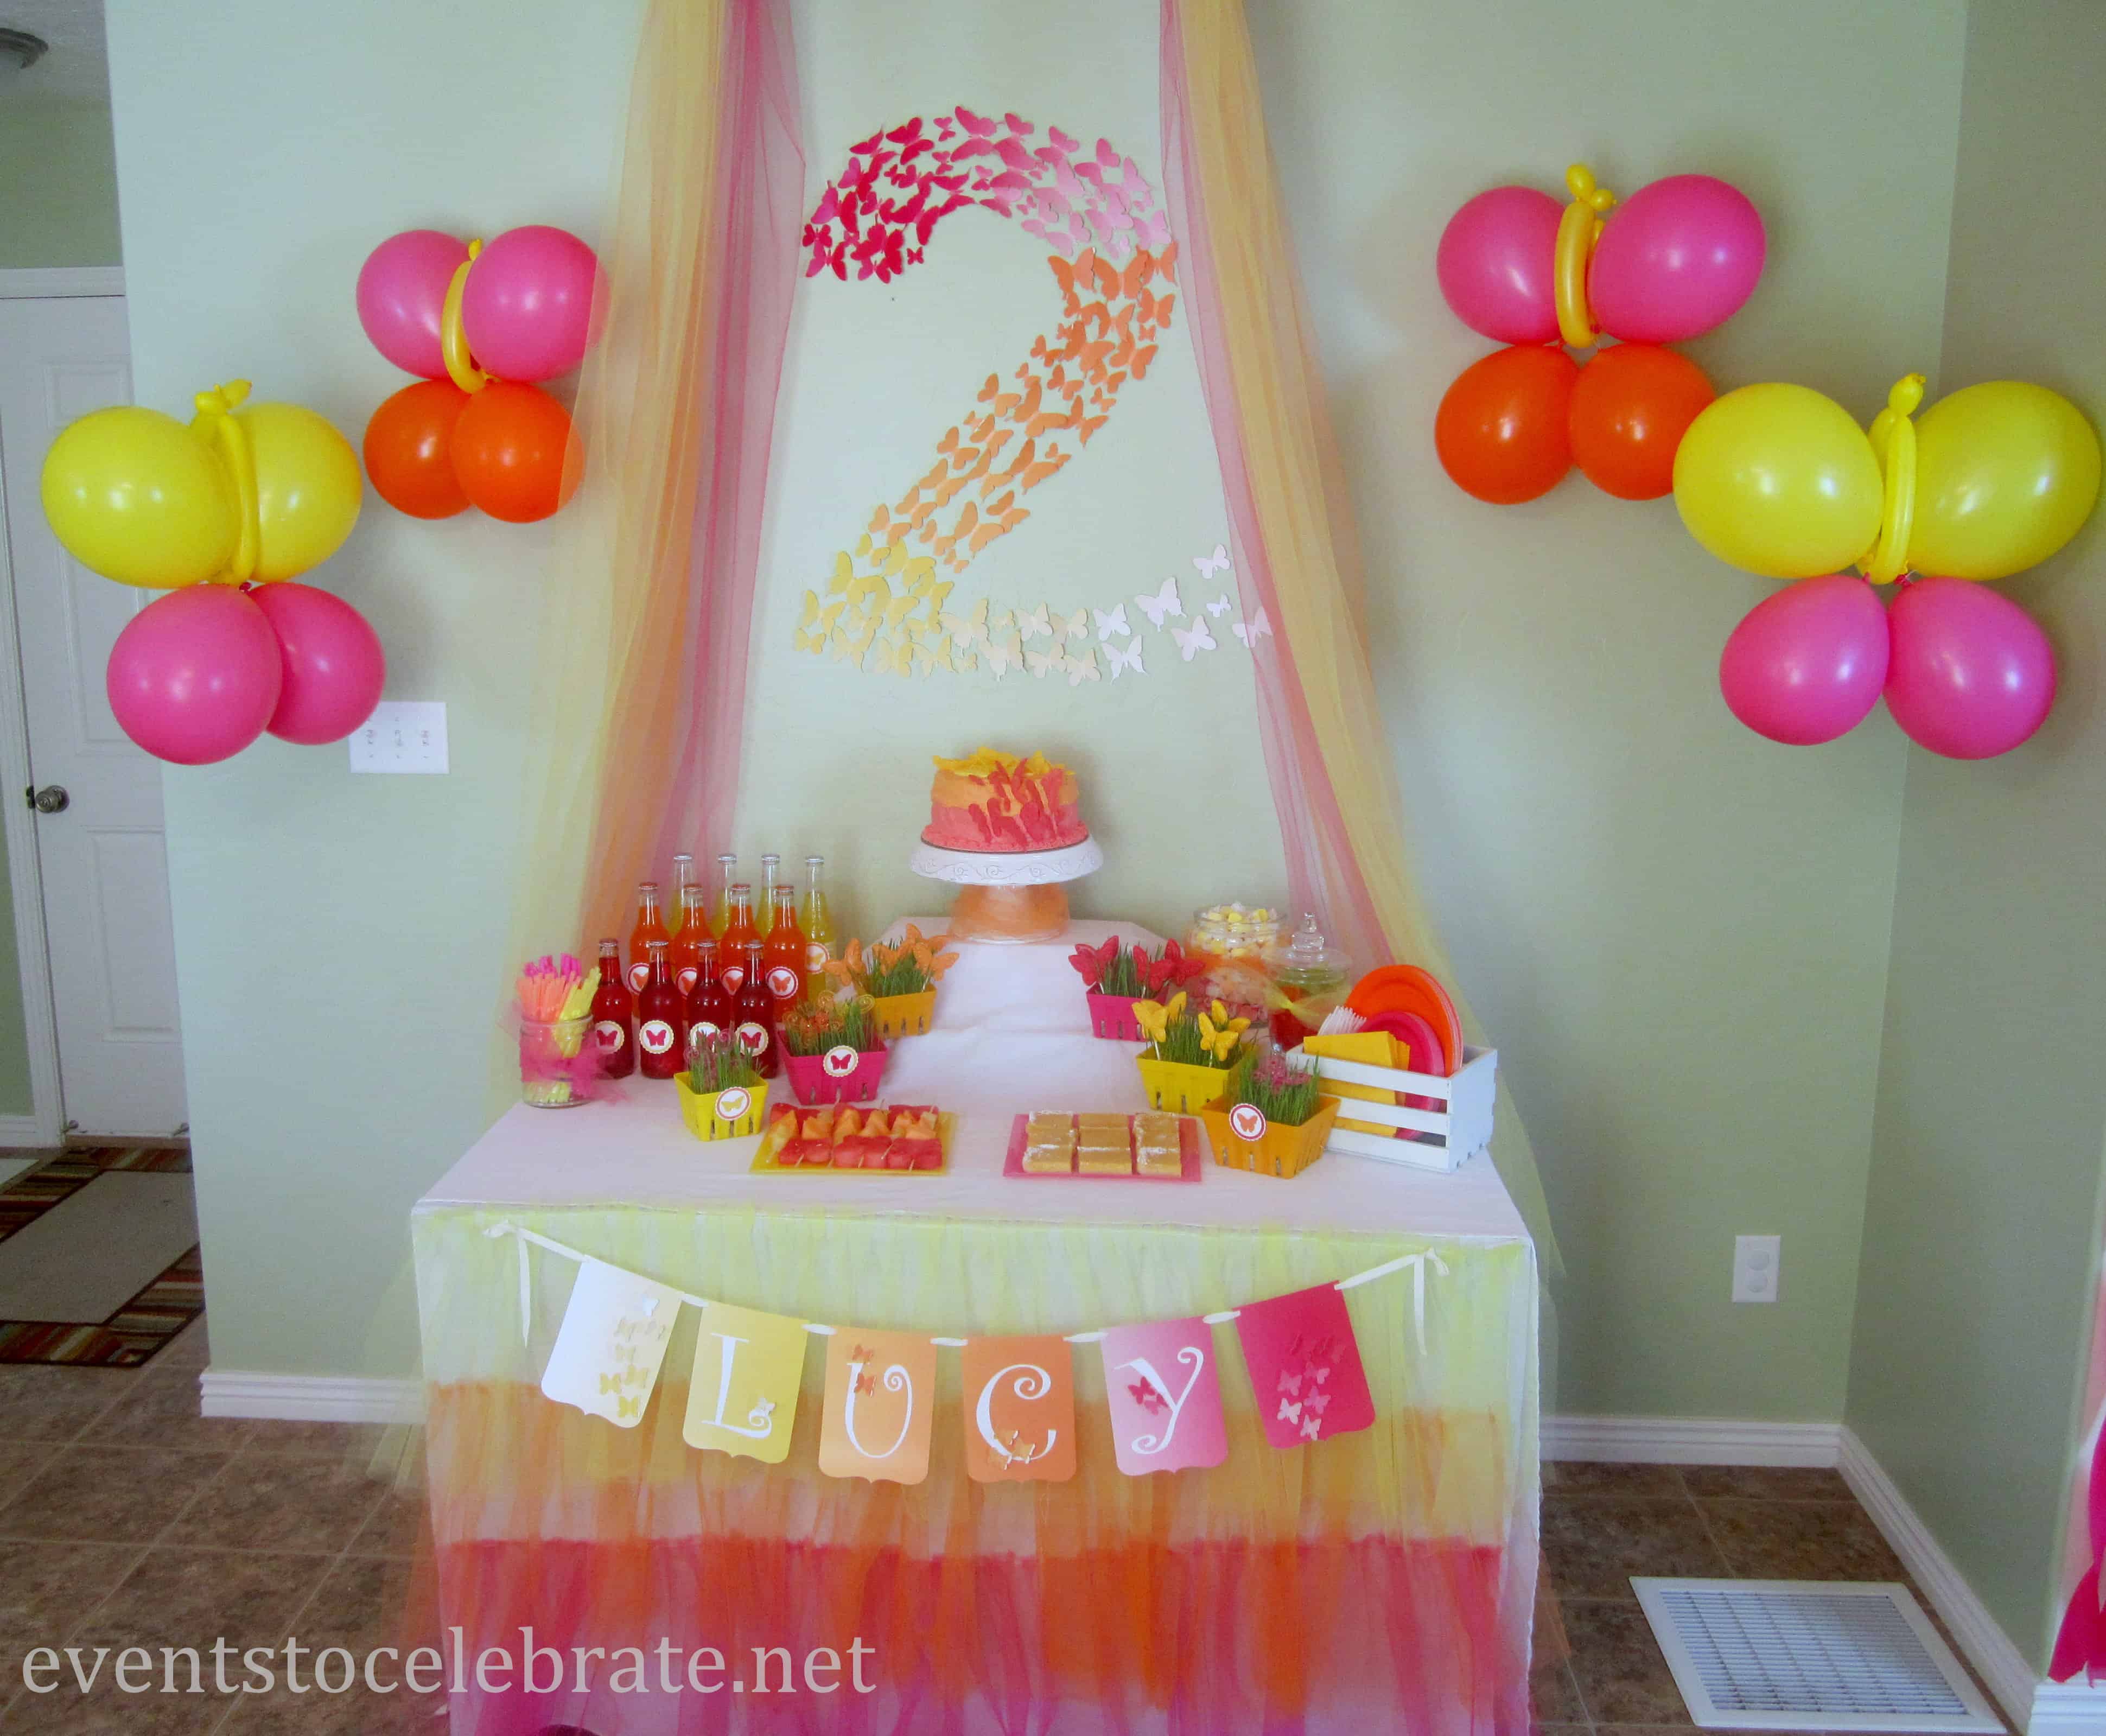
Butterfly Themed Birthday Party: Decorations
Facebook Pin Check out the adorable decorations we used for a butterfly themed birthday party! My daughter Lucy had her second birthday a few weeks ago. You only turn two once, so I decided to…
-
Activities | Birthday | Cakes & Cupcakes | Celebrations | Centerpieces | Crafts | Decor | Dessert | DIY Decorations | Entertainment | favors | Food & Recipes | Games | Kids Birthday Parties
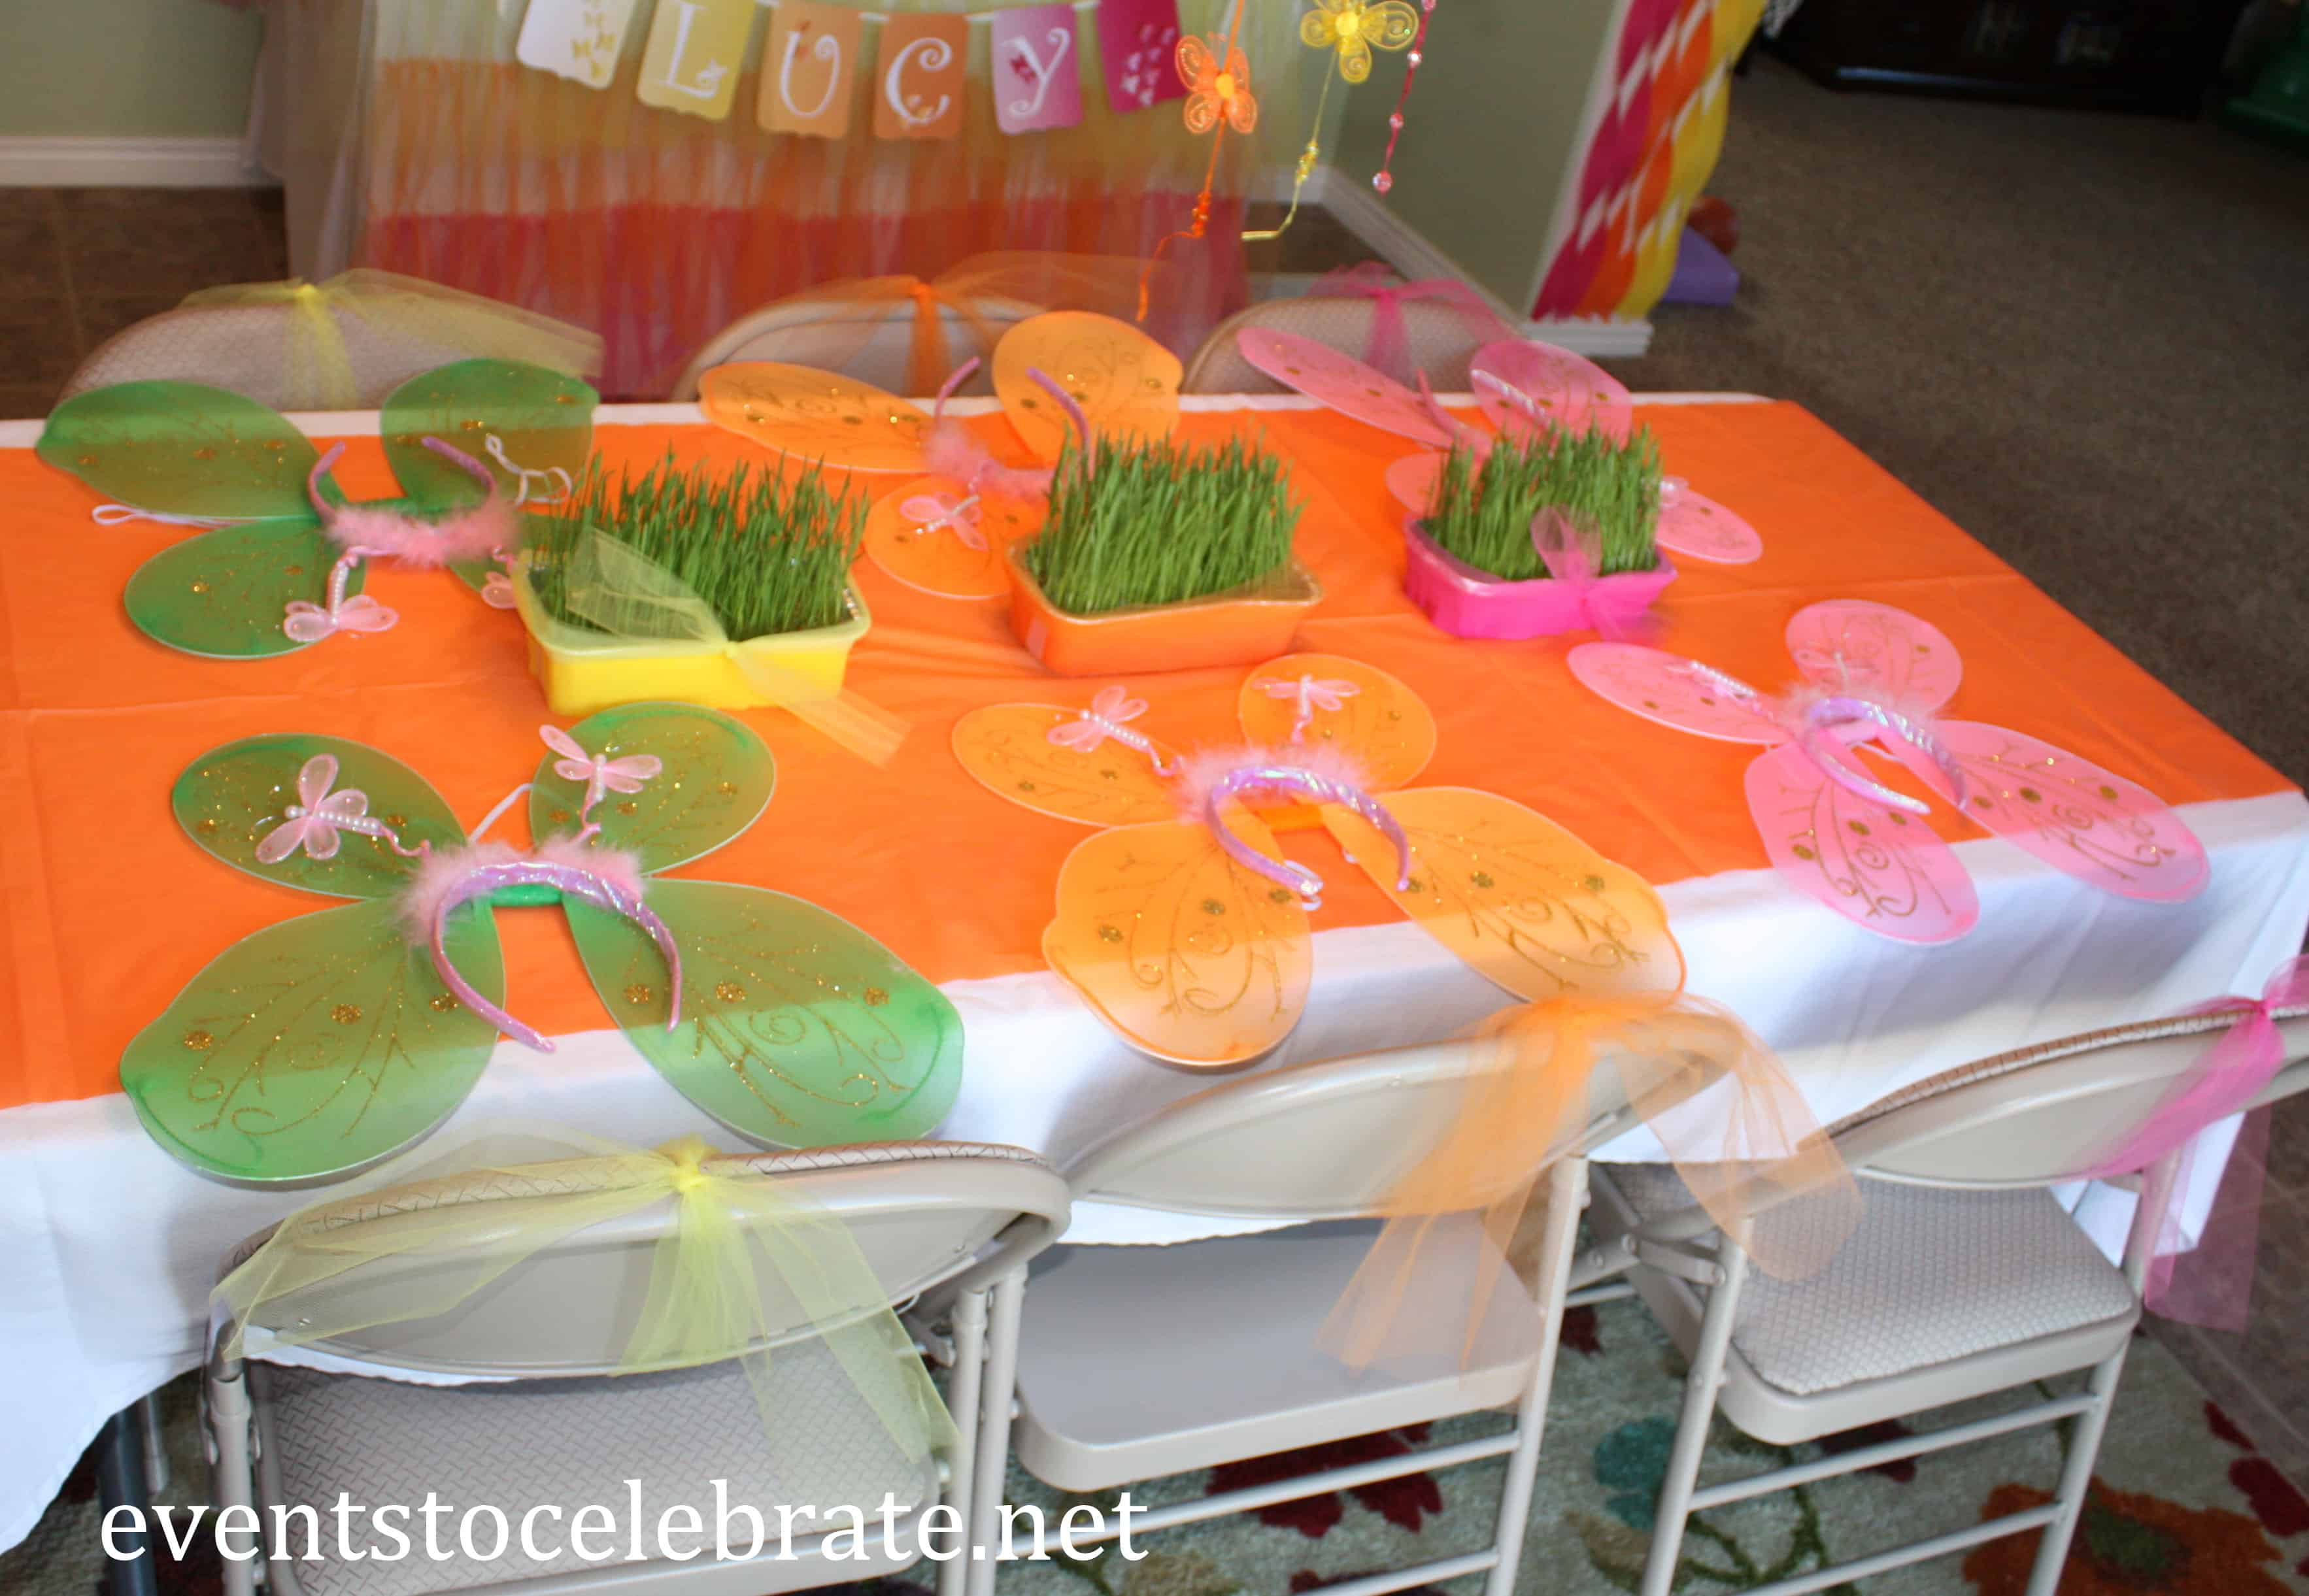
Butterfly Themed Party: Activities
Planning an hour and a half of butterfly themed activities for a bunch of 2 and 3 year old girls was as fun as it gets! I think it was such a success because I…
-
Birthday | Buffets | Cakes & Cupcakes | Celebrations | Dessert | favors | Food & Recipes | Kids Birthday Parties | Printables | Sweet Treats
Butterfly Birthday Party: Food & Desserts
If you’re looking for ideas for butterfly themed party food and treats, this is the place! Check out the post for the Butterfly Party Activities here, and decorations here! Did you love the butterfly decorations?…
Other crafts for kids
- Kid-Friendly Halloween Porch Decorations

- 25+ Easy DIY Valentines Boxes To Make with Your Kids
- Fun & Free Super Bowl Activities For Kids
- 15 Leprechaun Trap Ideas Your Kids Will Love!
- Festive & Easy DIY Christmas Ornaments to Make Today
- Free Printable Thanksgiving Banner – “Give Thanks”
- Easy Thanksgiving Party Ideas for Kids
- Acts of Kindness Advent Calendar for Christmas
- How to Make a Gratitude Tree -Free Printable Included
- Thanksgiving Kids Table Ideas Inspired by Charlie Brown
- How to Make Easy DIY Glitter Pumpkins For Fall
- The Best Fall Pumpkin Crafts for Your Home Decor