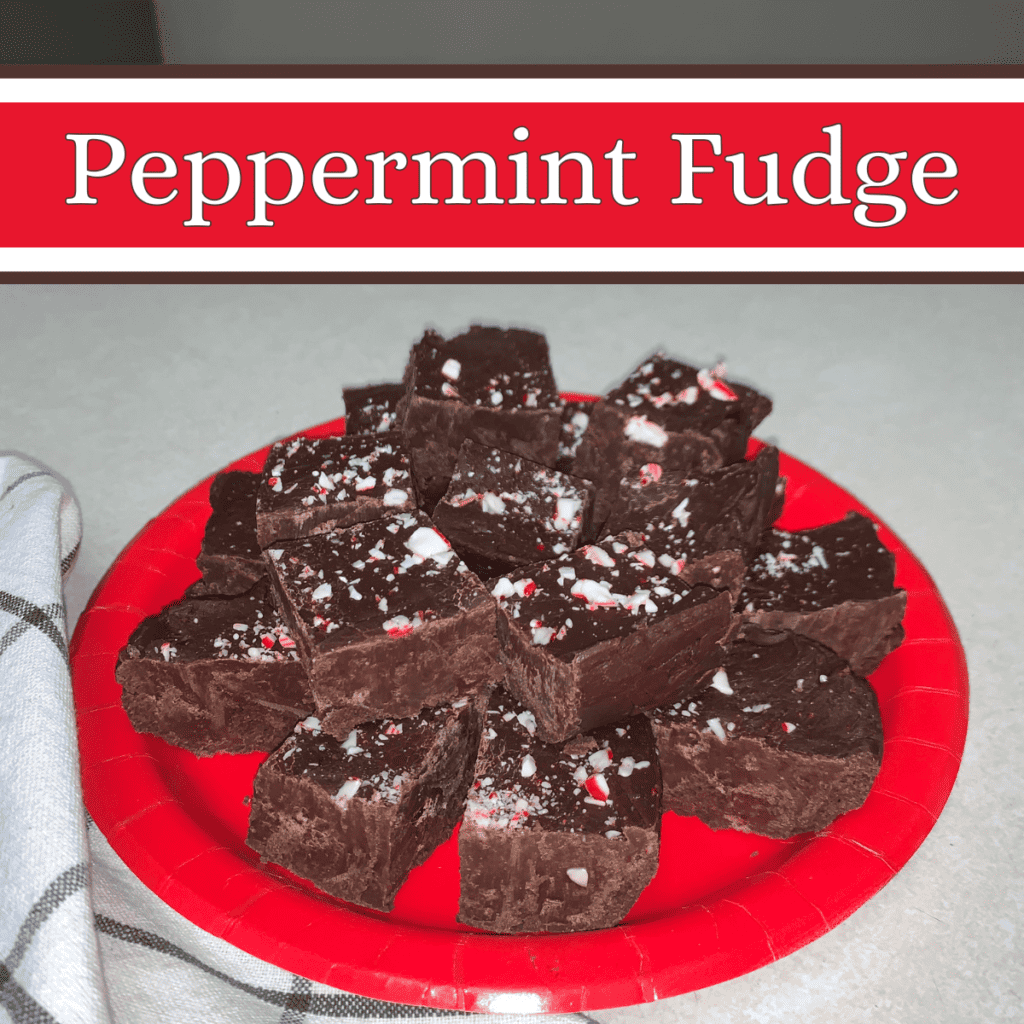
3 Ingredient Peppermint Fudge
Celebrate the holiday season with this delicious 3 ingredient peppermint fudge. This Christmas recipe is easy enough for anyone to make and share!
Jump to RecipeBecause it is so simple and delicious, this peppermint fudge is the perfect dessert to bring to all your holiday parties, family gatherings, and community events. Other fudge recipes can be temperamental, but this one is a guaranteed success every time, even for beginner chefs.
With the easy-to-follow instructions I have included and pictures of every step, this is a recipe that you CAN make. Not only does it look festive, but its rich flavor always leaves guests impressed.
So, come along with me as I show you the ins and outs of this classic seasonal dessert!
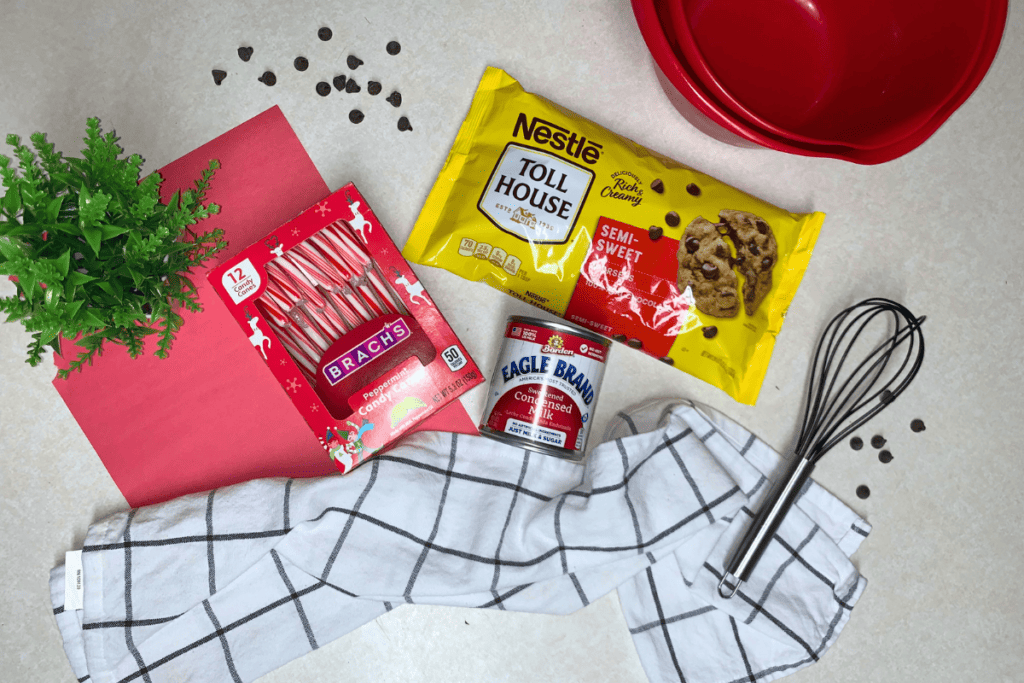
Materials You Need For this Recipe

Ingredients for this Recipe
Since this recipe only features 3 ingredients, you want to use high-quality ingredients. I am usually the biggest proponent of buying generic brands, but this is one where I wouldn’t skimp!
- Semi-Sweet Chocolate Chips – I have only ever made this recipe using Nestle chocolate chips, but I’m sure other nice brands such as Ghirardelli or Guittard would work great. You just want chocolate that will melt well and have an indulgent flavor! You could use any type of chocolate chip (semi, milk, dark, or white chocolate), but for this recipe, I recommend the semi-sweet!
- Sweetened Condensed Milk – Make sure you buy sweetened condensed milk and *not* evaporated milk. They come in similar packaging but are not the same! Sweetened condensed milk has a texture similar to caramel syrup or fudge sauce and will help give the fudge a velvety smooth texture!
- Candy Cane Bits – Sometimes you can buy pre-crushed candy cane bits, but if you don’t have that, don’t stress! Later in the article, I’ll show you how you can make your own!
Optional Add-ins
- Salt – A dash of salt can do so much to deepen and intensify flavor. If you have a little bit on hand, I definitely recommend either adding a sprinkle to your fudge batter or adding a tiny bit on top as it sets.
- Vanilla extract – Similar to salt, this is an ingredient that isn’t necessary but can add more layers to the silky chocolate flavor of your peppermint fudge. You don’t need much, maybe a teaspoon, to enhance your treat that much more!
- Peppermint extract – For those who want a more intense peppermint flavor, peppermint extract is the way to go. The subtle minty flavor will make it that much more of a winter dessert. Note: Because the drops are so potent, use them sparingly.
Kitchen Utensils You’ll Use
One thing I love about this recipe is that it doesn’t require any strange kitchen appliances or utensils. I would say that the average kitchen has all the tools you need to bring this dessert together!
All you need is:
- 1 Saucepan
- 1 Spatula
- Parchment Paper
- 1 Pan (preferably 9×9, but other sizes could work as well)
- 1 Butter Knife
- Optional: plastic baggie for smashing the candy cane inside!
Making your Own Candy Cane Bits

Since I didn’t have any candy cane bits already on hand, I decided to crush some up and make my own.
Here is a simple tutorial for how to easily crush up your candy canes into small pieces:
To do this, take a candy cane, roughly break it up into a few large pieces, and place those in a Ziploc bag. Then set it on a hard surface and use the bottom of a bowl (you could also use a pan or plastic cup) to crush the pieces.
Press down for a few seconds, putting pressure on both sides of the bowl, and then pick it up and reposition it on a candy cane piece that still needs to be crushed. After a minute or two of doing this, you should have a bag full of candy cane bits to use for your peppermint fudge!
Tip: You may want to double-bag the candy cane before you crush it. Sometimes crushed pieces will poke through and make a hole in your bag. To avoid spiling peppermint bits all over, it’s always safe to add another layer.
How to Make Peppermint Fudge

Making this decadent fudge is so simple you won’t even believe it!
Step 1: Start by crushing your peppermint pieces and setting those off to the side. Whether you plan on adding some into the fudge or using them as decoration on top, you will want to have those ready before you start melting the chocolate.
For tips about making candy cane bits, see the section above!
Step 2: Add your chocolate morsels and sweetened condensed milk to a saucepan and melt them on low heat. You want to make sure that you use low heat. If your chocolate starts to bubble at all, you have the stove on too high. Burned chocolate will be useless! Instead, focus on slowly incorporating the chocolate and condensed milk together.
Step 3: Mix ingredients until well combined. If you want to add in any of the salt, vanilla, candy cane bits, or peppermint extract, now is a great time to mix them in. Stir constantly for 5-10 minutes, or until the fudge is thoroughly combined.
Step 4: Remove your fudge from the heat and transfer it to a pan lined with parchment paper. The size of the pan doesn’t matter all that much, but I think 9×9 is the best size! It will give you fudge pieces that are an inch/ inch and a half thick. And while it isn’t necessary to use parchment paper, it definitely makes it much easier to transfer your peppermint fudge once it has cooled.
Step 5: Decorate with candy cane bits and cool in the fridge for 2-3 hours. (at least 30 min) While your fudge is still fresh off the stove, top it with crushed-up candy cane pieces. Then, place it in the fridge to cool and set!

Tips for Cutting Up Your Peppermint Fudge

The best thing you can do to make your fudge easy to cut is to put it in the fridge for a while. When it is first made, the fudge is too gooey and hot to work with. Once it has cooled, it is much firmer and easier to cut.
If you froze it, give it a few minutes to thaw. You want it cold, but not so cold that it is impossible to cut into.
To cut it, simply grab a clean butter knife and use that to create lines in the peppermint fudge. You shouldn’t do any sawing. Just press down with the butter knife, and repeat that action as many times as needed!
How to Store Your Peppermint Fudge

If by chance you have any leftovers (not likely! It is always a hit!), you have a few options for storing it.
Short-term storage: Fudge will hold up for 2-3 weeks if stored in an airtight container at room temperature. You can also store it in the fridge, but this can tend to dry out the fudge and make it crumbly.
Long-term storage: Fudge that is placed in an airtight container in the freezer can last 2-3 months in the freezer.
And just like that, you have peppermint fudge that is easy to make, only requires 3 ingredients, and is a guaranteed hit!
3 Ingredient Peppermint Fudge
Equipment
- 1 Saucepan
- 1 Spatula
- 1 Butter Knife
- Parchment paper
- 1 9×9 pan *other sizes could work as well
Ingredients
- 3 (6 ounce) Packages semi-sweet chocolate morsels
- 1 (14 ounce) can Eagle brand Sweetened Condensed Milk * not evaporated milk
- 1-3 Peppermint candy canes
Optional Add ins
- 1 dash Salt
- 1 1/2 tsp Vanilla
- 1 dash Peppermint Extract
Instructions
- Step 1: Start by crushing your peppermint pieces and setting those off to the side.
- Step 2: Add your chocolate morsels and sweetened condensed milk to a saucepan and melt them on low heat. Focus on slowly incorporating the chocolate and condensed milk together.
- Step 3: Mix ingredients until well combined. If you want to add in any of the salt, vanilla, candy cane bits, or peppermint extract, now is a great time to mix them in. Stir constantly for 5-10 minutes, or until the fudge is thoroughly combined.
- Step 4: Remove your fudge from the heat and transfer it to a pan lined with parchment paper.
- Step 5: Decorate with candy cane bits and cool in the fridge for 2-3 hours. (at least 30 min) While your fudge is still fresh off the stove, top it with crushed-up candy cane pieces. Then, place it in the fridge to cool and set!
Other Holiday Recipes
- Classic Chocolate Chip Cookies
- Sausage Stuffed Mushrooms
- Easy Oreo Balls
- Bacon Cream Cheese Bread Dip
- Simple Veggie Tray
Don’t Leave Just Yet
Here at Events to Celebrate, my whole goal is to help real people plan for their kids’ birthday parties, life events, and holidays! Life is crazy. I GET IT. You don’t have endless time OR money to spend on parties, but you still want to help your guests have a great time. I’m here to help give you tips, tricks, and ideas for celebrating life on a budget.
As a mom, you want to do it all. You want to make your family happy and create special memories. My brand is all about creating special moments with those you love. The kind of moments that you will look back on years later and wish you could relive! So, if that’s something you’re interested in, stick around! I have an email list you can sign up for, so you don’t miss my future party ideas!


