
Homemade Chocolate Covered Marshmallow Easter Eggs
This post contains affiliate links. Learn more here.
A Guide To Making Homemade Chocolate Covered Marshmallows
Each year, my mother-in-law invites the grandchildren over to dip and decorate homemade chocolate covered marshmallow Easter eggs. They’re so good, you may want to make them a few more times a year than just Easter! It’s a tradition they all look forward to. And it takes every ounce of restraint I have not to sneak a few (or more) of their marshmallows because they truly are some of the most delicious treats I’ve ever had. The soft, pillowy marshmallow coated in rich chocolate is pure perfection.

This year, I decided it was finally time to try my hand at making them myself—partly so I wouldn’t have to share! But beyond just satisfying my own sweet tooth, I loved the idea of learning how to recreate a treat that’s been part of our family’s Easter celebrations for years. Plus, homemade chocolate covered marshmallow Easter eggs can be customized with different flavors, coatings, or sprinkles, making them even more fun. If you’ve never made marshmallows from scratch, don’t worry—it’s easier than you might think, and the results are absolutely worth it!
Getting Ready to Make Homemade Chocolate Covered Marshmallows
Although I absolutely LOVE food, I wouldn’t call myself a confident cook—especially when it comes to making something as precise as homemade marshmallows. My mother-in-law walked me through the process, but I still wasn’t convinced I could pull it off. To be sure, I watched a video tutorial of Martha Stewart and Claire Danes making marshmallows, and to my relief, it looked easy enough. With renewed confidence, I carefully followed this recipe, heated the ingredients just as instructed, and successfully poured the mixture into my Bosch kitchen mixer. Everything was going smoothly… or so I thought.
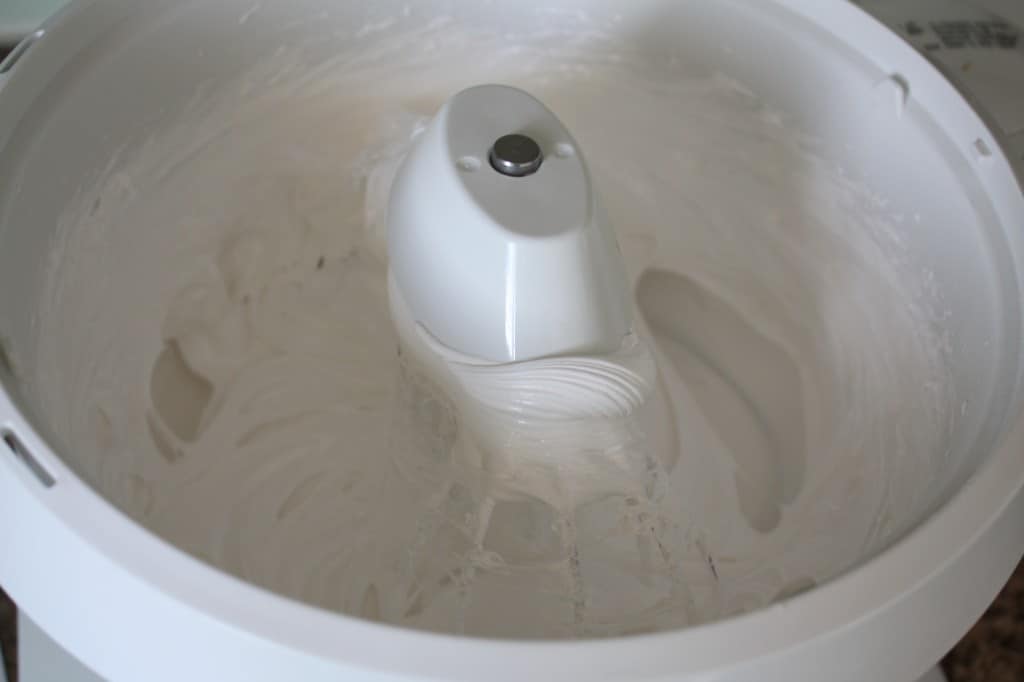
With just 2 minutes and 23 seconds left on the timer, disaster struck—my wire whisks snapped right off the top of the machine! I didn’t even get a chance to add the vanilla. But, using a very scientific method (a quick finger dip into the mixture), I determined that it still tasted absolutely delicious! Through trial and error, I’ve since learned that mixing for about 8–10 minutes is ideal (after making these several more times, 8 minutes seems to be the sweet spot for my mixer). To ensure the best flavor, I now add the vanilla with about 3 minutes of mixing time remaining. Lesson learned—and thankfully, I was able to fix my whisks for the next batch!
Tips for Piping Homemade Marshmallows Without a Mess
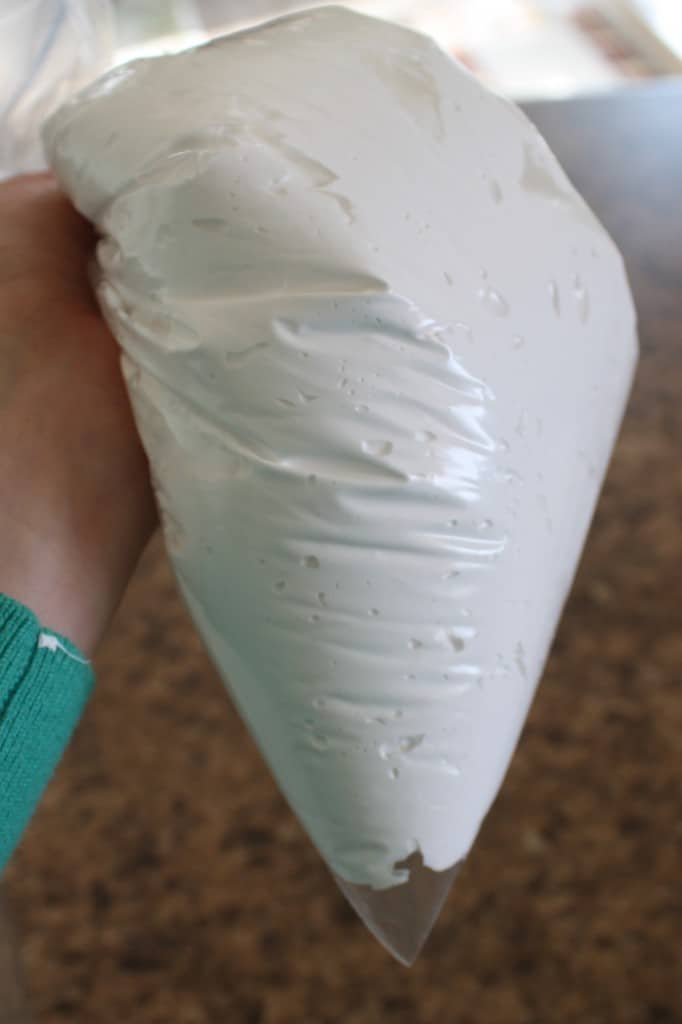
The mixture was incredibly thick, and getting it into the ziplock bag for piping was no easy task—but I managed! To make the process smoother, I highly recommend spraying the inside of the bag with non-stick spray before adding the marshmallow mixture; this helps it slide out more easily when piping. If possible, have one person hold the bag open while another scoops the mixture in—it makes a world of difference. Another helpful trick is placing the ziplock bag inside a large plastic cup, folding the edges over the rim to keep it open while filling. Trust me, these small steps make handling the sticky marshmallow much easier!
How to Shape Marshmallow Eggs: Easy Methods
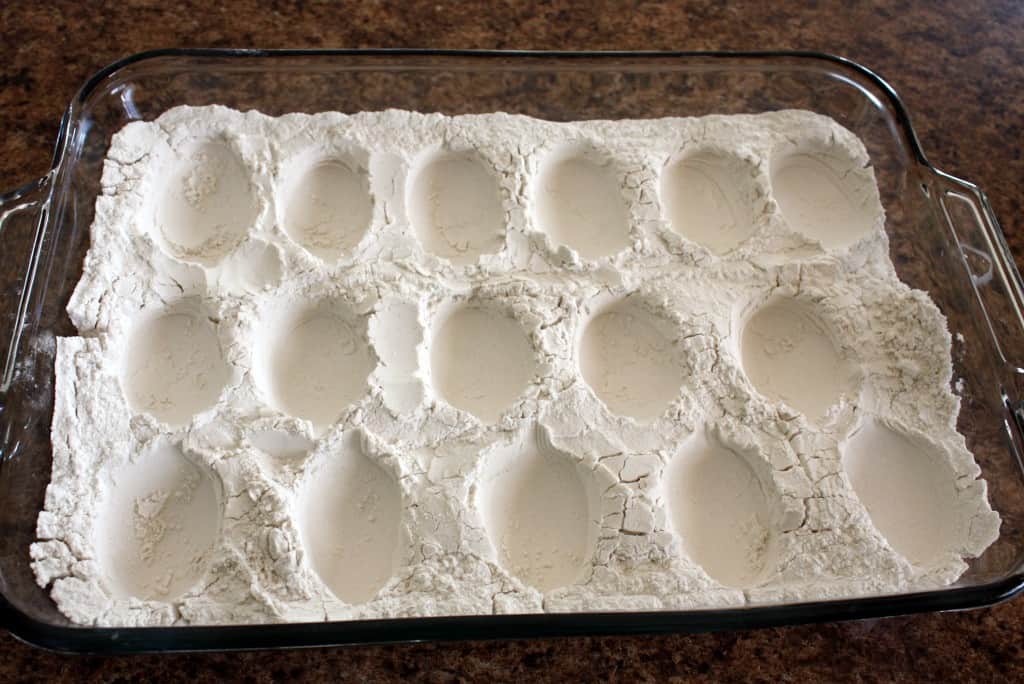
While the marshmallow mixture was whipping in the mixer, I prepped my baking dish by filling it with about 5–6 cups of flour and creating small indentations using a spoon. These indentations help shape the marshmallow eggs as they set. My mother-in-law prefers to use a plastic Easter egg to press into the flour for a more uniform shape, and I’ve found that both methods work well. If you want perfectly shaped eggs, the plastic egg trick is a great option!
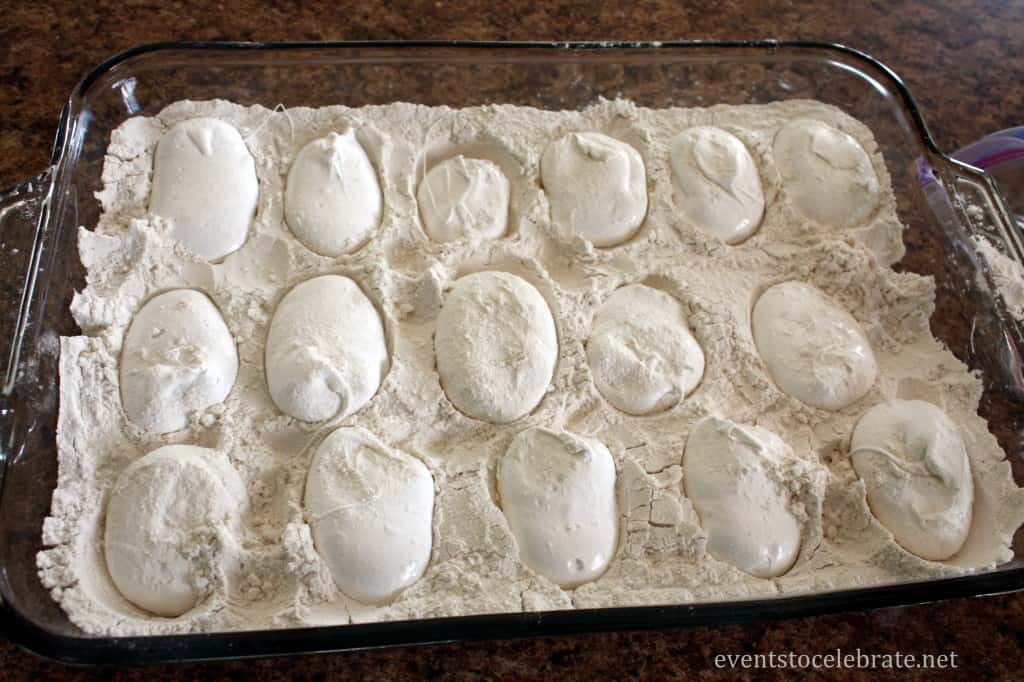
At first, I wasn’t sure if the soft flour would be sturdy enough to hold its shape as a mold, but to my surprise, it worked perfectly. I carefully piped the marshmallow mixture into the indentations, using floured fingers to pinch off each one at the end. Once the entire dish was filled, I lightly dusted the tops with flour to prevent sticking and let them sit overnight to firm up. This drying time is key—it allows the marshmallows to set properly before dipping them in chocolate!
How to Coat Marshmallow Eggs in Chocolate
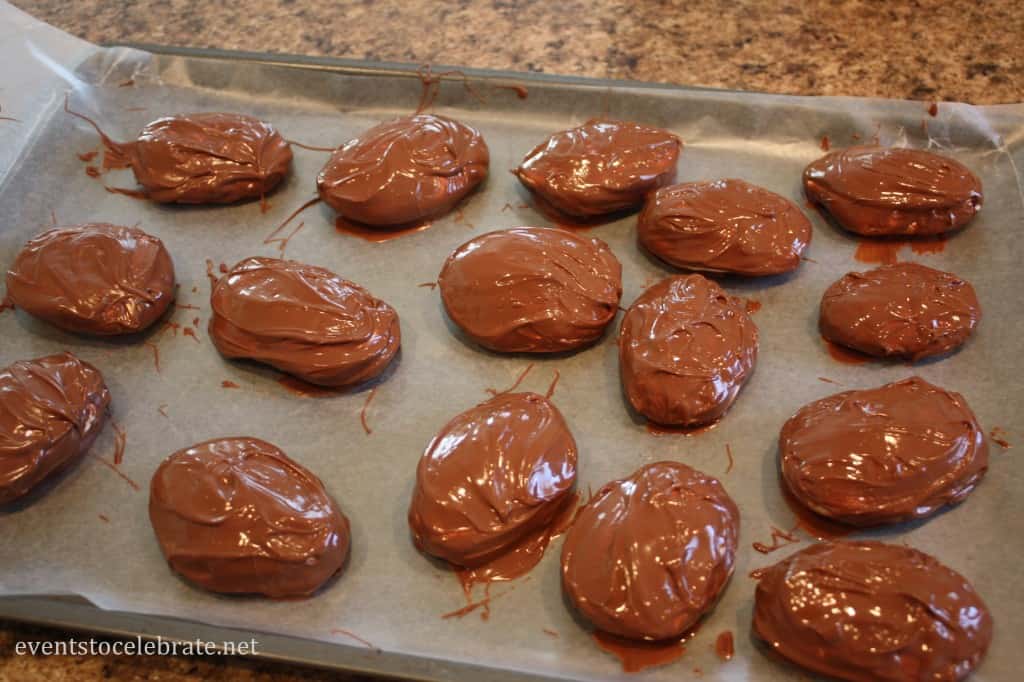
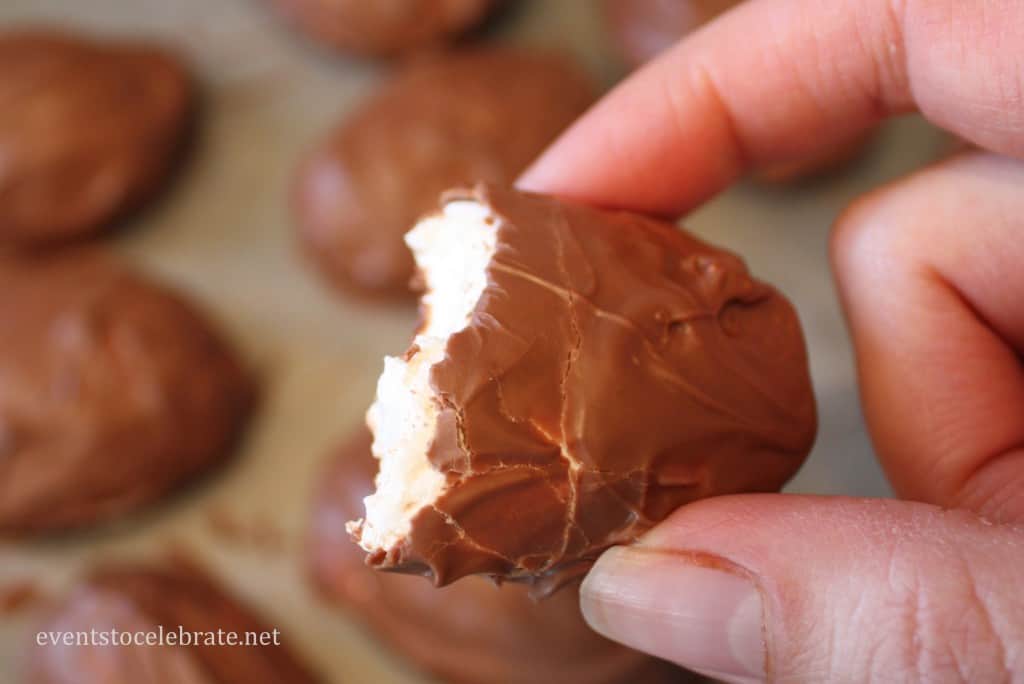
The next morning, I gently dusted off the flour and dipped each marshmallow egg into melted chocolate, then set them on wax paper to harden. And then, of course, came the best part—tasting them! Let me tell you, they are absolutely delicious! I didn’t care one bit if they completely broke my mixer—they were totally worth it. The combination of the fluffy marshmallow center and the smooth chocolate coating is perfection, and they’re guaranteed to be a hit at any Easter celebration!
After making these marshmallows a few times, I’ve come to realize that a more heavy-duty mixer would be a game-changer for this kind of project. While my Bosch kitchen mixer did the job, the mixture got so thick toward the end that it really tested the machine’s limits. The KitchenAid mixer has the power and performance necessary for any kitchen project! If you plan to make marshmallows regularly (or tackle any heavy-duty kitchen tasks), upgrading to a KitchenAid mixer might just be the way to go.
How yummy! I never thought to try to color marshmallows! Thanks for sharing at Pinworthy Projects.
SO fun! I’m pinning this to try next year. I would love to try coloring the marshmallows :o) Thanks for linking up to Tasteful Tuesdays! love it! Really appreciate you stopping by my blog! I’m trying to keep in better touch with my linkers/readers… If you already follow me, please let me know I will find your blog on Bloglovin (I’m transferring my follows there)if you don’t follow in any way, would you consider following via GFC or other method?
http://www.nap-timecreations.com
They look fun to make! I’ve been meaning to make marshmallows with my girls. I’d love for you to link this up to Iron Chef Mom Battle: Peeps (Marshmallows) http://www.addhousewife.com/2013/03/iron-chef-mom-battle-peeps.html
Micki-
Thanks for the invitation, what a FUN link party! I now follow you on blog lovin and love your blog!!