
How to Make the Best Bluey Birthday Cupcake Cake
This post may contain affiliate links, including Amazon Associate links. As an Amazon Associate, I earn from qualifying purchases at no additional cost to you. Please see my Disclosure Policy for more details.

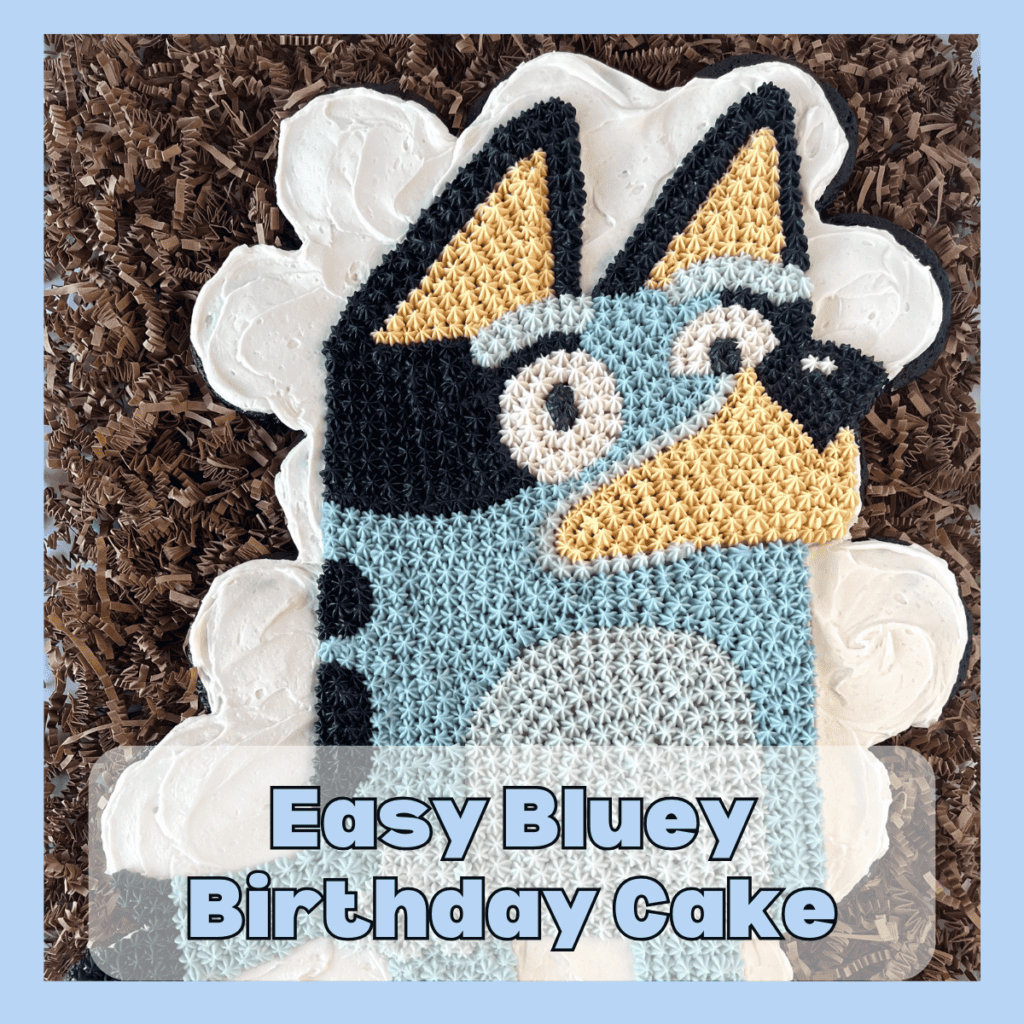
This DIY Bluey Birthday Cake is just the thing for your child’s special day! With my printable guide and instructions, YOU can make a perfect Bluey birthday cake!
Jump to RecipeI’m not even kidding when I say this is the easiest, least stressful, fun, themed cake I’ve ever made. I will warn you your hand will definitely be cramping as you pipe all those perfect little buttercream stars though so count it as a workout (way to go!) because I can confidently say the result is worth it!
AND it is the perfect addition to a BLUEY birthday party, so definitely check out our other ideas!
Materials Needed
Note: Bluey is surprisingly…not that blue. She is more VIOLET than anything! Keep this in mind as you mix your colors!
Food
- 2 Dozen Cupcakes baked in liners! Use your preferred recipe/flavor, and fillings if desired. Try this homemade Funfetti recipe for a great cupcake.
- Vanilla Buttercream – Recipe below.
Kitchen Ware
- 2 Muffin Pans
- 25 Cupcake Liners
- Stand Mixer
- Gel Food Colors – I use Wilton Color Right for most of mine, then purchased violet separately
- Offset Spatula
- Cookie Scoop
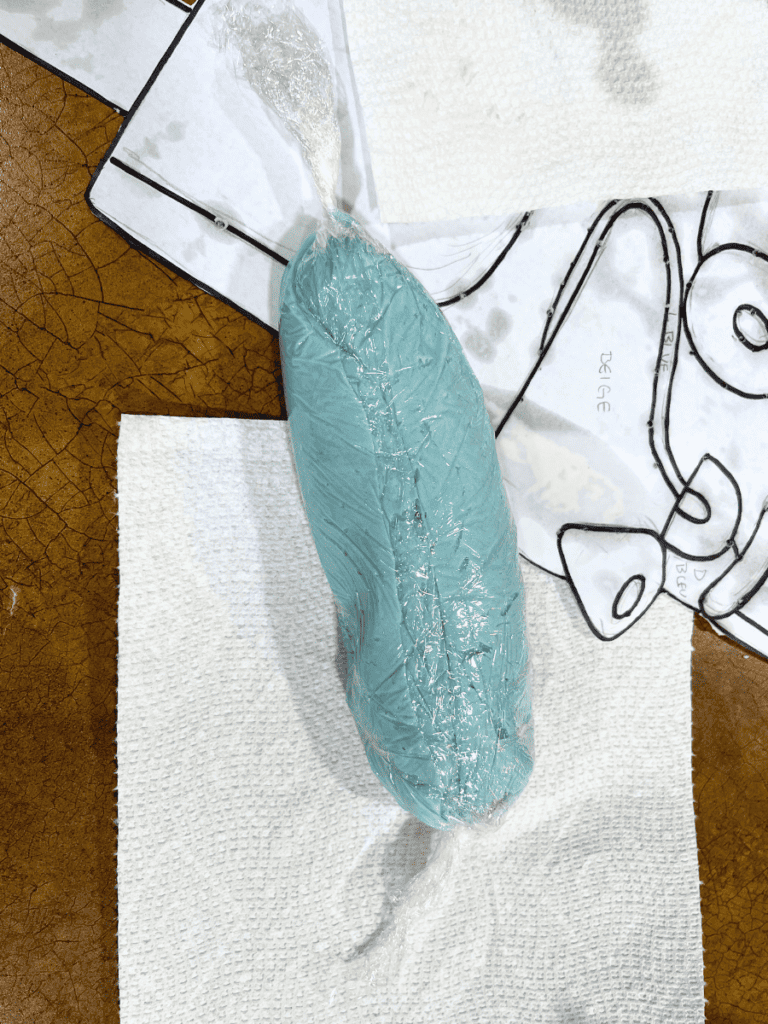
- Plastic Wrap (if you don’t have enough piping bags)
- Piping Bag (1-5) – I can show you how to get away with just one if you’re running low.
- Piping Coupler
- Star Piping Tip – Smaller looks nicer than large.
- Bowls & Spoons – At least five of each.
Other Supplies
- Paper – You’ll be printing a template of Bluey!
- Printer
- Scissors
- Sharpie
- Toothpicks – Need to be very pointy.
- Cake Board/Cardboard- If using cardboard, cut to about 19in by 14in and cover with sturdy paper or foil
How to make the Vanilla Buttercream
Ingredients:
- 3 cups Unsalted Butter – still chilled
- 9 cups Powdered Sugar
- ¼ tsp Salt scant, aka not quite full
- 3 tsp Vanilla Extract
- 1/3-1/2 cup Heavy Cream – will vary depending on your butter and sugar measurements
Instructions:
- Cream your butter in a stand mixer on MED until it’s light and fluffy, it should go from the
yellow butter color to a creamy whiteish color. - Slowly incorporate the powdered sugar. Slowly. One cup at a time!
- Once the sugar is mixed, add in your salt, vanilla, and heavy cream, start conservative, and beat
for about 3-5 minutes (I start with three and then check the texture) on HI. You’re looking for a
smooth buttercream and kind of glides through your fingers without much force, as you want it
easily pipeable and spreadable. If it’s too thick, add more heavy cream.
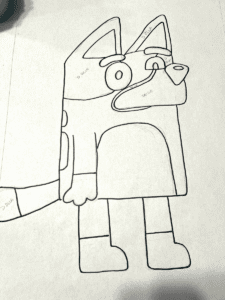
Bluey PDF Template
This printable template was my guide for decorating the cupcake cake to look like Bluey!
I hand-traced an image of Bluey to help me get all the proportions right. And you know what’s great about that? Now you don’t have to!
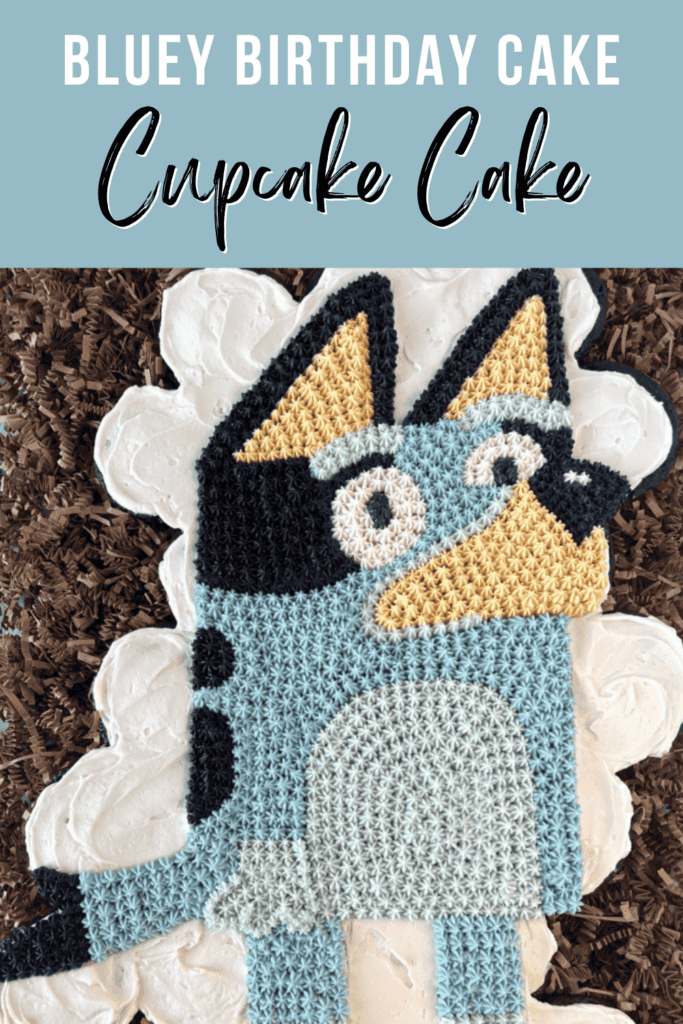
How to Make a Bluey Cake
Ok. Here we go. An easy, all buttercream, no fondant, no layering, stress-free Bluey cake for your next party and I’ve even included a template you can print and trace if you want to. Cupcake cakes can look intimidating, but WOW are they actually so manageable!
1. Start with your template.
Print your template on the thinnest paper you have, tape it together so Bluey is all one piece, and cut it out. Make sure in printing that your margins are as thin as they can be. Note – I did draw this by hand on a roll of craft paper (the endless kind for kids) and transferred it to two standard copy pages because I want Bluey to be as full as she can be!

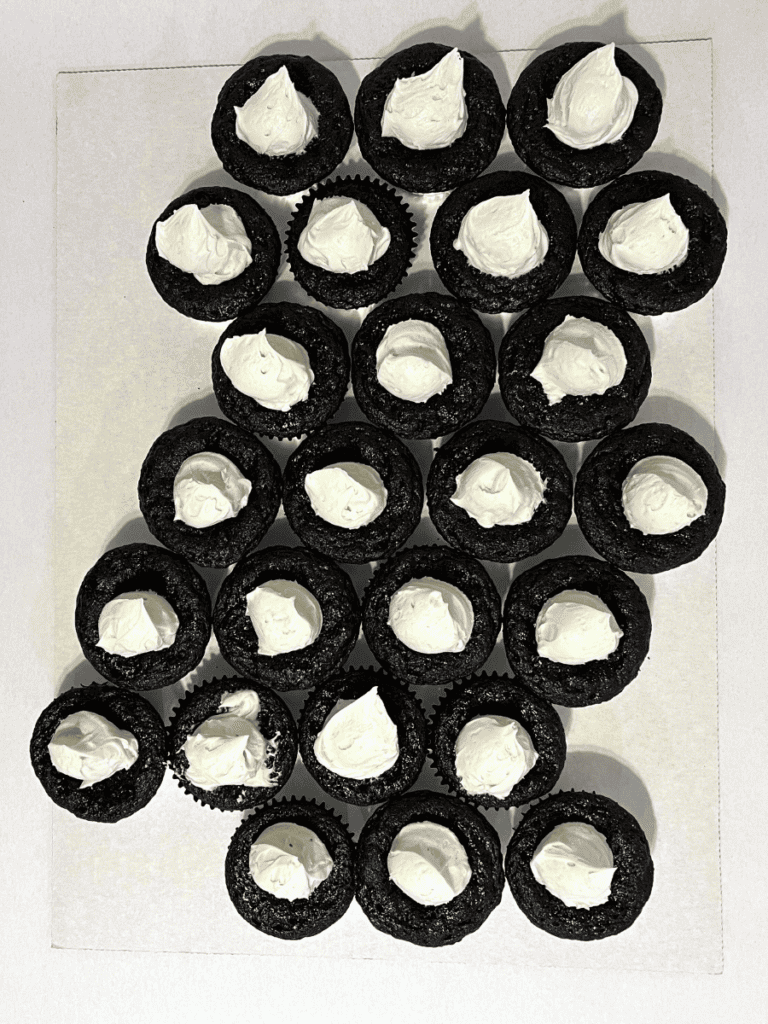
2. Prep your cake board and cupcakes.
Arrange your cupcakes on your board so you know exactly how you want them. If you’ll be using the template provided, I recommend copying the pattern in the picture! Once they’re just right, remove each of them one by one and place a tiny drop of kid’s craft glue or buttercream on the bottom and replace them. I used glue as I didn’t love the idea of buttercream on the bottom of the liners later.

3. Coloring your frosting
Note: Having a small reserve of plain frosting for mix-ups is the most
responsible course of action. It really doesn’t take a ton of frosting to frost this cake.
- Deep Blue/Purpley – Oof this one is kind of tough, I won’t lie. Start with a healthy dose of violet, blue, and black into about ½-¾ cup of frosting. You’ll want to do this one first and let it sit to help the colors develop.
- White – You’ll need a good bit for your base layer and the eyes/nose spot so I think I pulled about three cups from my bowl. To achieve white from cream, add a tiiiiny bit of violet coloring and stir well. Tiny as in start with barely half a drop.
- Tan – A tiny bit, less than half a drop of brown, goes a long way! Make it a little warmer by adding a hint of yellow. Remember to start conservatively. Very little will be used! I’d say about 1/3 of a cup.
- Black – A couple of spoonfuls is really all you need here. I used black coloring and a hint of blue and yellow as my black coloring has a green undertone (found by placing a drop on a ceramic plate and adding a drop or two of water – the color it bleeds will let you see its undertone).
- Light Blue – I say blue…but really it’s mostly violet. Start with about ¾ cup of frosting and add half drops of blue and violet to start. It’s easier once you get your shade to just darken it up, and color matching to an image is very helpful.
- Very Light Blue – Note that this is not simply your light blue with some added white. Color it separately. Start with about ¾ cup of frosting and just about half a drop of violet and a hint of blue. Adjust as necessary and remember it’s easier to add coloring than to take away!
4. Frost your base layer.
Using a cookie scoop, add a healthy scoop to each cupcake. This may not be all you use but will help in even distribution and give one bit of frosting another bit to hang onto as you frost over the gaps. Using your offset spatula, smooth your frosting. Focus on a nice edge where the white will be exposed. I’ve found moving in mostly one direction (i.e. toward your body) to be helpful. Add more frosting where needed, keeping in mind you’ll cover up much of it but still want it to be level and smooth.
5. Outline Bluey
Chill your cake for about 10-15 minutes before outlining Bluey. This will prevent your
template from sticking and allow for clean lines.
Place your template where you’d like it to go, making sure all of Bluey is on a cupcake. Using your toothpick, trace the outside. Great! She’s coming together already!
Next, let’s go for a little pumpkin-carving action. You know how when you’re carving a pumpkin you take that little stabbing tool and poke through the papers you get in the books that come with the tools? Same concept here. Starting from the top down, poke holes through your template to mark all of your lines.
Be quick and don’t be gentle. If you’re too gentle you won’t make it through the paper! Once you’re finished, remove your template but keep it close by. All those little holes can be hard to decipher if you throw them away too soon.

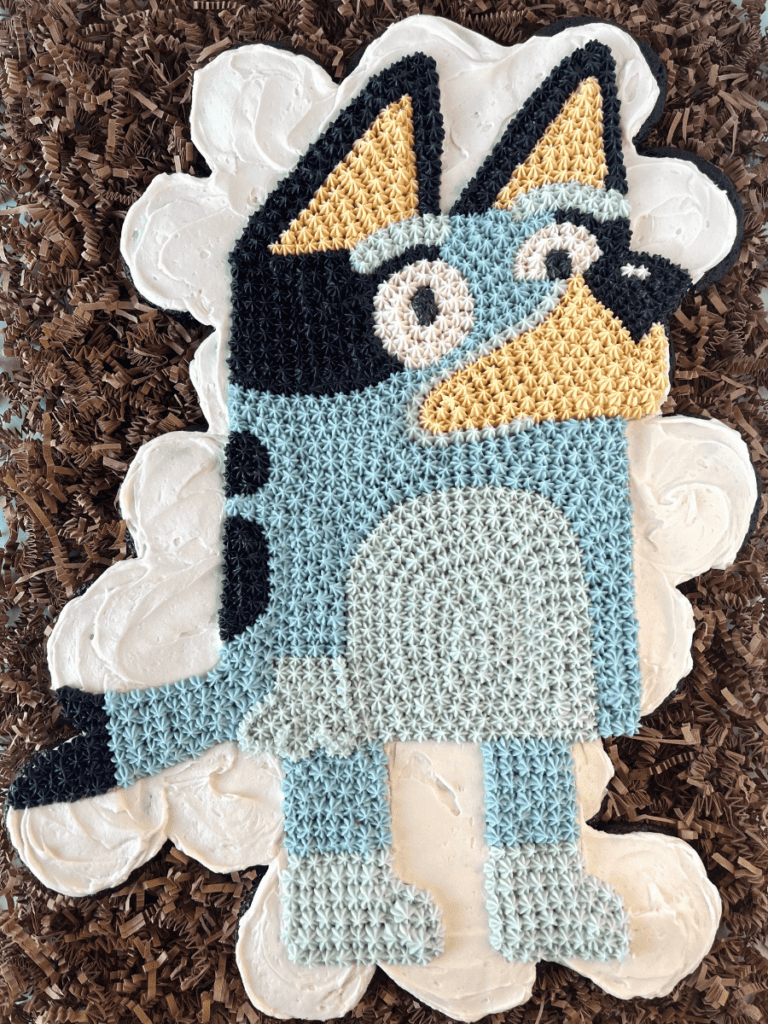
6. Start Piping!
Again, keep your template close by! Start with the hardest parts – definitely the face. I
started with the eyes and nose and then the inner ears and brows to ensure I didn’t get lost in all of the dots. As for technique, apply pressure to the pipe and release pressure as you’re pulling away. Start by outlining your area and moving inward. And remember, when your hand gets tired, Bluey says it best – “A Queen does not just run off to play! The Queen isn’t afraid of a bit of hard work.”

Tips for prepping your frosting bags:
- If you’re low on bags, use plastic wrap for your frosting. Lay out a piece, plop your frosting in the
middle and roll it up like a Tootsie Roll. Cut one end and lower into your piping bag, cut side
down. Squeeze gently. - To switch colors, simply pull your first color out by the plastic wrap and replace with the next
color. Squeeze gently onto an extra plate until all of the first color is out and the second color is
coming cleanly.
Storing Your Bluey Cake
(That is if you even have any leftovers!)
Short term – Fridge, covered in plastic wrap, until a couple of hours before serving. Remove plastic wrap when pulling it from the fridge to thaw.
Long-term (up to a few months) – Freezer, wrapped tightly in plastic wrap. Set the buttercream in the fridge before wrapping and wrap the entire board to ensure a good seal.


Bluey Birthday Cake
Equipment
- 1-2 Muffin Pans
- 25 Cupcake Liners
- 1 Large Bowl
- 1 Mixer
- 5 Bowls and Spoons
- 1 Set of Food Colors
- 1 Offset Spatula
- 1-5 Piping bags
- 1 Piping Coupler
- 1 Star Piping Tip optional
- 1 Cake Board/Strip of Cardboard
- 1 Pack of Toothpicks
Ingredients
Cupcakes
- 25 cupcakes Any flavor you choose! 2 box mixes
Vanilla Buttercream
- 3 cups Unsalted Butter still chilled
- 9 cups Powdered Sugar
- ¼ tsp Salt scant aka not quite full
- 3 tsp Vanilla Extract
- 1/3-1/2 cup Heavy Cream will
Instructions
Cupcakes
- Make about 2 dozen cupcakes according to your recipe instructions.
- Allow cupcakes to fully cool and set them off to the side.
Vanilla Buttercream
- Cream your butter in a stand mixer on MED until it’s light and fluffy, it should go from the yellow butter color to a creamy white-ish color.
- Slowly incorporate the powdered sugar. Slowly. One cup at a time!
- Once the sugar is mixed, add in your salt, vanilla, and heavy cream, start conservatively, and beat for about 3-5 minutes (I start with three and then check the texture) on HI. You’re looking for a smooth buttercream that glides through your fingers without much force, as you want it easily pipeable and spreadable. If it’s too thick, add more heavy cream.
Making the Bluey Cake
- Prepare your Bluey Template. Print it on thin paper, tape it together, and cut it out.
- Prep your cake board and cupcakes. Arrange your cupcakes on your board following the pattern in the picture! Secure cupcakes to the board by adding a tiny bit of kid’s glue or buttercream to the bottom of the cupcake and placing it on the board.
- Coloring your frosting. See the bottom for instructions on each color.
- Add a base layer of buttercream frosting to all of the cupcakes.
- Outline Bluey. Chill your cake for about 10-15 minutes and then place your template on top of the frosted cupcakes. Use a toothpick to outline the template and poke holes along each of the lines. Move quickly!
- Start Piping! Use your piping bag to frost each section of the cake. Start with the face and move outward. When piping in a section, apply pressure to the pipe and release pressure as you pull away. Start by outlining your area and moving inward.
- Enjoy your beautiful Bluey Cake and serve!
Notes
Long-term (up to a few months) – Freezer, wrapped tightly in plastic wrap. Set the buttercream in the fridge before wrapping and wrap the entire board to ensure a good seal.
Other Birthday Ideas for Kids
- BEST Bluey Birthday Party Inspiration
- 45 Finger Foods for a Kid Birthday Party
- Barbie Themed Party Ideas
- Disney Princess Party Games
- Spiderman Birthday Party Ideas
- Easy Baseball Cake Tutorial
Don’t Leave Just Yet
Here at Events to Celebrate, my whole goal is to help real people plan for their kids’ birthday parties, life events, and holidays! Life is crazy. I GET IT. You don’t have endless time OR money to spend on parties, but you still want to help your guests have a great time. I’m here to help give you tips, tricks, and ideas for celebrating life on a budget.
As a mom, you want to do it all. You want to make your family happy and create special memories. My brand is all about creating special moments with those you love. The kind of moments that you will look back on years later and wish you could relive! So, if that’s something you’re interested in, stick around! I have an email list you can sign up for, so you don’t miss my future party ideas!